

DIY Complete House Renovation
Ever wondered what it takes to completely renovate a house from scratch? Dive into our adventure of transforming an old property into our dream home, including the materials we used, what we discarded, and the environmental impact calculated in CO₂ emissions. We tackled every aspect of the renovation ourselves, and we're eager to share all the gritty details with you. Read on if you're curious about the practical, hands-on side of a complete home renovation.
KG WASTE
30.387
CO2-EQ STORAGE
-8.311
KG MATERIALS
45.053
MONEY
€120.000
CO2-EQ: A1-A3
19.248
About us
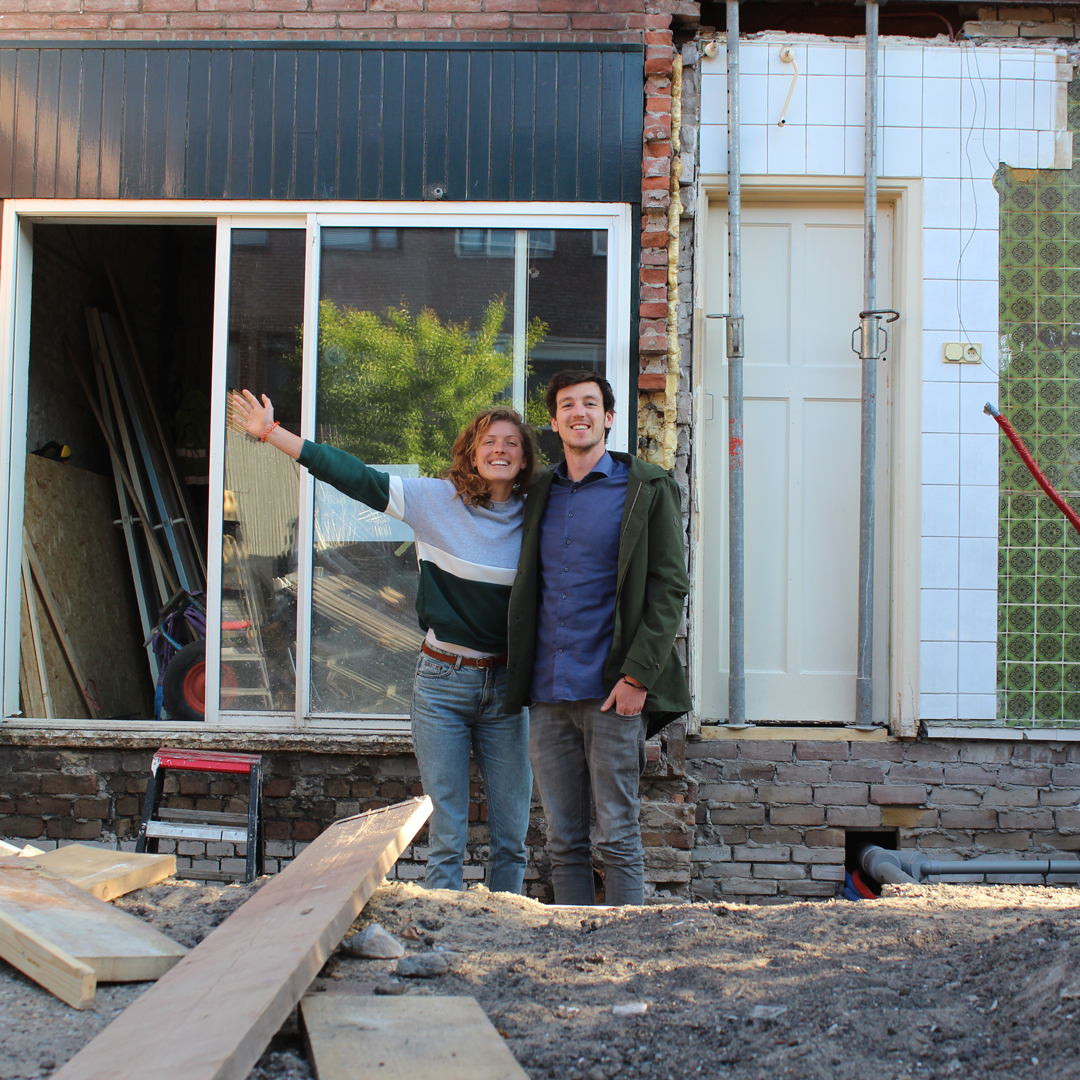
Meet Daan and Britta. In 2019, we took the plunge and bought our house in Utrecht. Over two years, between our regular jobs, we transformed it into our dream home. The journey started with a gamble, bidding 6.5k above the 275k asking price in a hot housing market. To our surprise, we got it, leaving us in a mix of shock and excitement.
more about us
Daan has a background in construction and project management, which proved invaluable during the renovation. He’s always had a strong interest in sustainability, which naturally influenced many of our choices throughout the project. Daan’s approach combines a desire for a natural, beautiful home with an emphasis on simplicity—favouring clean, efficient designs. This style reflects a new way of thinking, where efficiency and beauty come together to create a home that feels both fresh and timeless.
Britta, though new to construction, brought enthusiasm, structure, colour and a fresh perspective to the project. She took charge of organizing and managing the day-to-day tasks, making sure everything stayed on track. Britta’s knack for finding second-hand treasures played a huge role in our renovation, allowing us to furnish and equip our home in a cost-effective and sustainable way. She also managed the budget, ensuring that we made smart, cost-effective decisions without sacrificing quality or our values.
Together, we faced the challenges of renovating an older home—learning as we went and adapting when needed. We’re excited to share what we’ve learned along the way, in the hope that our story might inspire others on their own renovation journeys.
The start of our yourney
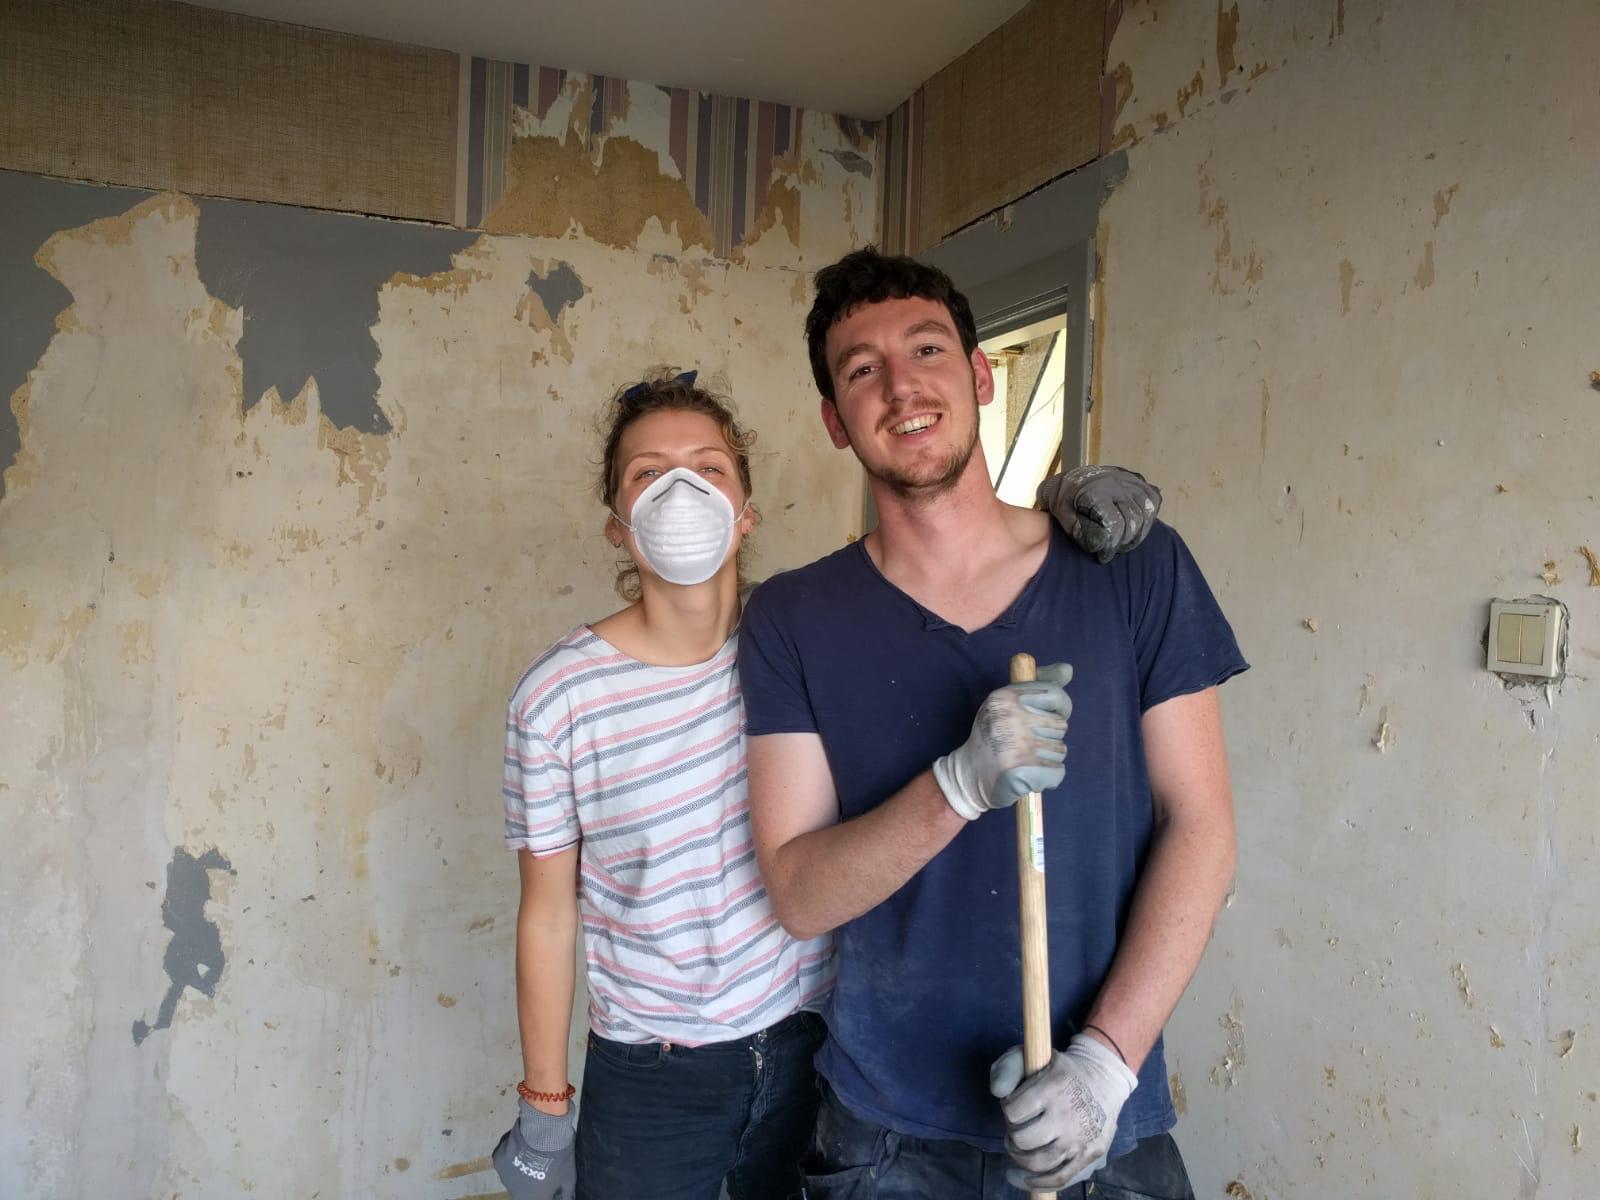
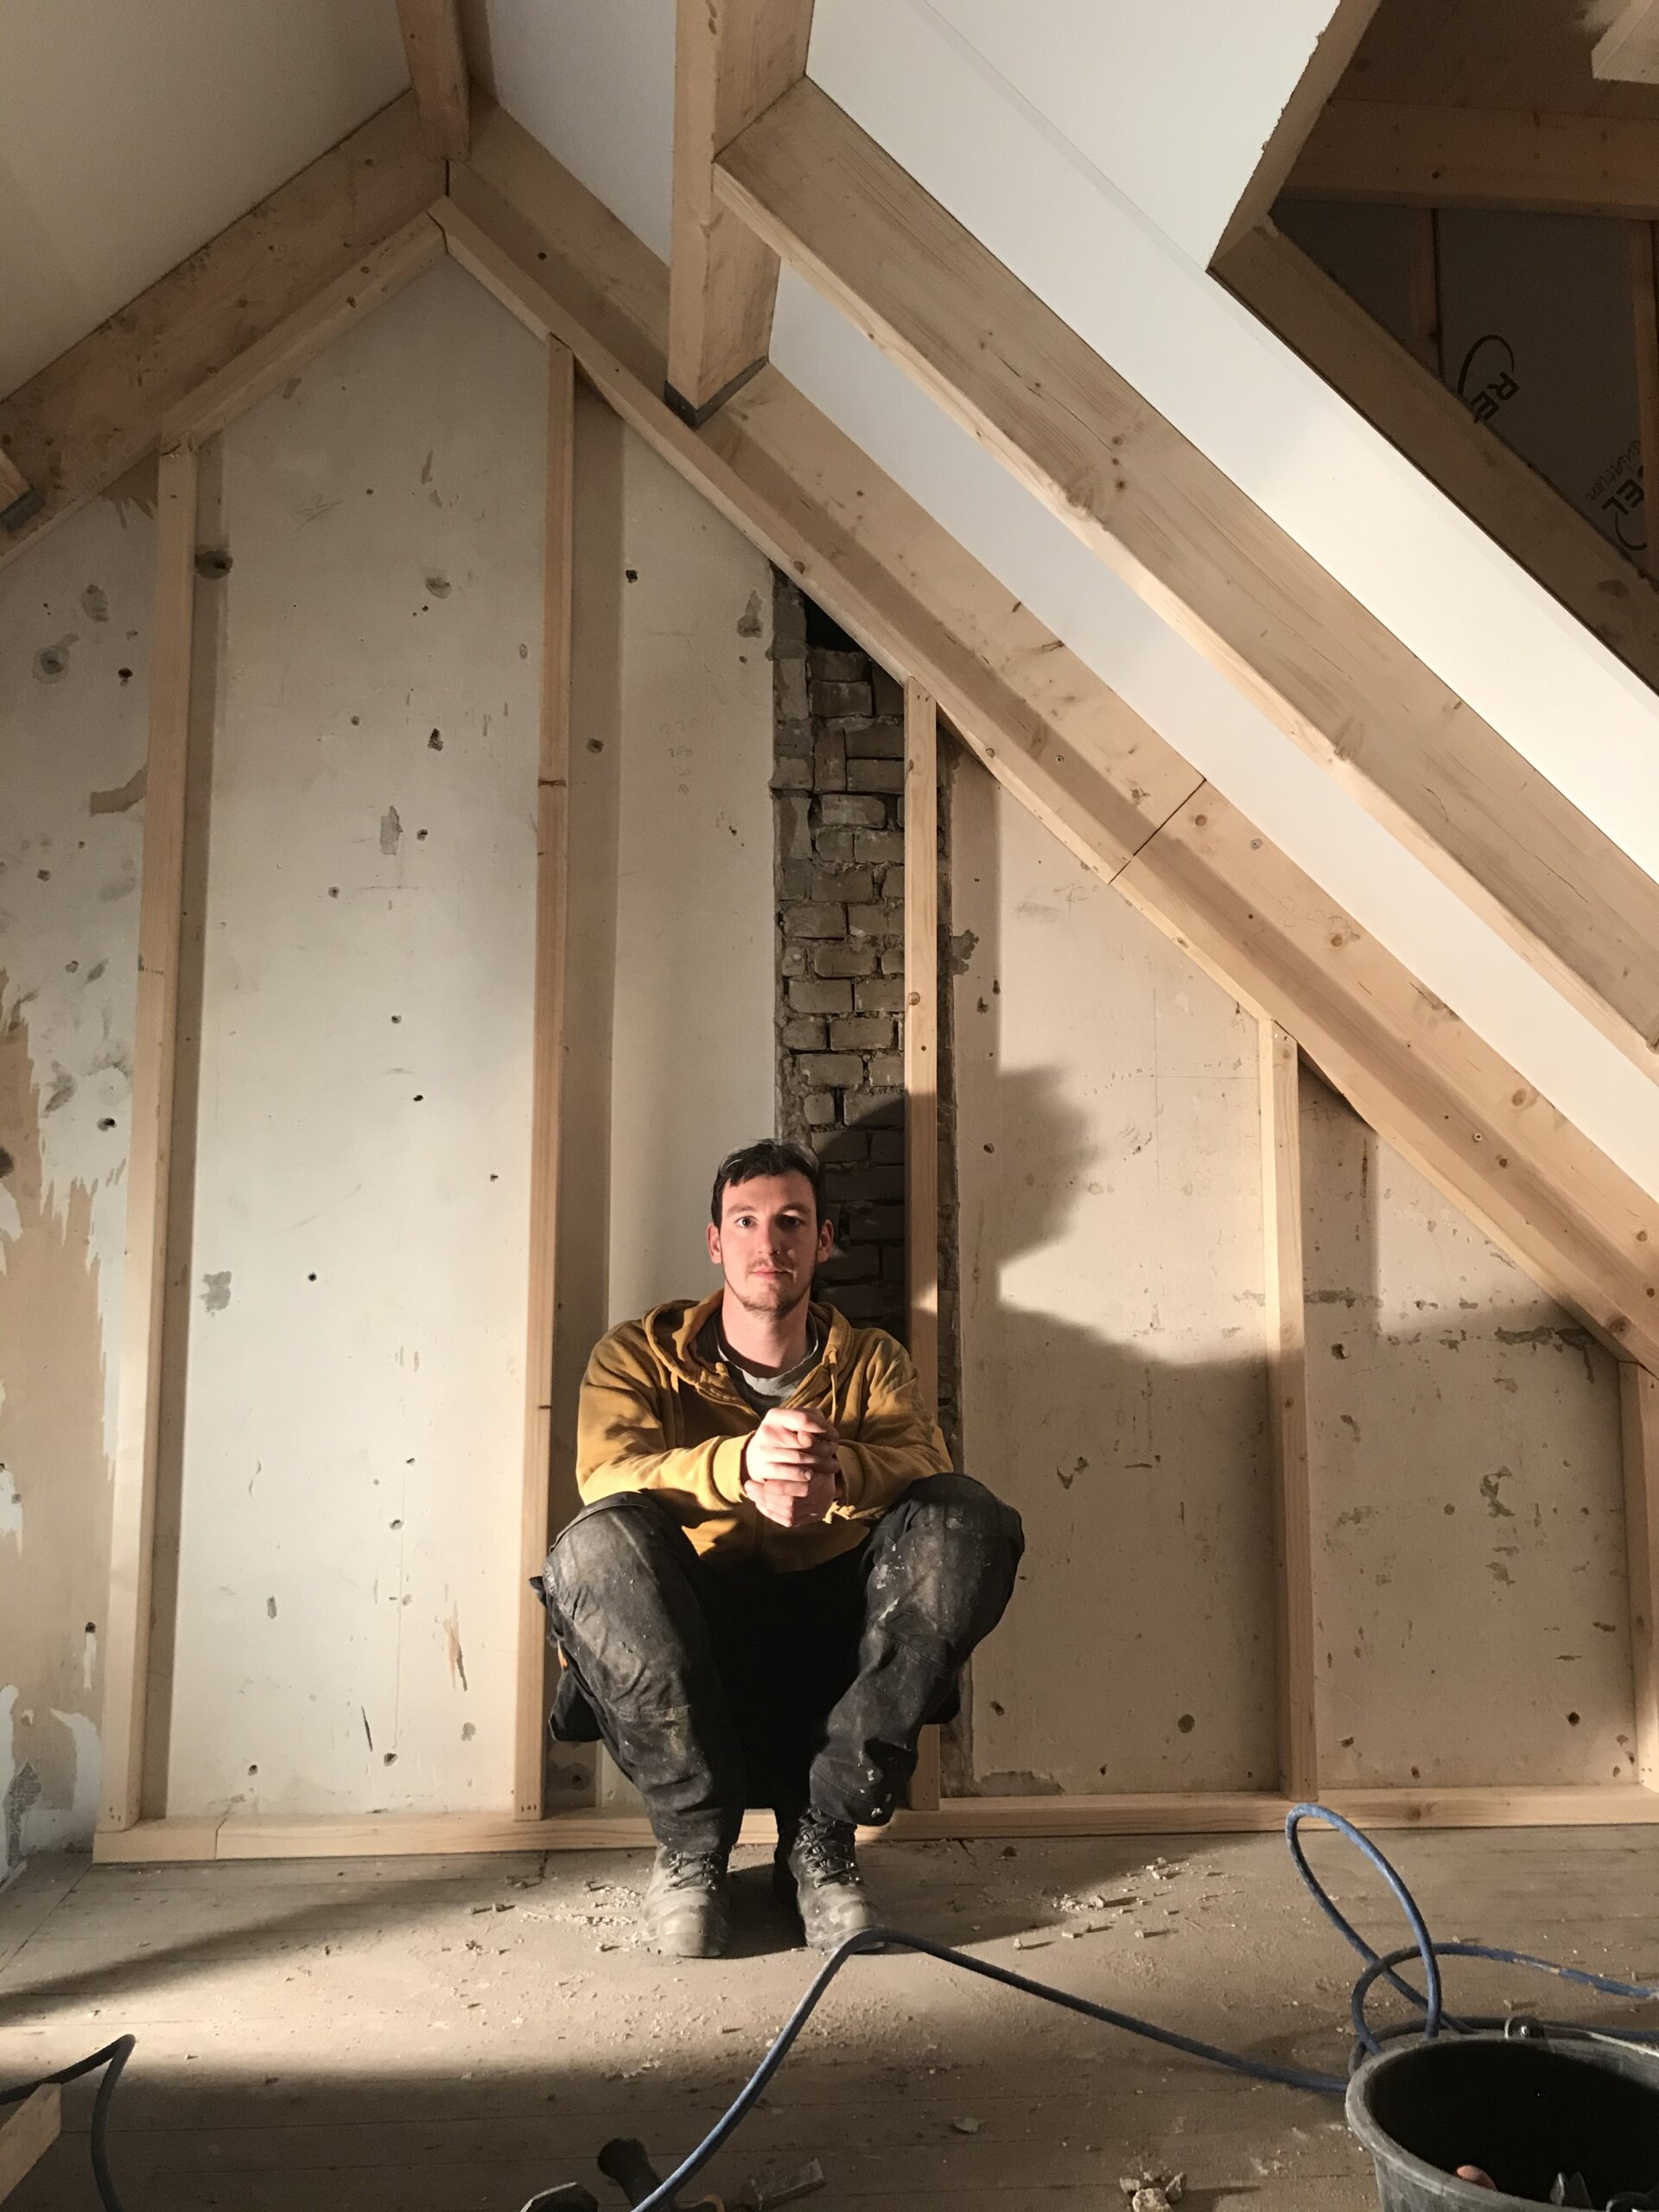
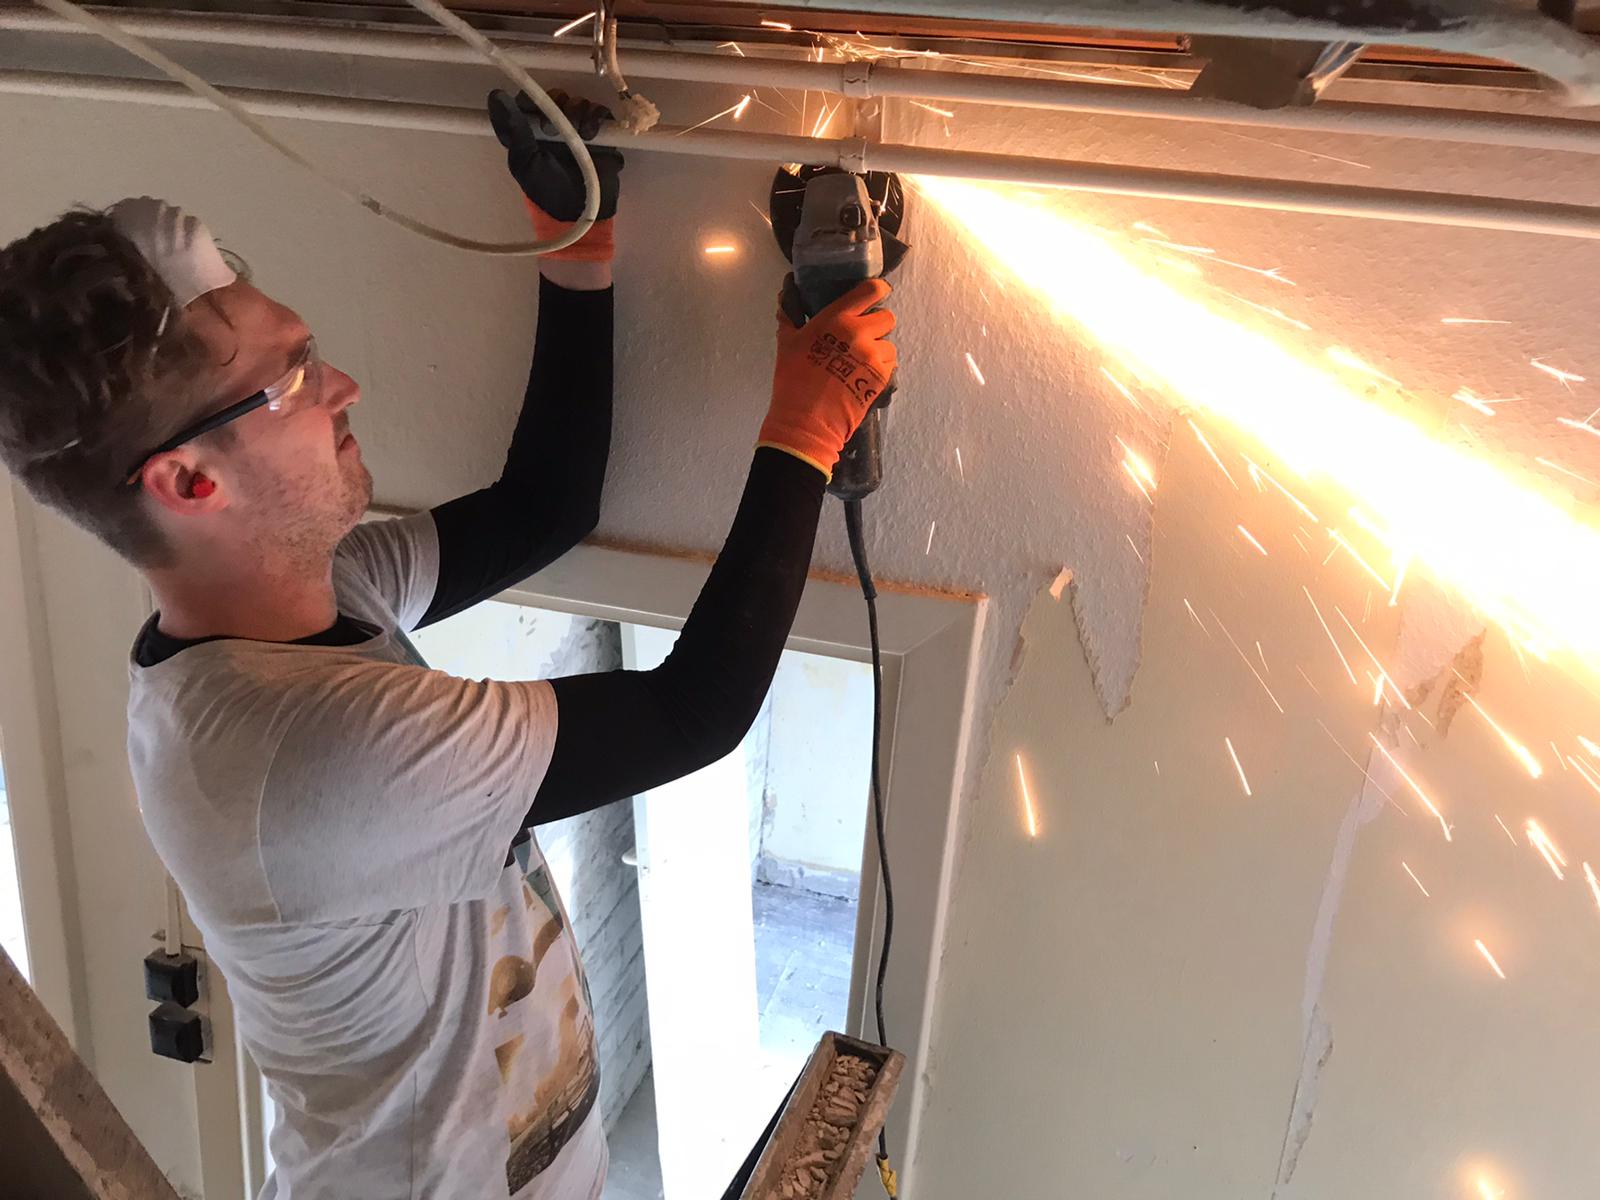
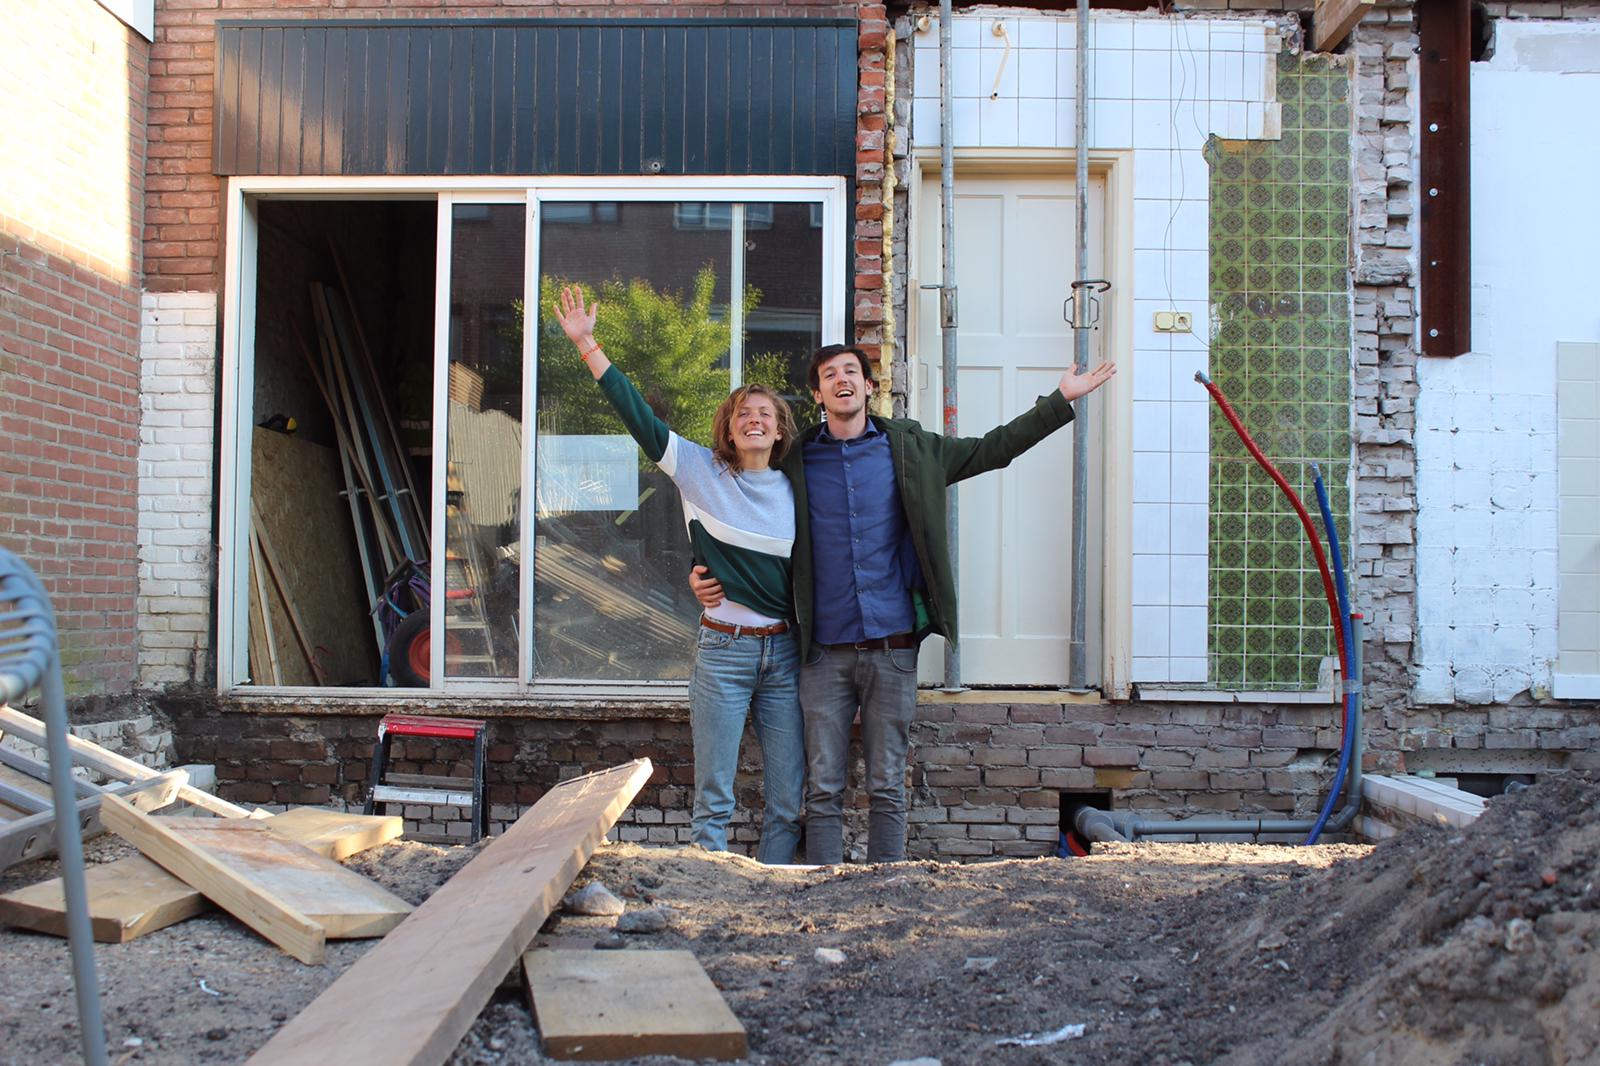
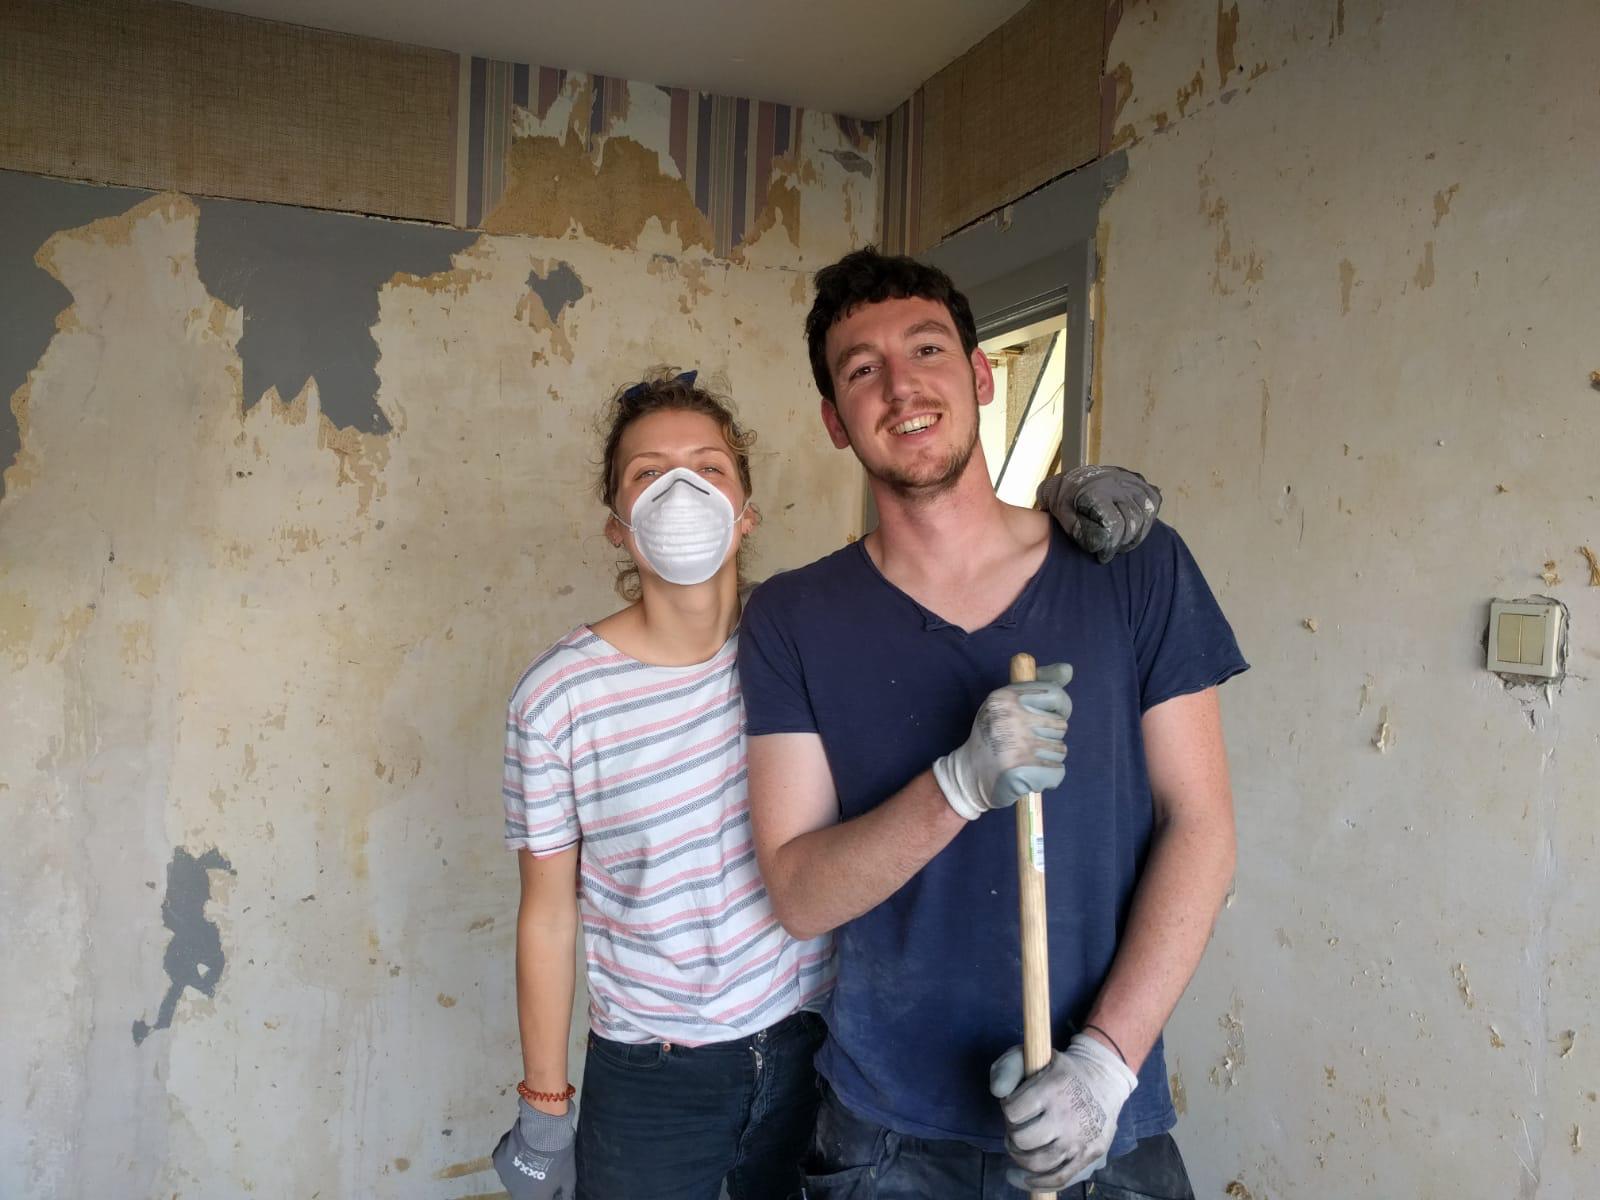
October 18, 2019, the day we officially got the keys. Over the next year and a half, we dedicated every weekend to building our dream. Daan handled most of the work from Friday to Sunday, while Britta joined in on Saturdays and Sundays.
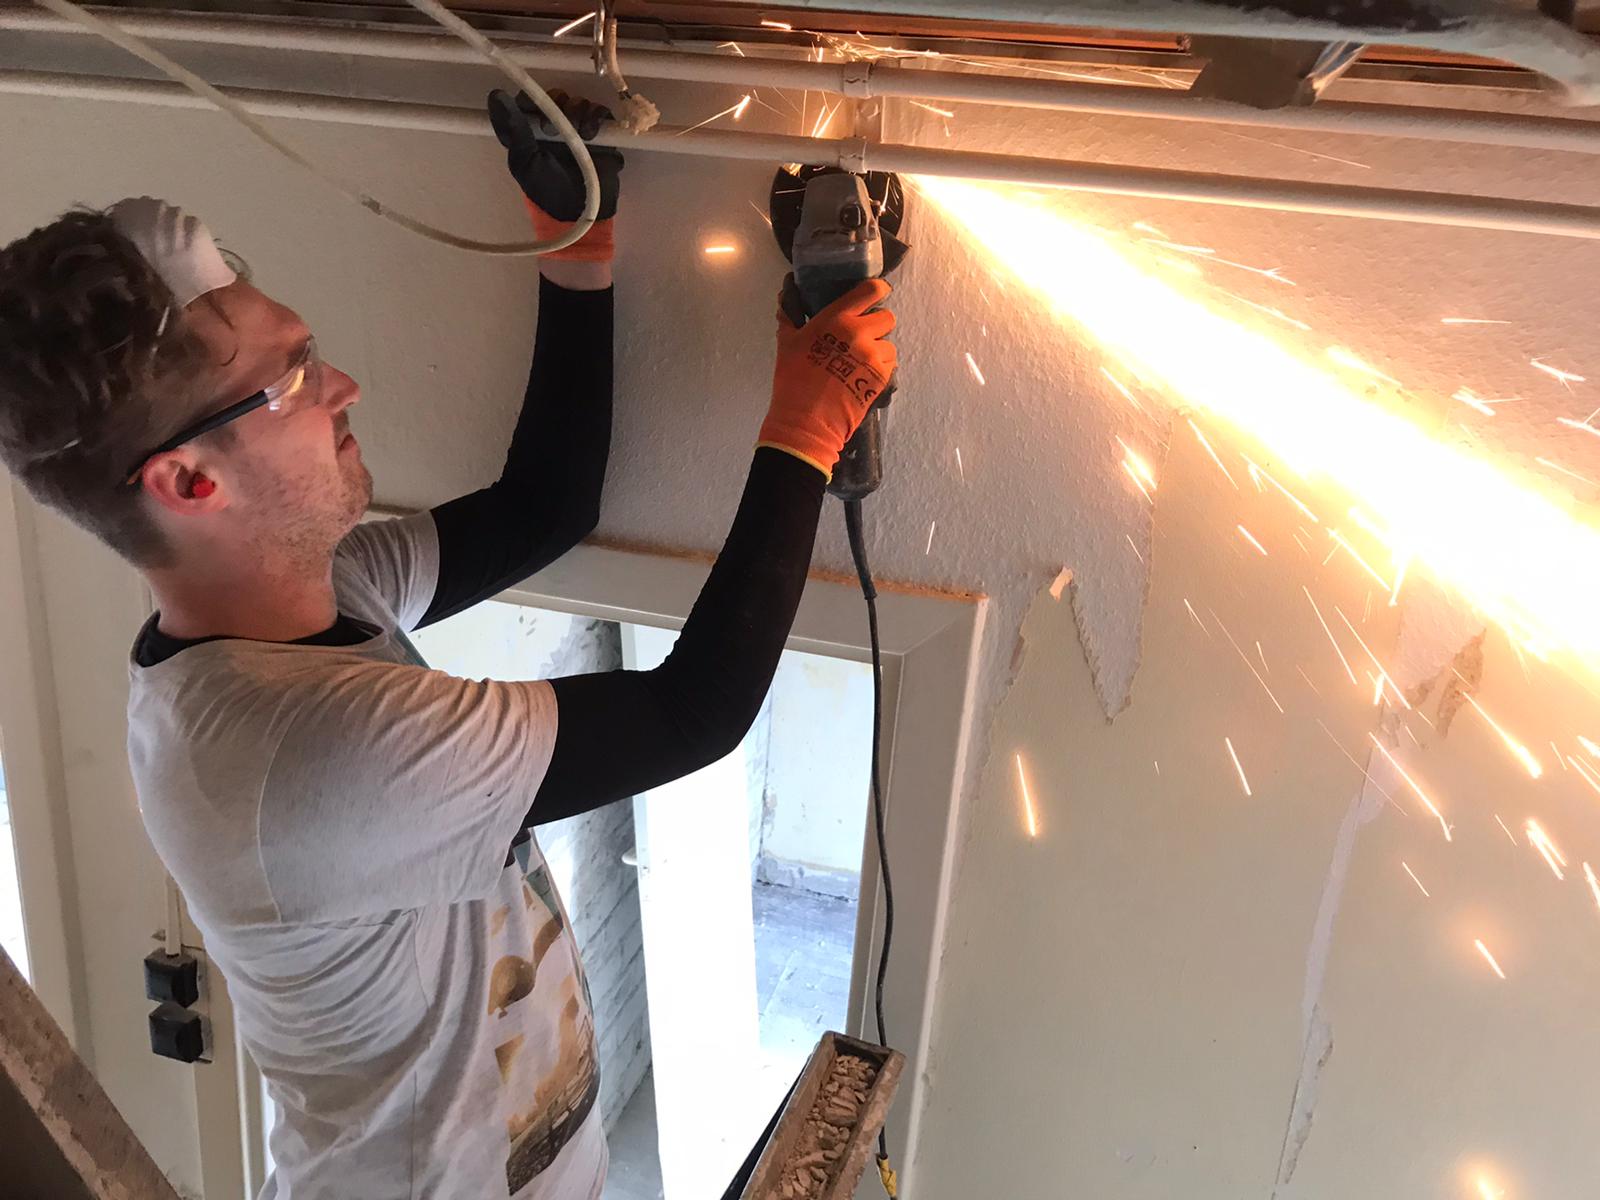
The adventure kicked off with a month and a half of demolition, clearing the way for the new construction to begin. As the dust settled in late 2019, we moved on to the roof and structural work in early 2020. Installing a new roof and retrofitting the dormer were major milestones that marked the beginning of real progress. With the structure in place, we turned our attention inward, focusing on the interior renovations and countless decisions about materials and finishes throughout 2020.
By five months in, around early 2020, we were living in the attic, just as the pandemic began. We spent the following months working on the first and second floors, and by the end of 2020, with the house nearly finished, we shifted our focus to the garden and shed—side projects that evolved into important spaces.
As with any renovation project, it took longer than expected—and we quickly learned that “a few extra weeks” is just code for several more months! Everything also cost more than we had planned. Our initial goal was to finish within a year, but as 2020 ended, we realized we’d need more time. By 2021, the final touches were being added, and although we spent more than the original €90,000 budget, ending up closer to €120,000, it was all worth it.
For some specialized tasks—like plumbing, electrical work, and laying the concrete floor—we brought in professionals. But for major elements like the new roof, extension, further renovations inside, and insulation, we took matters into our own hands. My dad is an contractor and was my hotline for questions. He was also busy with his own renovation, so we were mostly on our own. For big jobs like the extension and new roof, he was, of course, present. Most of the time, it went well! Dive into the details of our DIY deep retrofit to see how we did it.
Meet Daan
I’m Daan, born in 1992, with a passion for building, architecture, and a whole mix of interests—from globetrotting and bonsai to insects, family, friends, and sports. I’ve always been curious about how things work and love diving into all sorts of conversations, whether it's about sustainability, society, or just the everyday challenges we all face. I’m as interested in the bigger picture as I am in the small details, and I enjoy breaking down complex ideas into something simple and actionable.
Renovating a building has always been a dream of mine, and having the chance to do it with Britta by my side made it even better. Britta trusted the vision, and together, we rolled up our sleeves and got to work on turning our Utrecht house into the home we had always imagined.
For me, every small step counts, whether it’s making our home more sustainable or just finding a better way to get things done. Being part of this journey toward a more sustainable future has been incredibly rewarding, but it’s just one part of who I am. I’m just as happy chatting about everyday life or sharing a laugh with friends.
Education: After primary school, I got into carpentry during secondary school, which led me to study MBO construction. Through internships with builders and architects, I learned a lot about the industry hands-on. Later, I earned a Bachelor of Science (BSc) in HBO, where I became more and more interested in sustainable building practices. One of the highlights of my education was an internship at RAU Architecture, where I got to explore the Circular Economy and develop a demountable container home concept, which became my graduation project in 2015.
Work Experience: I started my career at Jan Snel (Daiwa House Modular Europe these days DHME) as a junior engineer, where I worked on projects like Keramus. In 2018, I moved into the sustainability team at Jan Snel, focusing on ways to make our work eco-friendlier. We produced around 4,000 modules annually, and I was part of the efforts that got us to the top of the CO2 Performance ladder in two years. I also worked on projects like Moodumo and advised on the SUM project with TU Delft students. By the time I left in 2023, our team had grown, and we were fully focused on sustainability and R&D.
Present
After leaving in August 2023, I joined my dad's company—a small contractor business with its own workshop. We focus on prefab extensions, renovations, and house building. The intention is to take over by the end of 2024 and build a highly diverse, sustainable, biobased, and socially responsible company.
Meet Britta
I'm Daan, born in '92, passionate about building, architecture, globetrotting, bonsai, insects, family, friends, and sports. I'm drawn to the mystery of creation and love delving into conversations about sustainability, society, and the gray areas of right and wrong. How can I shape a realistic, better future for all?
Renovating a building has always been a dream, envisioning a Utrecht canal house that turned out surprisingly alike 😊 Lucky for me, Britta trusted the vision, and together, we embarked on transforming our dream home.
I enjoy simplifying complex ideas, offering easy-to-grasp insights, and hoping to inspire others to make the world a better place. Every small change counts, and I'm thrilled to be part of the journey toward a brighter, more sustainable tomorrow.
Education
After primary school, I pursued basic carpentry in secondary school, followed by MBO construction, engaging in diverse internships with builders and architects. Subsequently, I earned an HBO Bachelor of Science (B.S.) with a burgeoning interest in sustainable building practices. Following an enlightening internship at RAU architecture, where I delved into the Circular Economy, I graduated in 2015 with a groundbreaking demountable container home concept.
Work experience
I kicked off as a project manager at PRISON ESCAPE, venturing into real-life games. After a year, I joined Jan Snel as a junior engineer, leading projects like Keramus. A stint in data centers didn't suit me, so I returned to Jan Snel in 2018 with a plan for sustainability.
Producing 4000 modules yearly, I used Ecochain for calculations and propelled us to the top of the CO2 Performance ladder in two years. I led projects like Moodumo, advised on the SUM project with TU Delft students, and, upon leaving in 2023, our team of seven focused on sustainability and R&D.
Producing 4000 modules yearly, I used Ecochain for calculations and propelled us to the top of the CO2 Performance ladder in two years. I led projects like Moodumo, advised on the SUM project with TU Delft students, and, upon leaving in 2023, our team of seven focused on sustainability and R&D.
The renovation
01/ THE EXTENSION

NEW BUILD
The extension
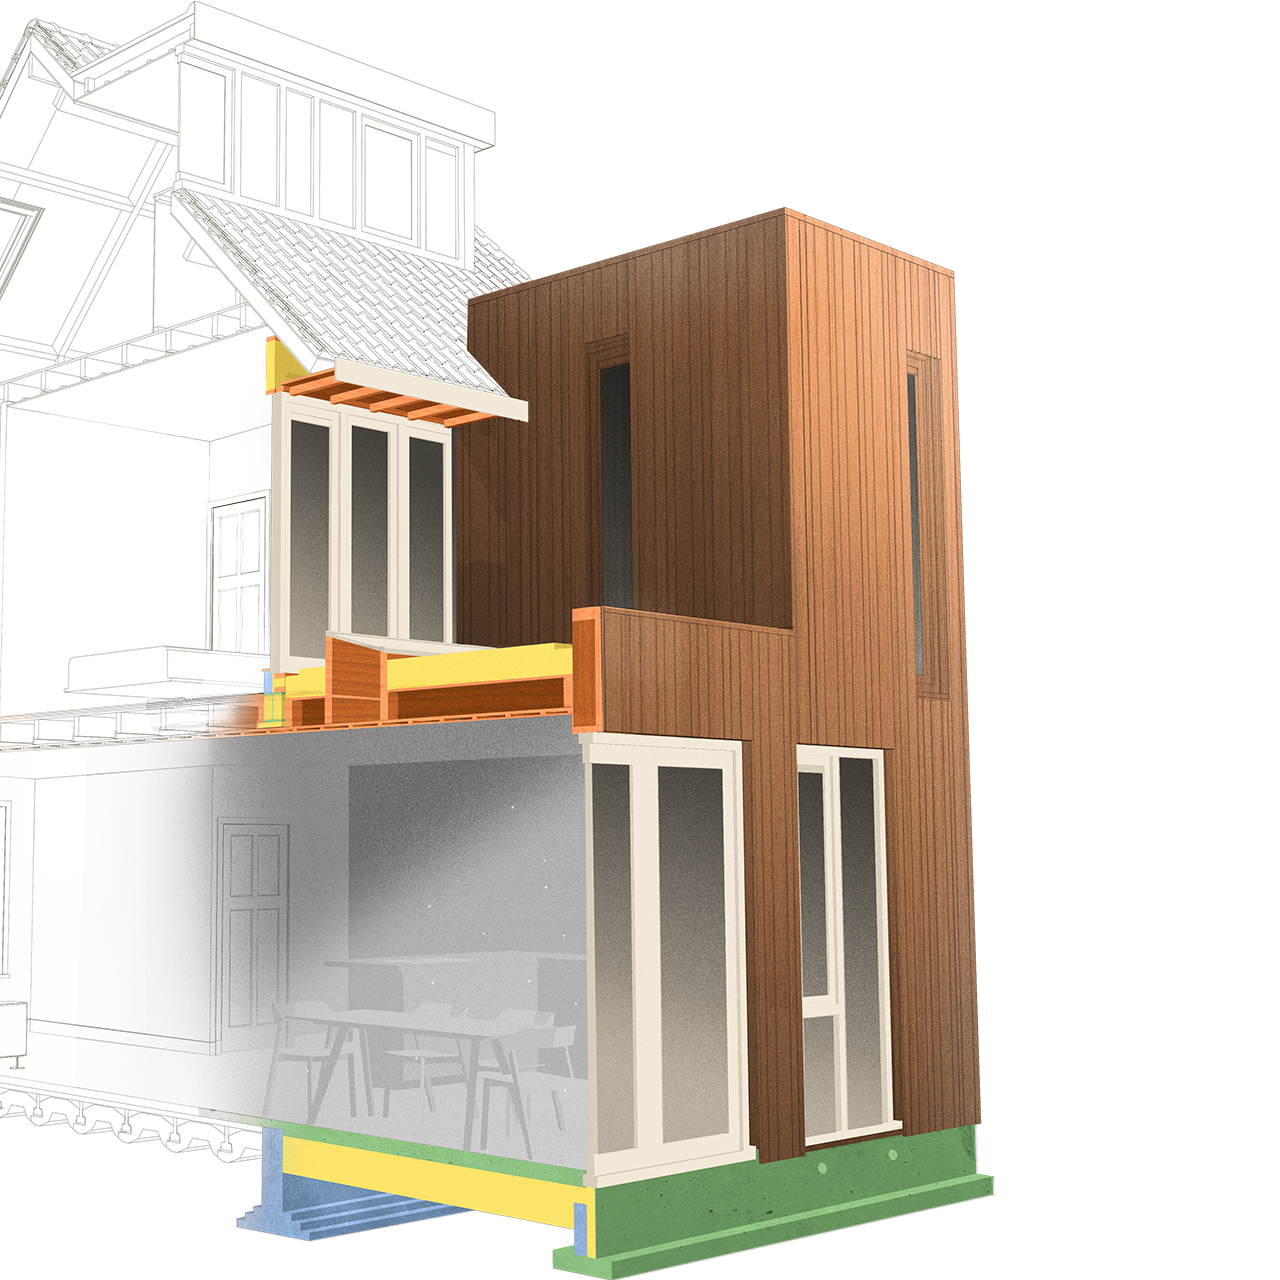
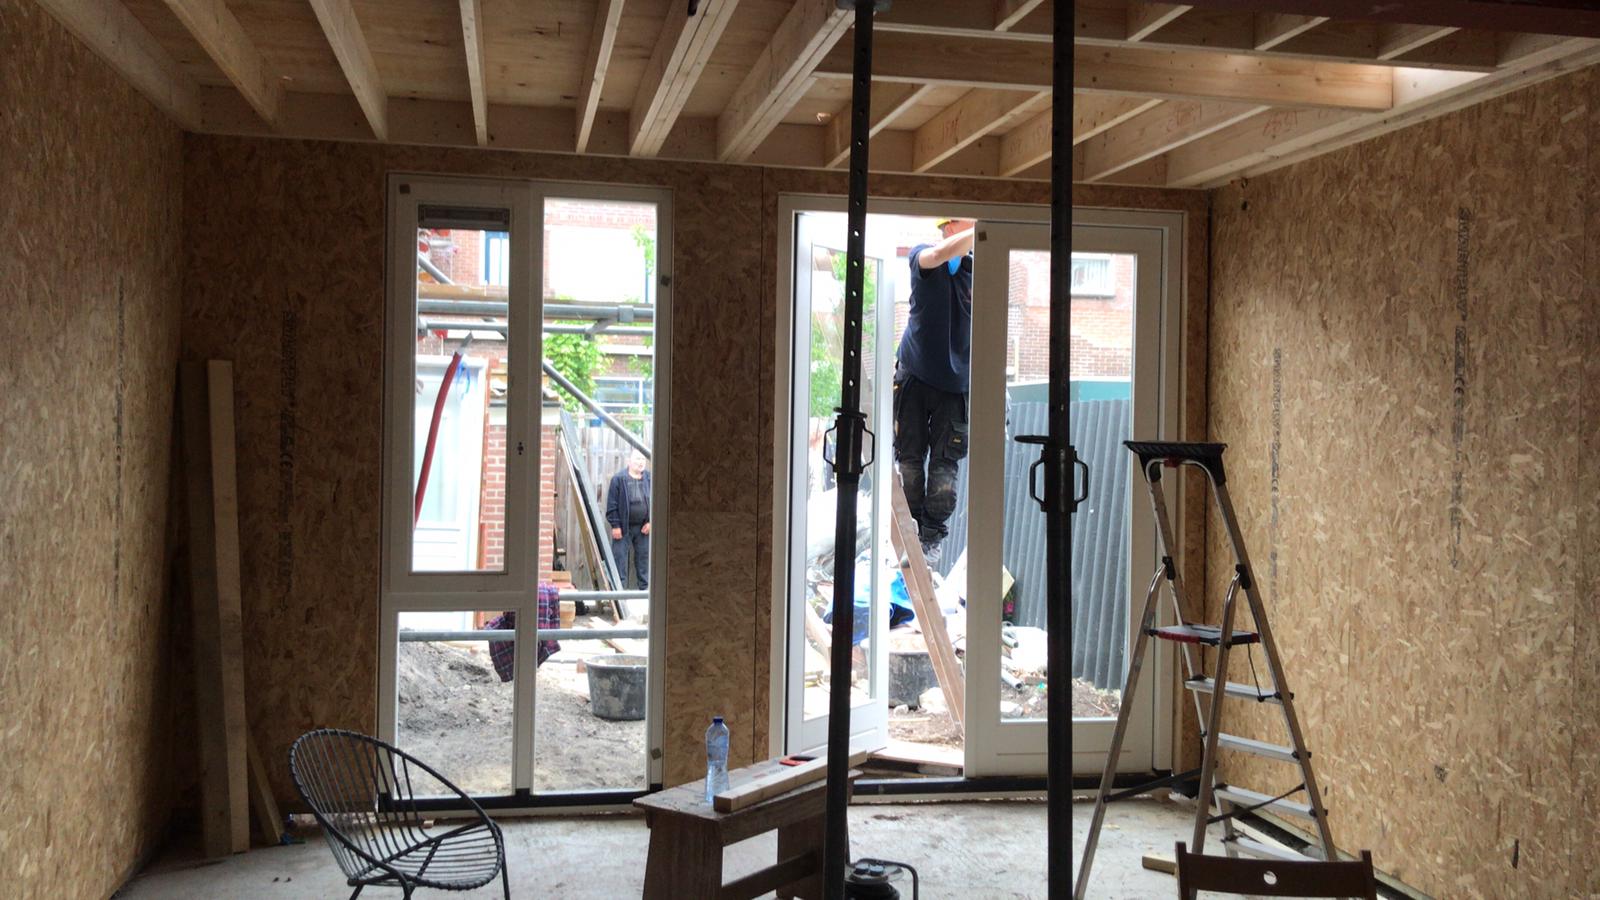
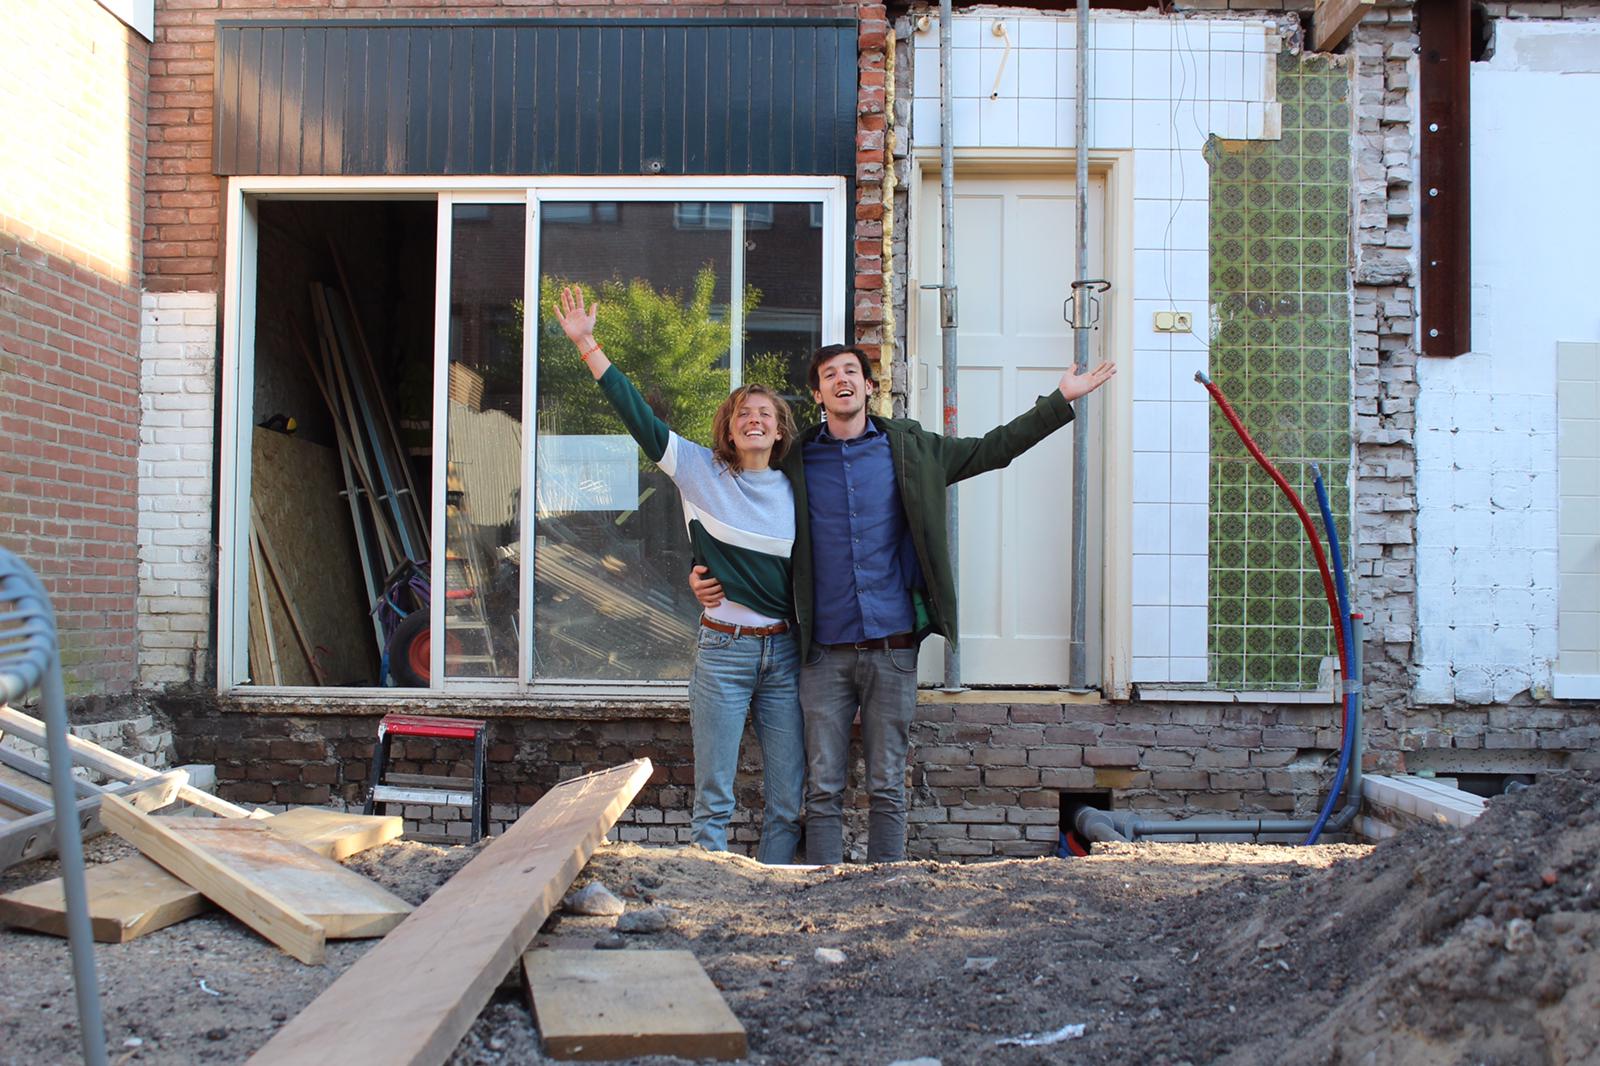
The house was ready for a transformation, and the worn-out old extension had to be replaced. We demolished the entire structure to make way for a larger living area and a new bathroom on the second floor, all while keeping the extension discreetly integrated into the existing style of the house.
Nature Meets Modern
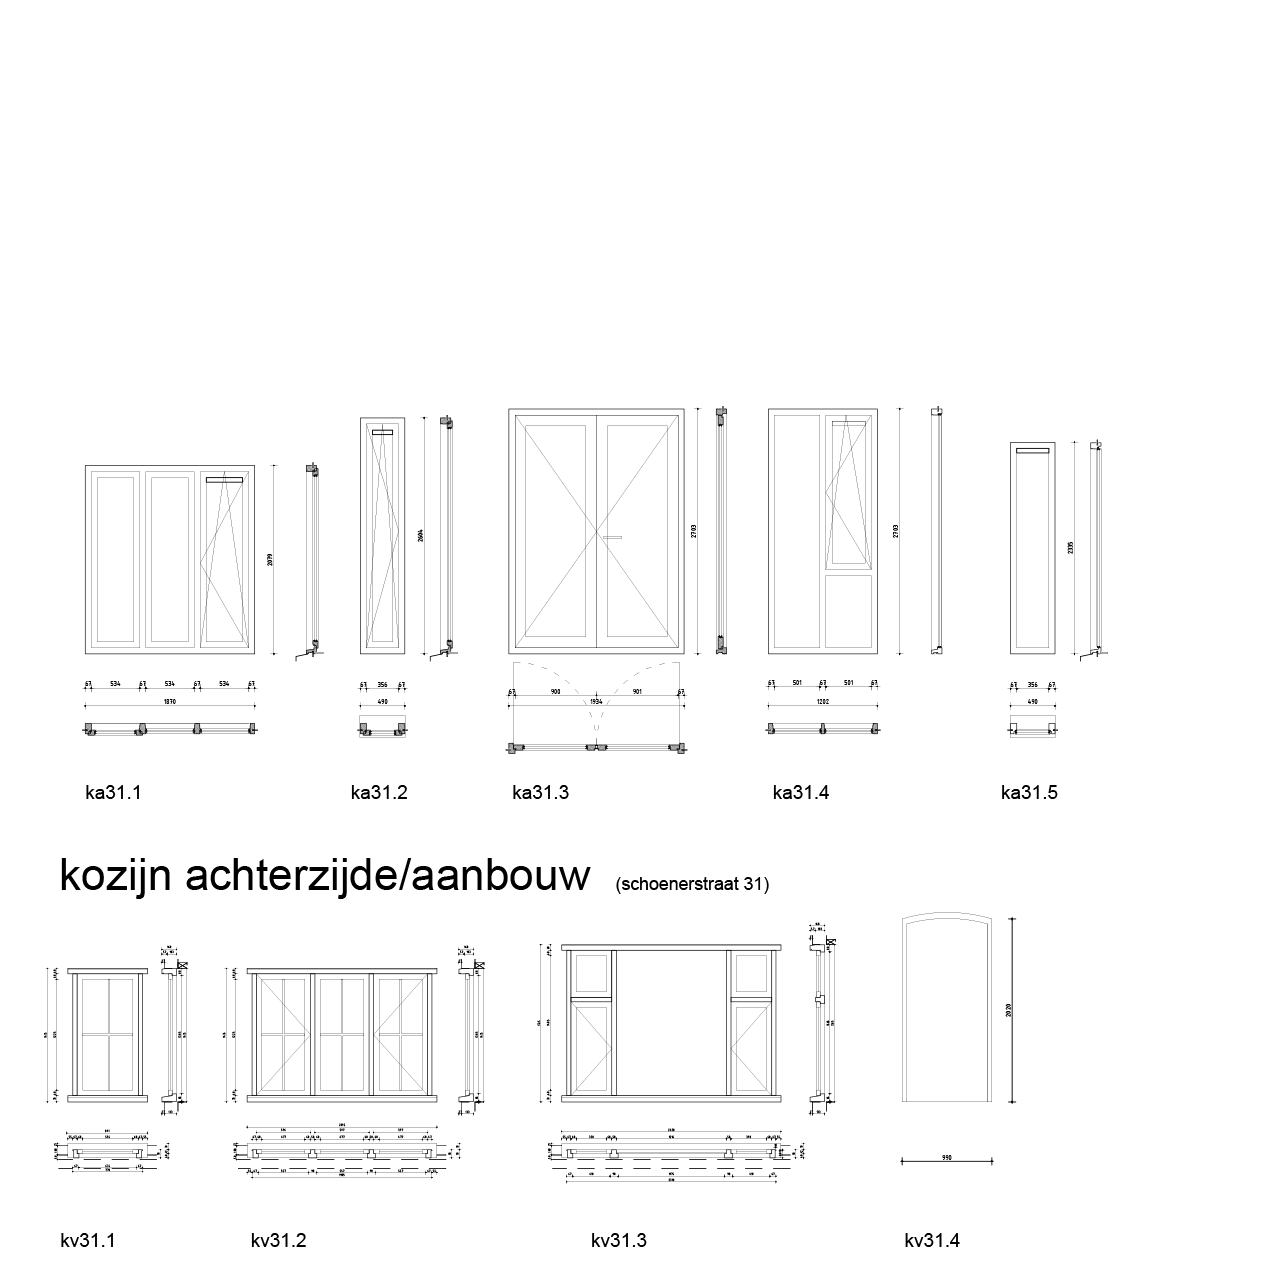
Outside, we aimed to blend nature and modern design. The vertically framed windows and open oak cladding—with planks in three varying widths—added a unique character to the exterior.
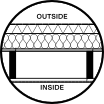
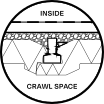
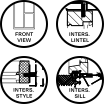
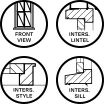
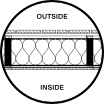
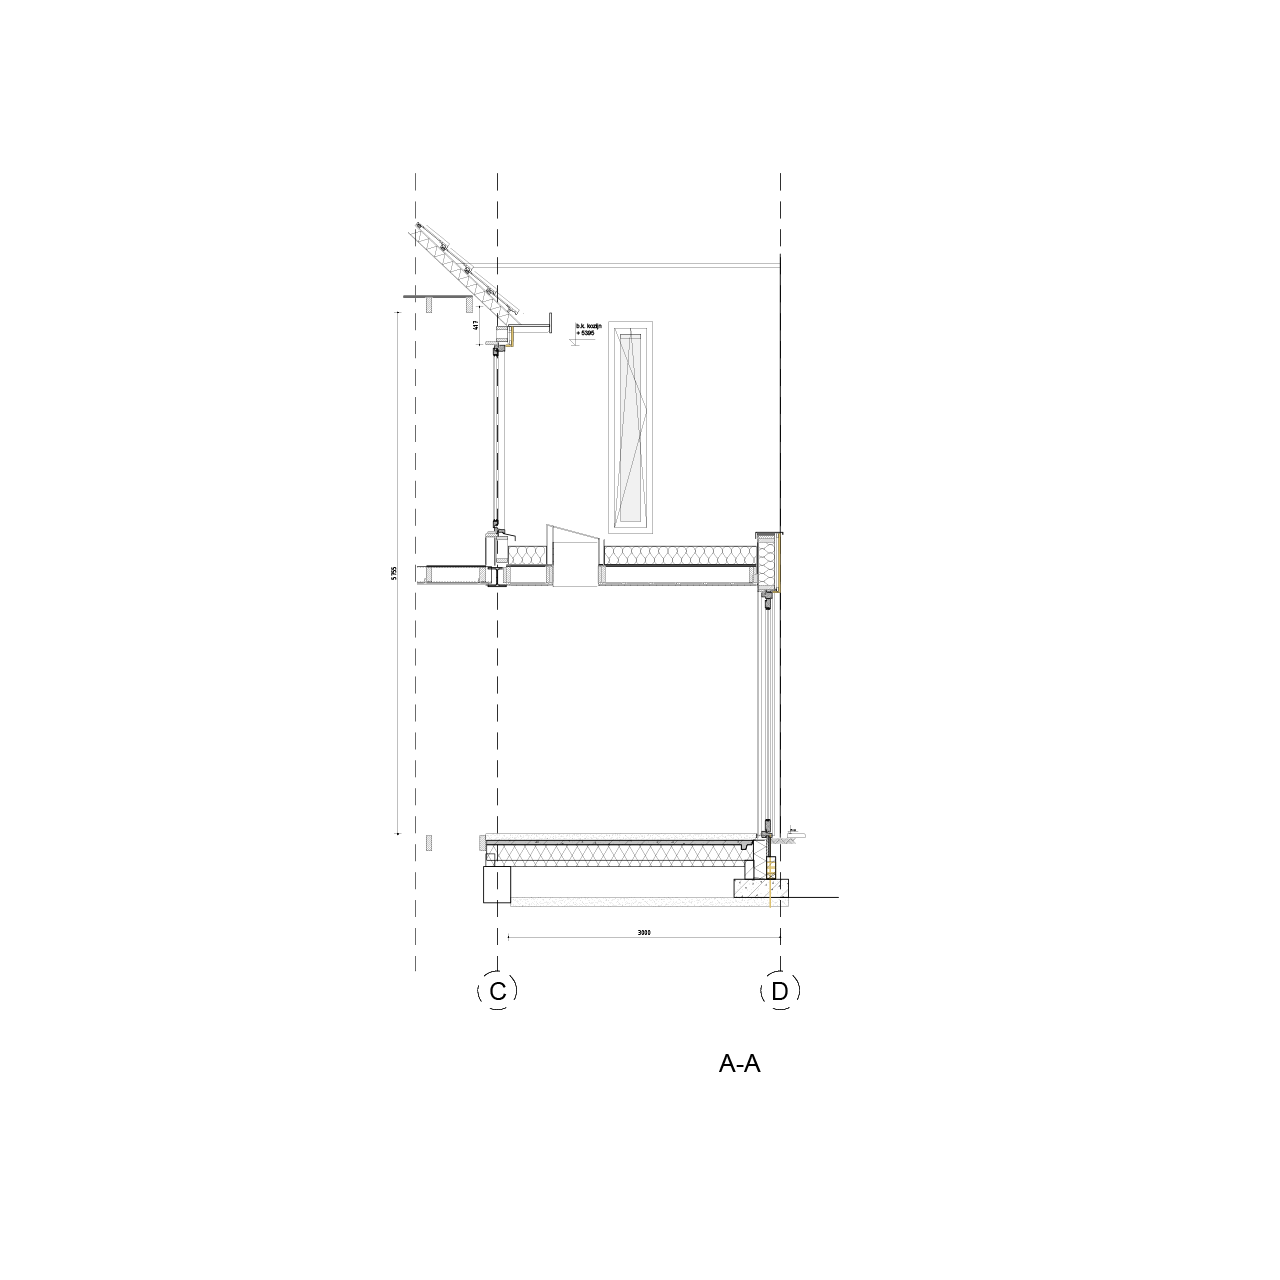
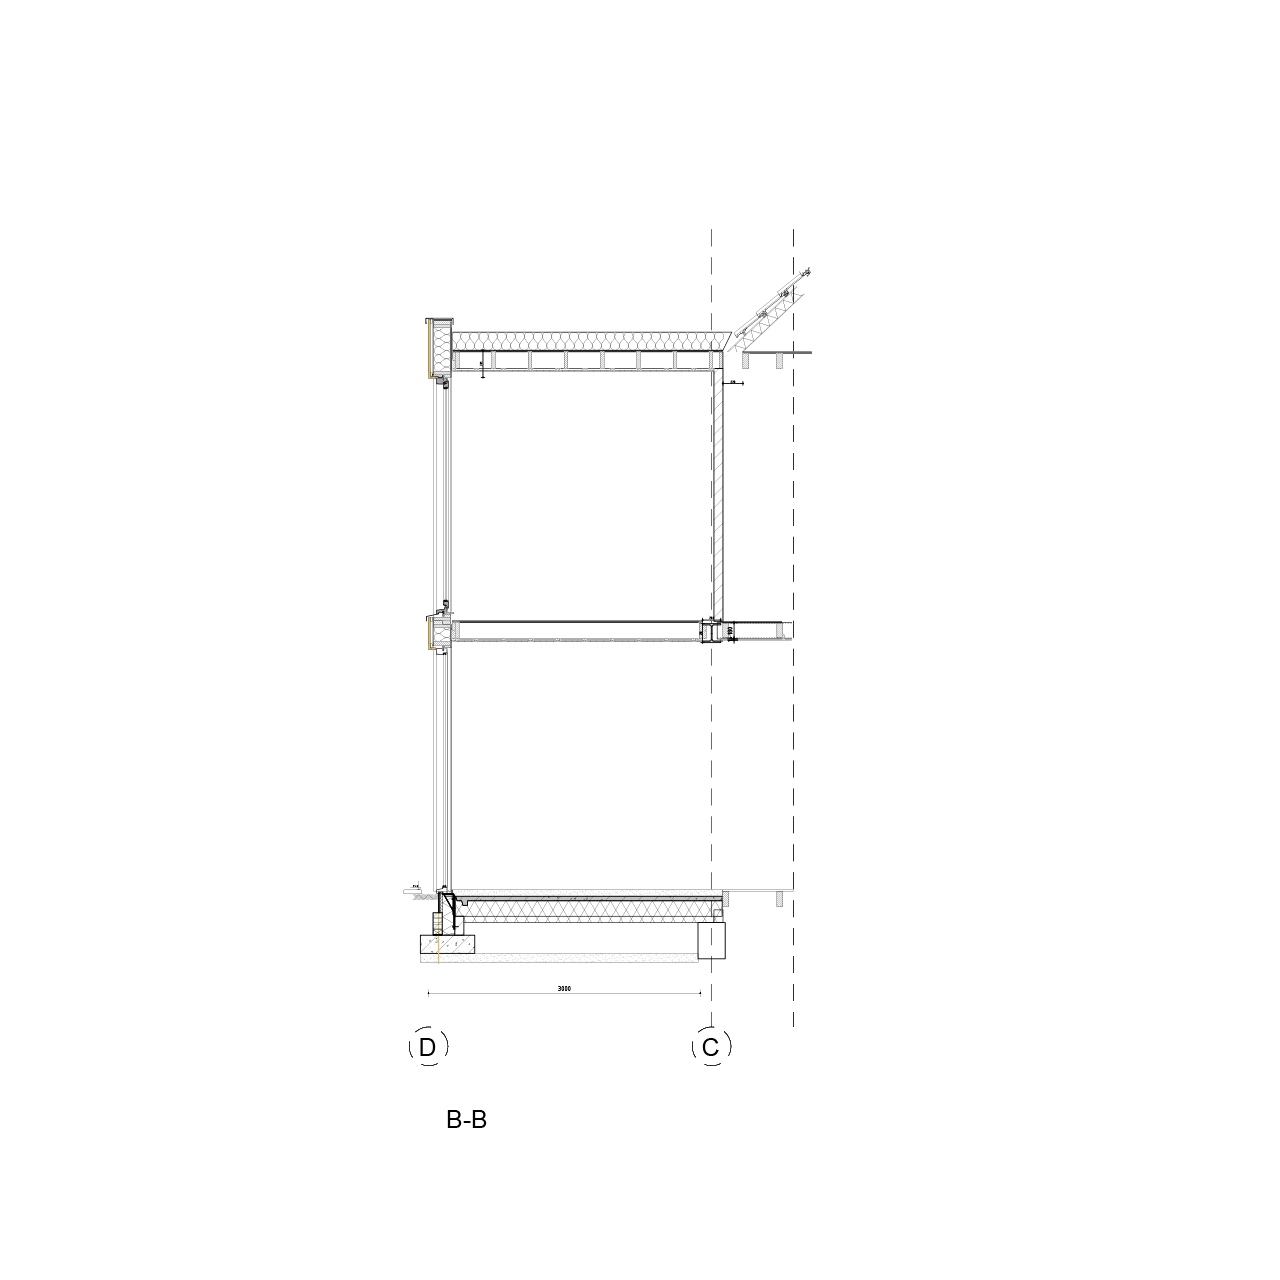
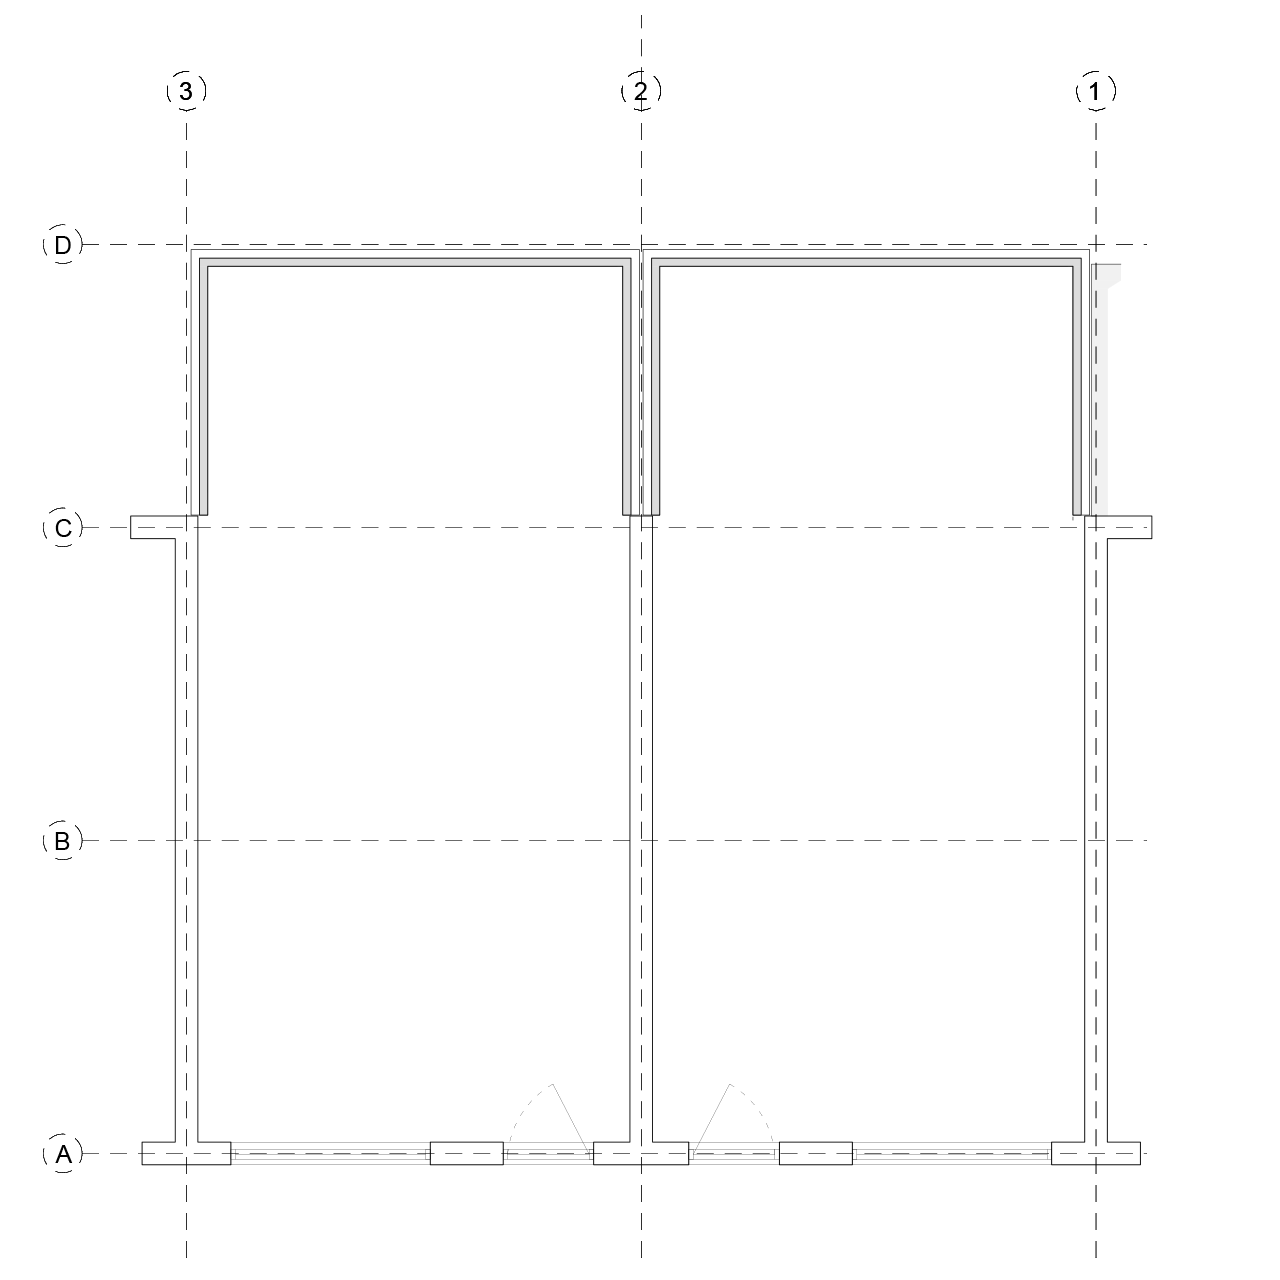
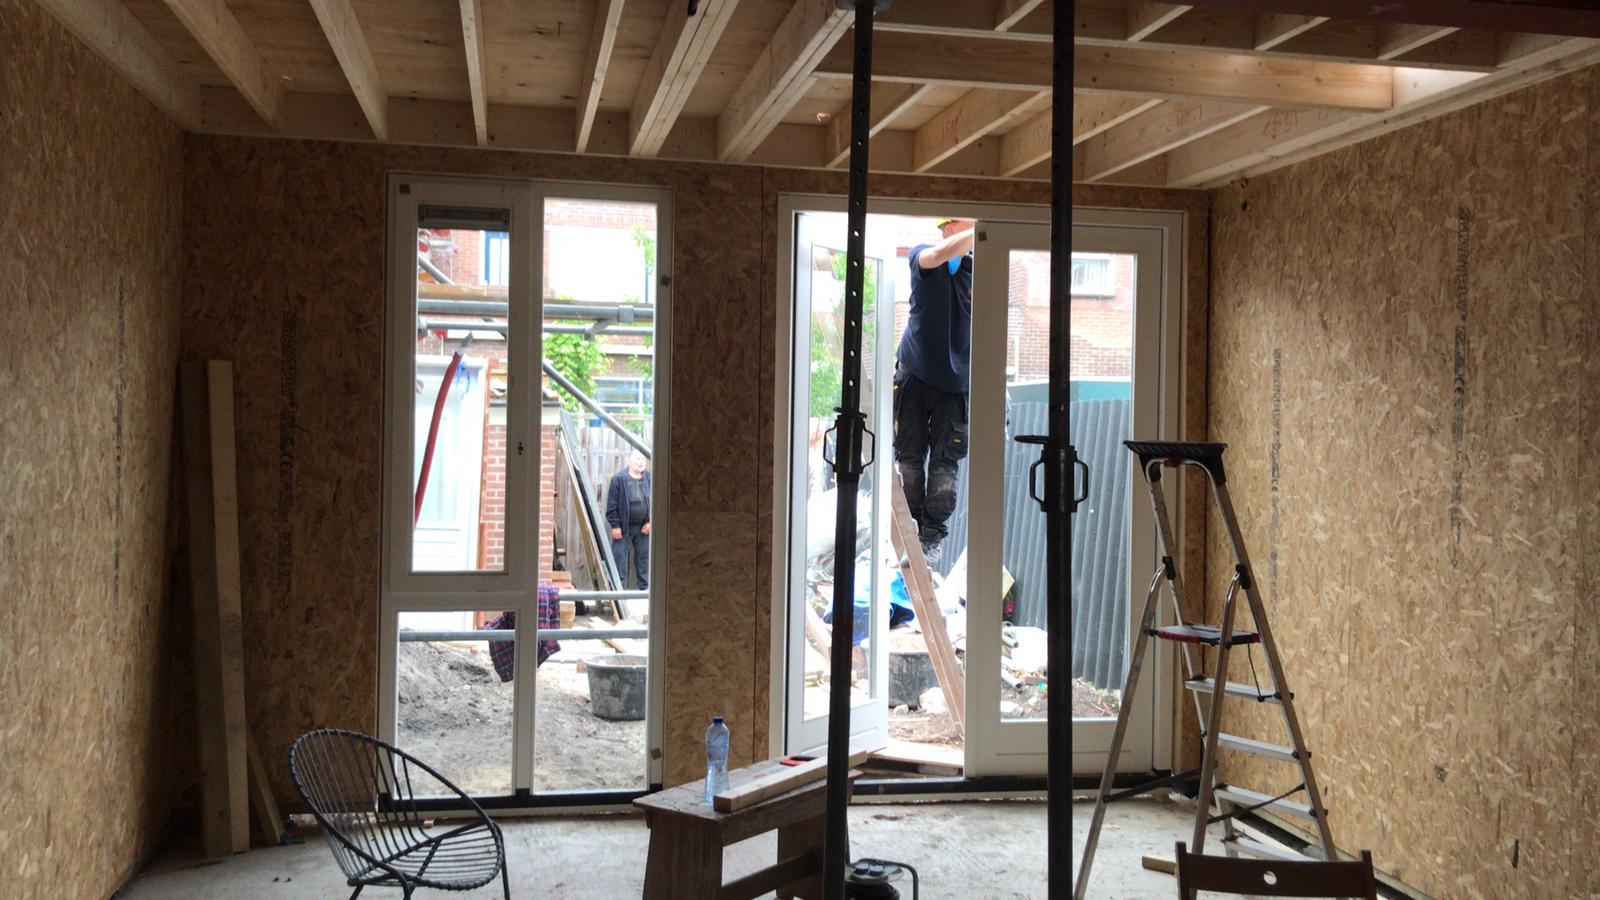
This extension was a shared project with our neighbours, so we coordinated efforts from the start. We began by digging two 3x5 meter excavations, each about a meter deep. A concrete slab formed the foundation, and layers of stone created a crawl space beneath the floor. Once the EPS concrete renovation floor was laid, we prefabricated the wooden frame walls in our workshop. In just one day, we installed all elements, including 28 different window frame pieces.
The final steps involved adding insulation, applying a waterproof membrane to the roof, and making the facade watertight before finishing with the oak cladding. The result was an extension that perfectly balanced functionality, style, and efficient construction.

02/ LIVINGROOM AND KITCHEN
RENOVATION
Livingroom and kitchen
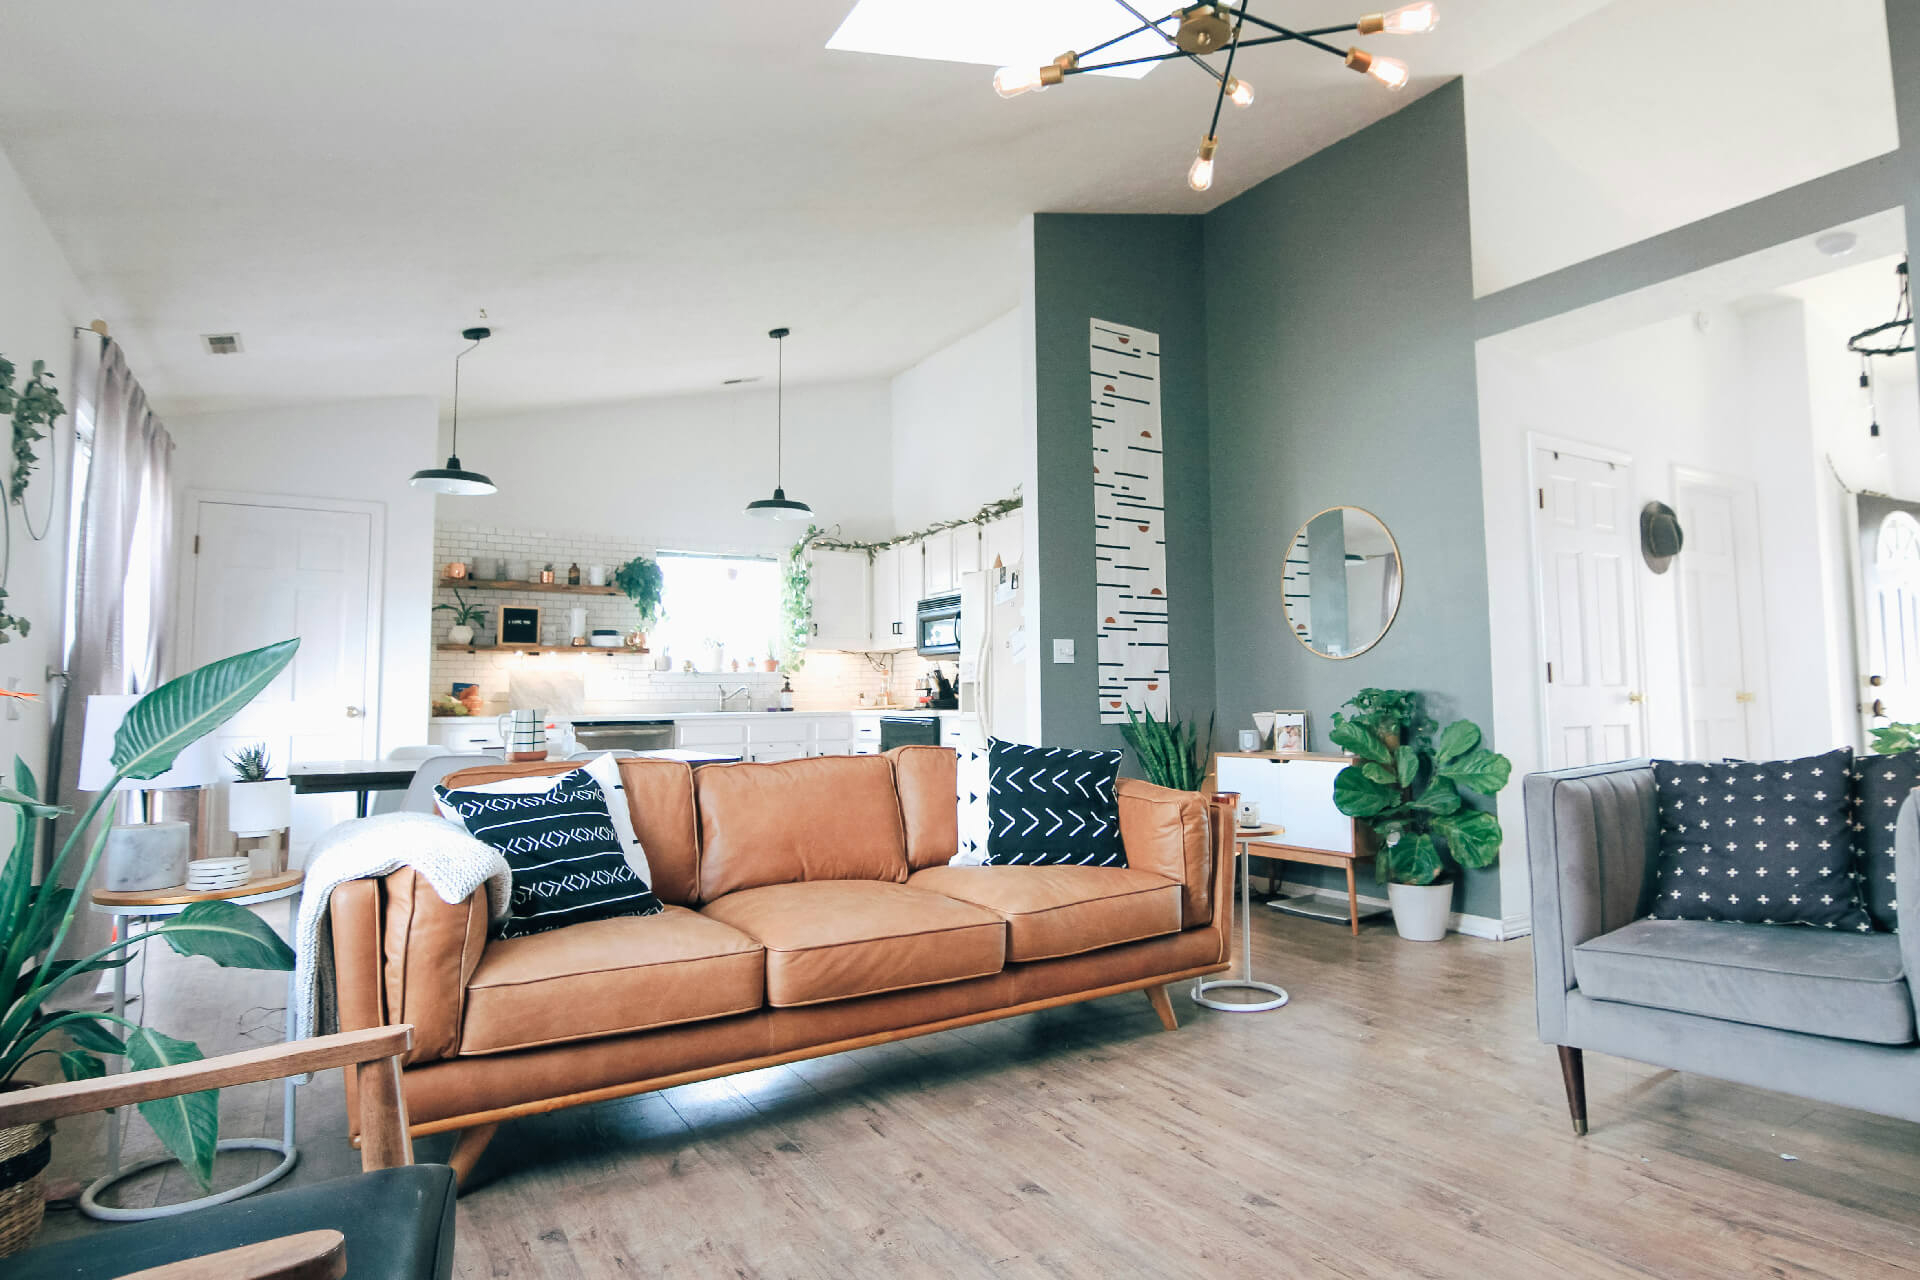
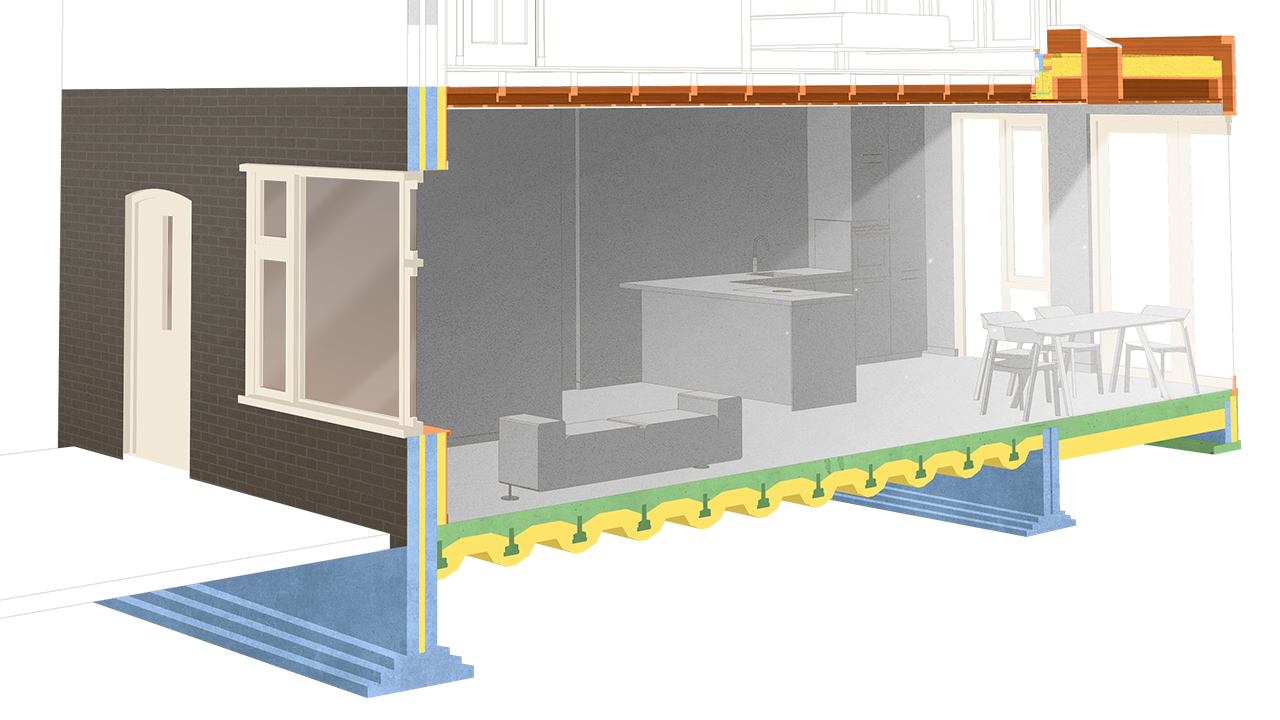
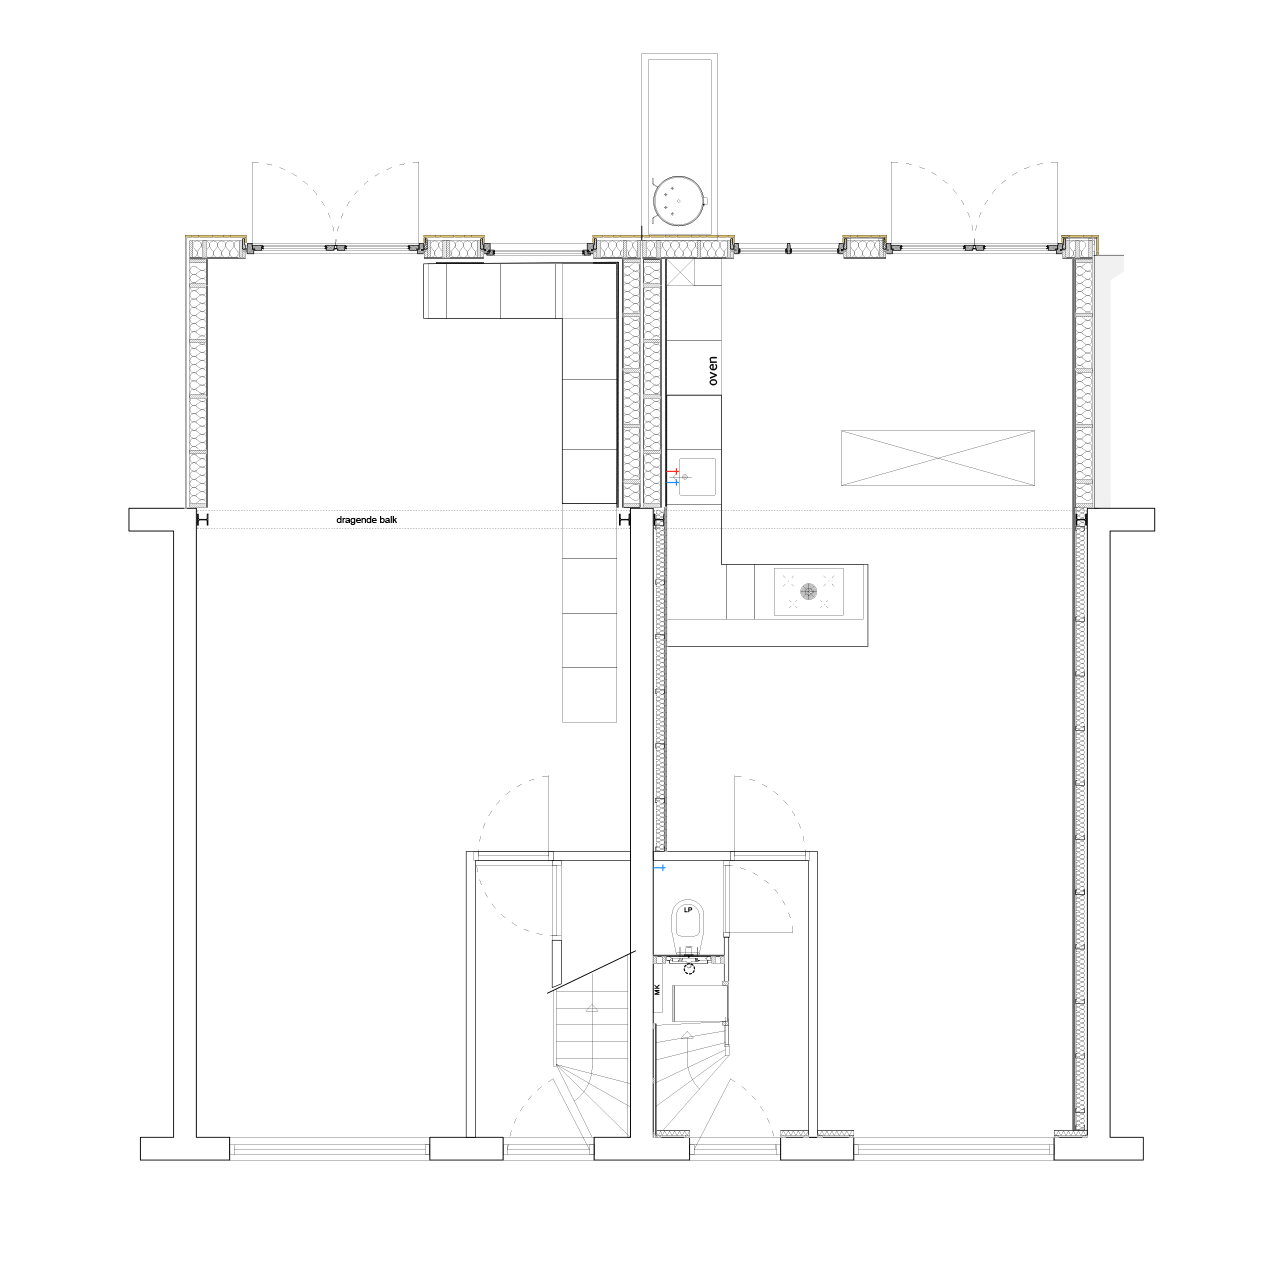
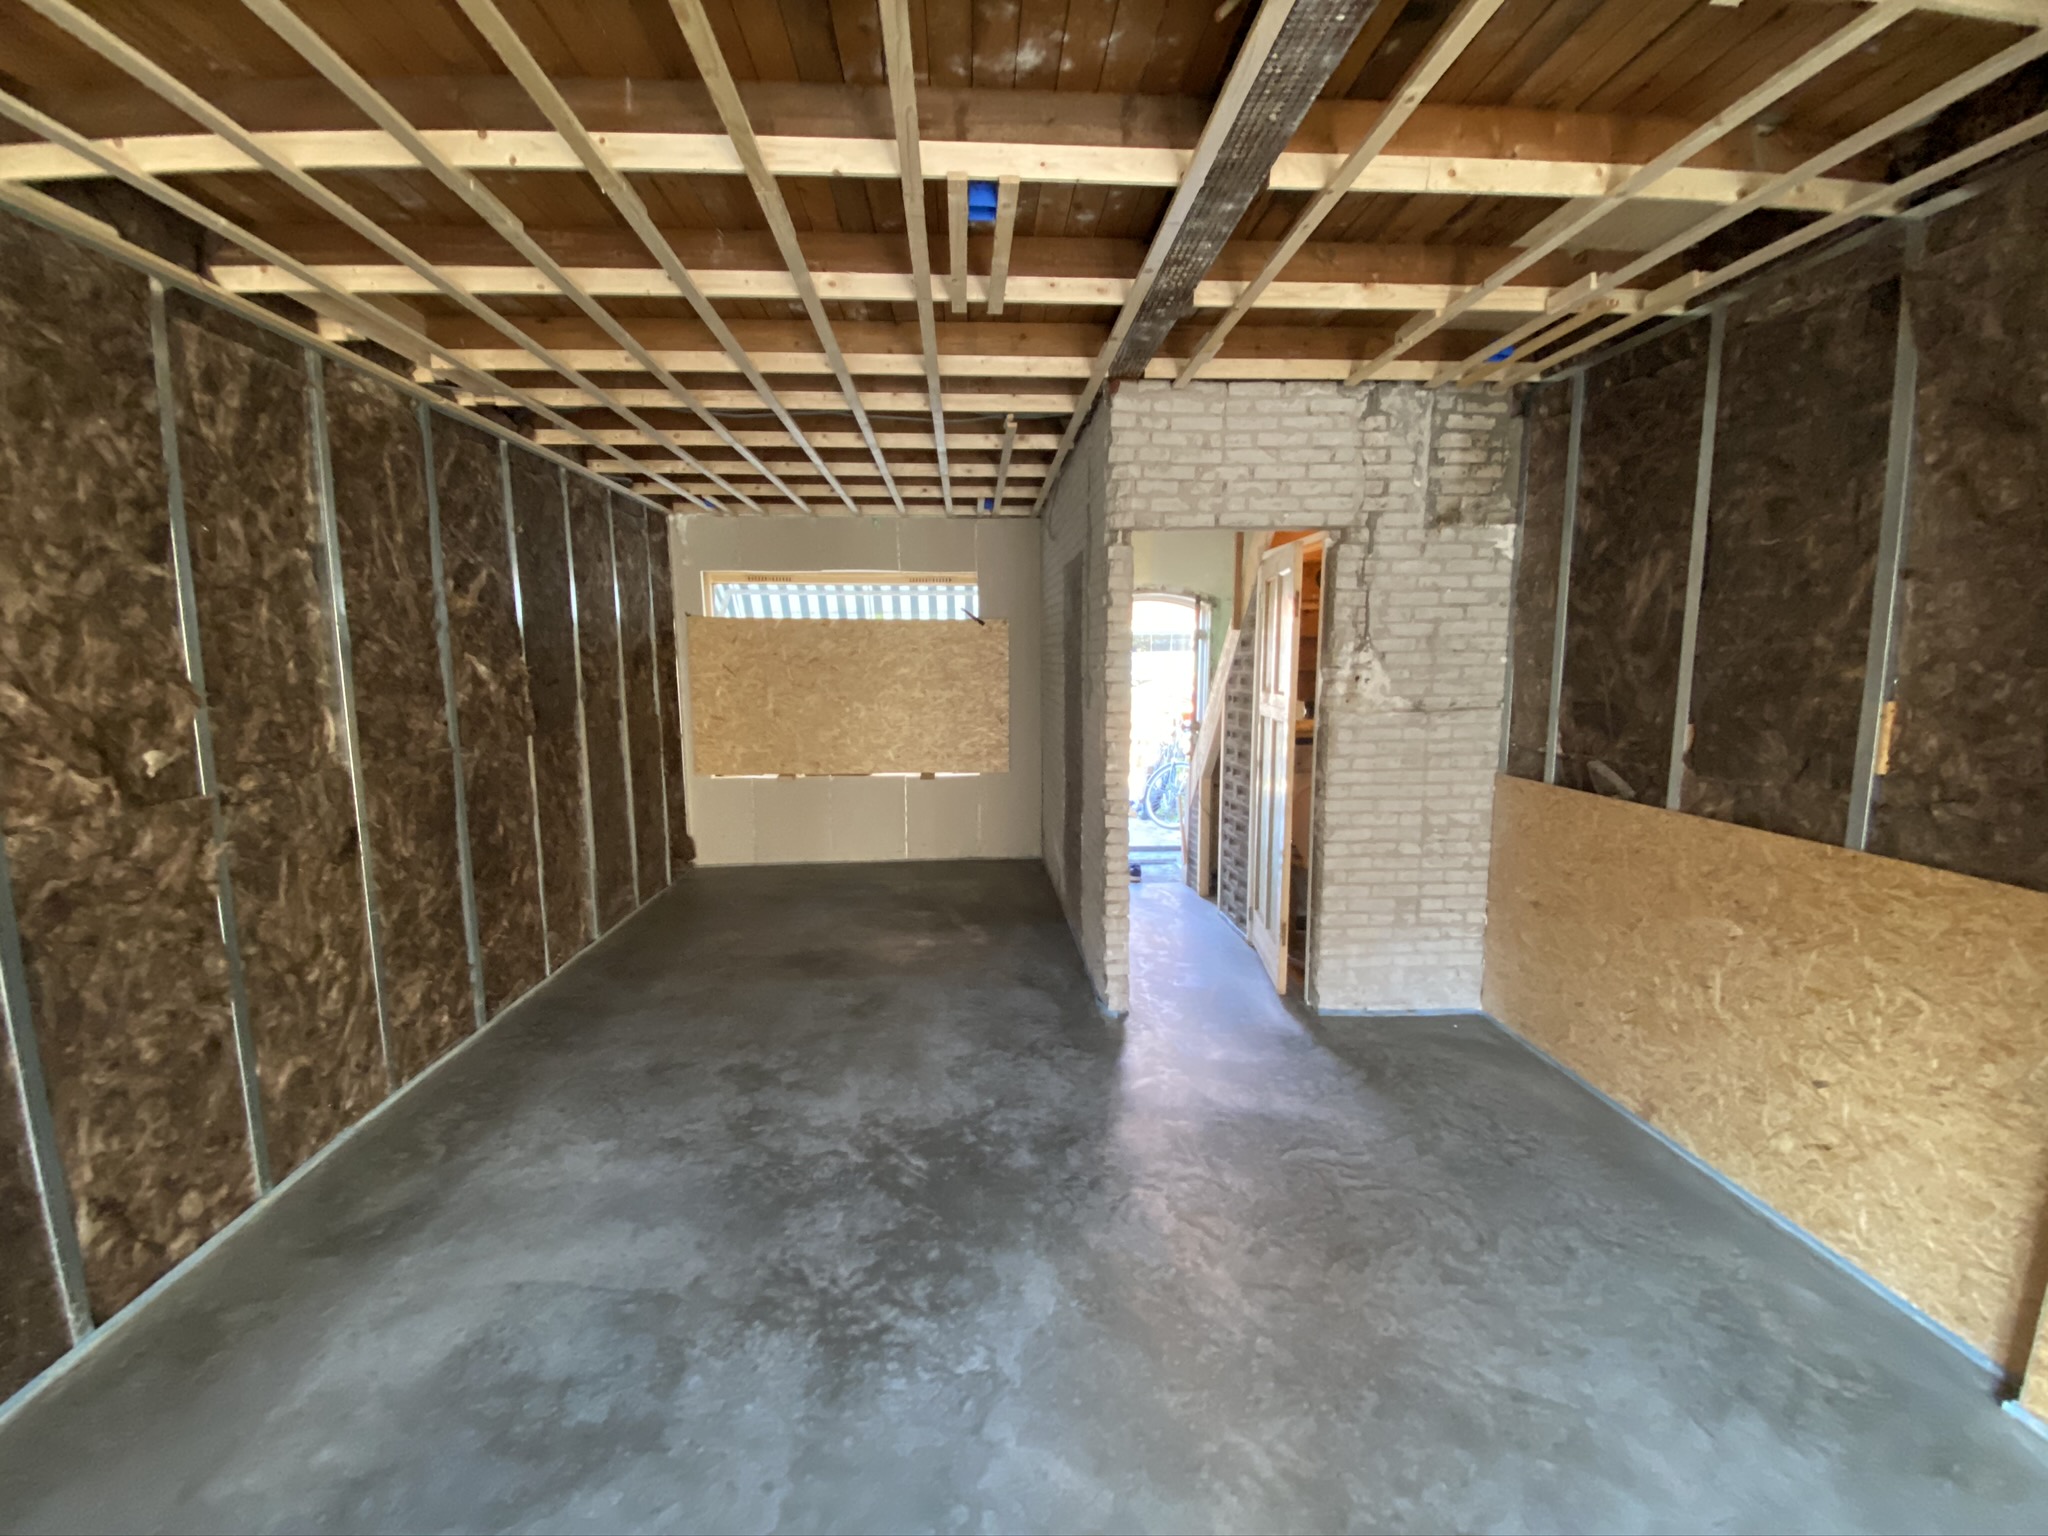
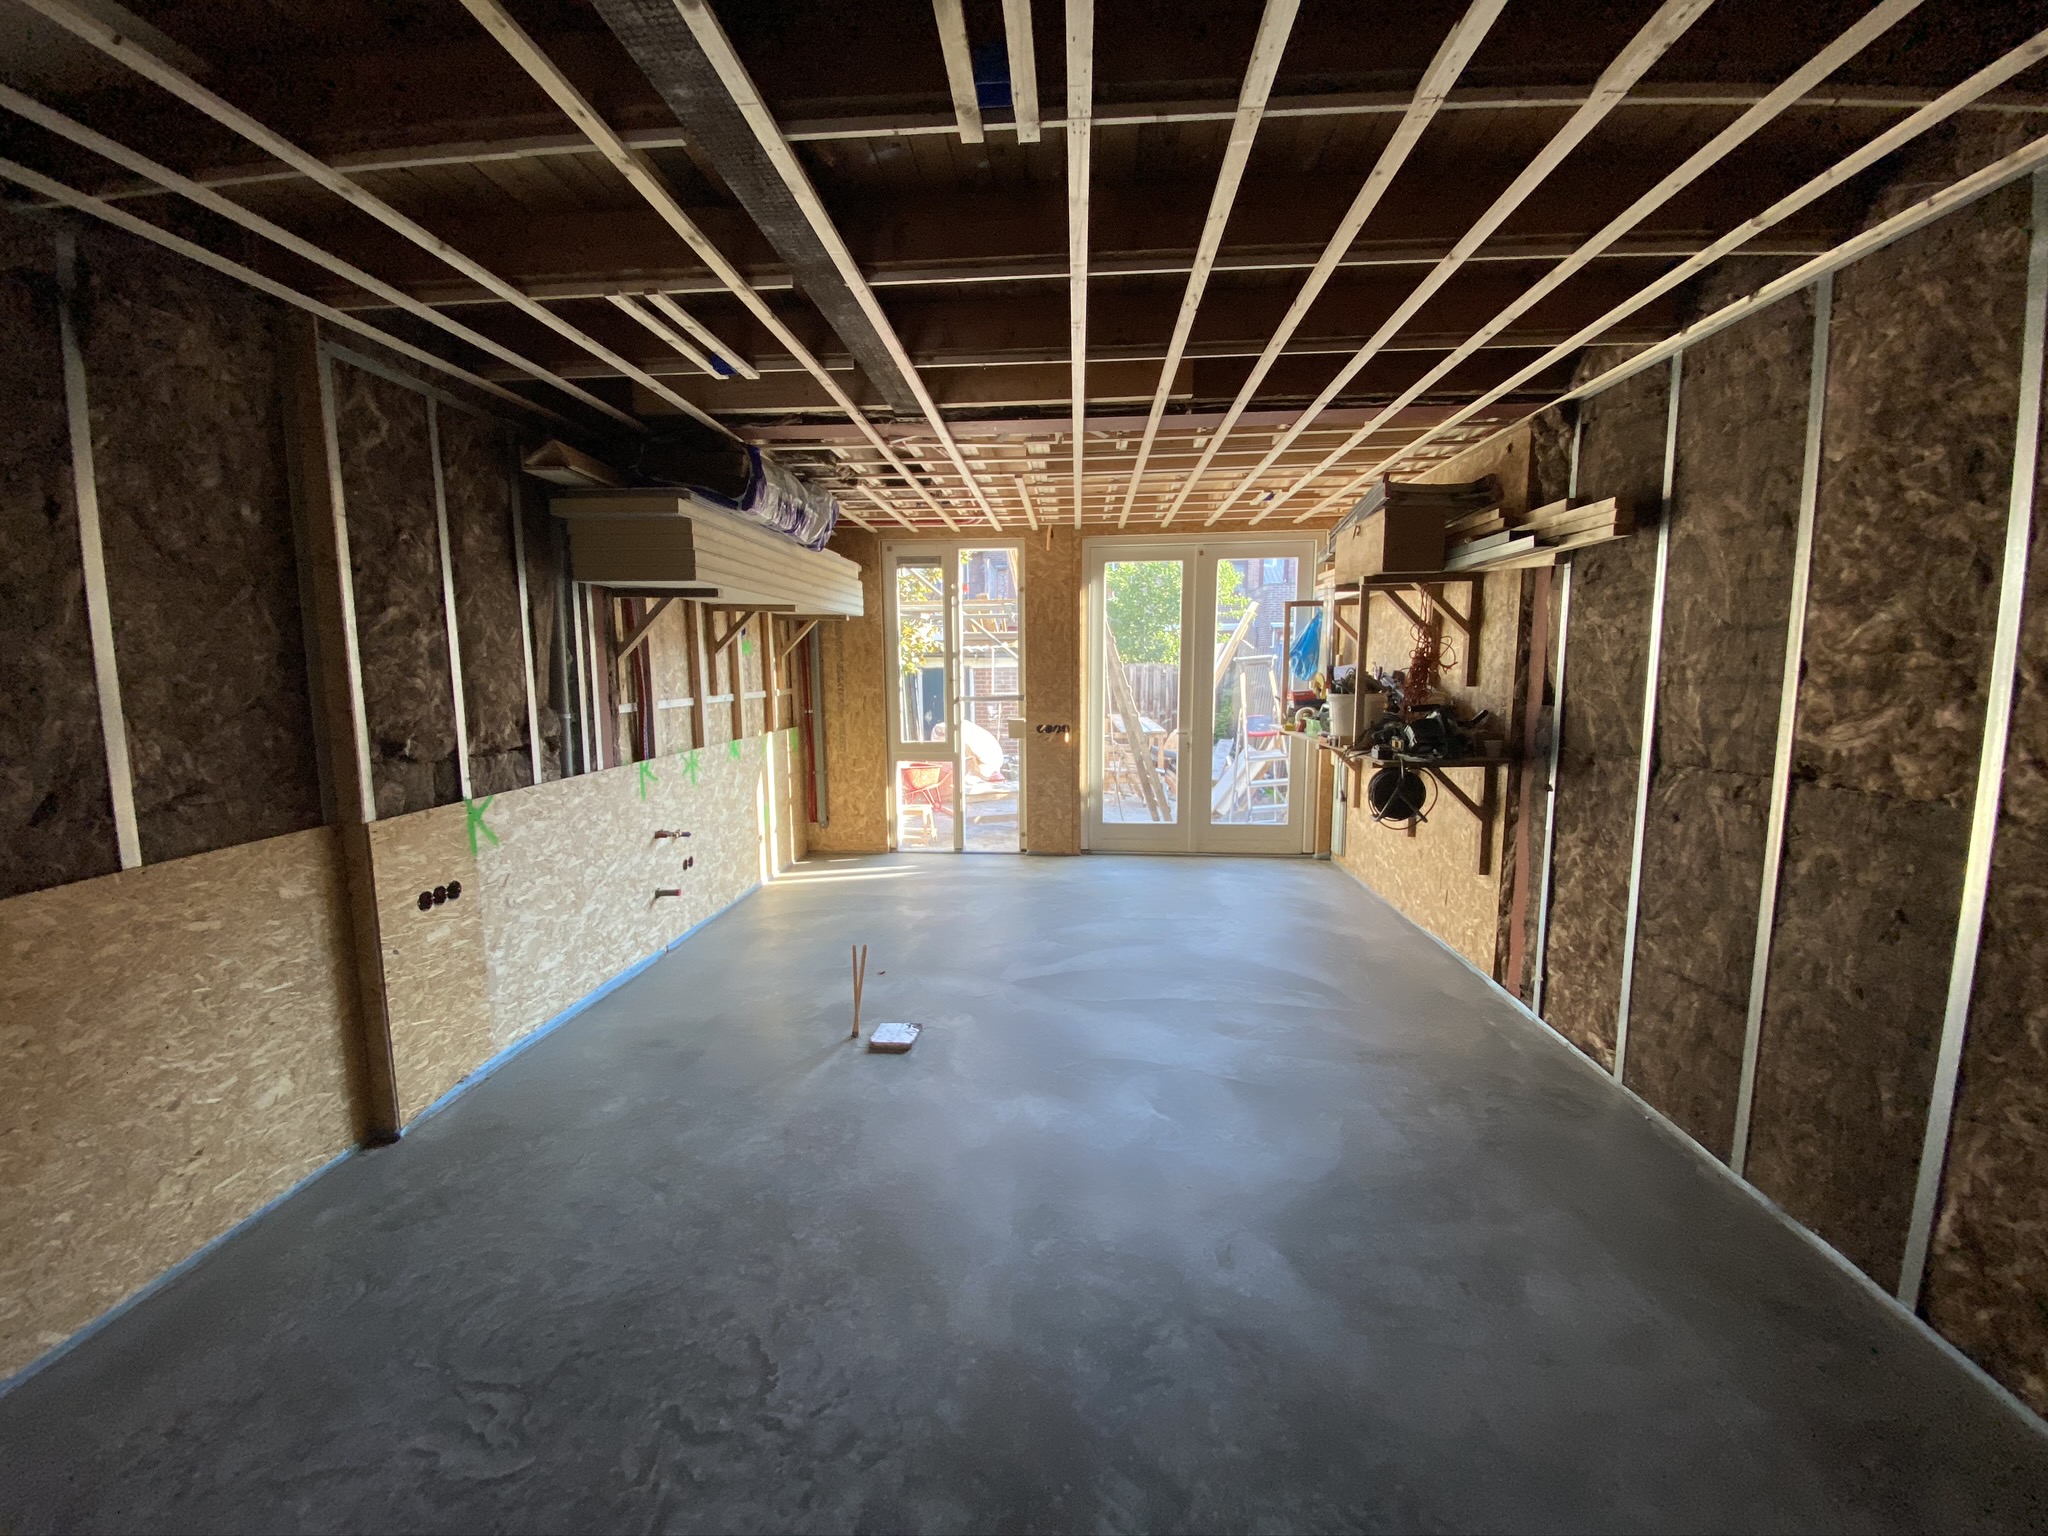
The kitchen is where the magic happens. We wanted an open, inviting kitchen, and after stepping through the hallway, you're greeted by a spacious concrete countertop and polished concrete floor.
Nature Meets Modern
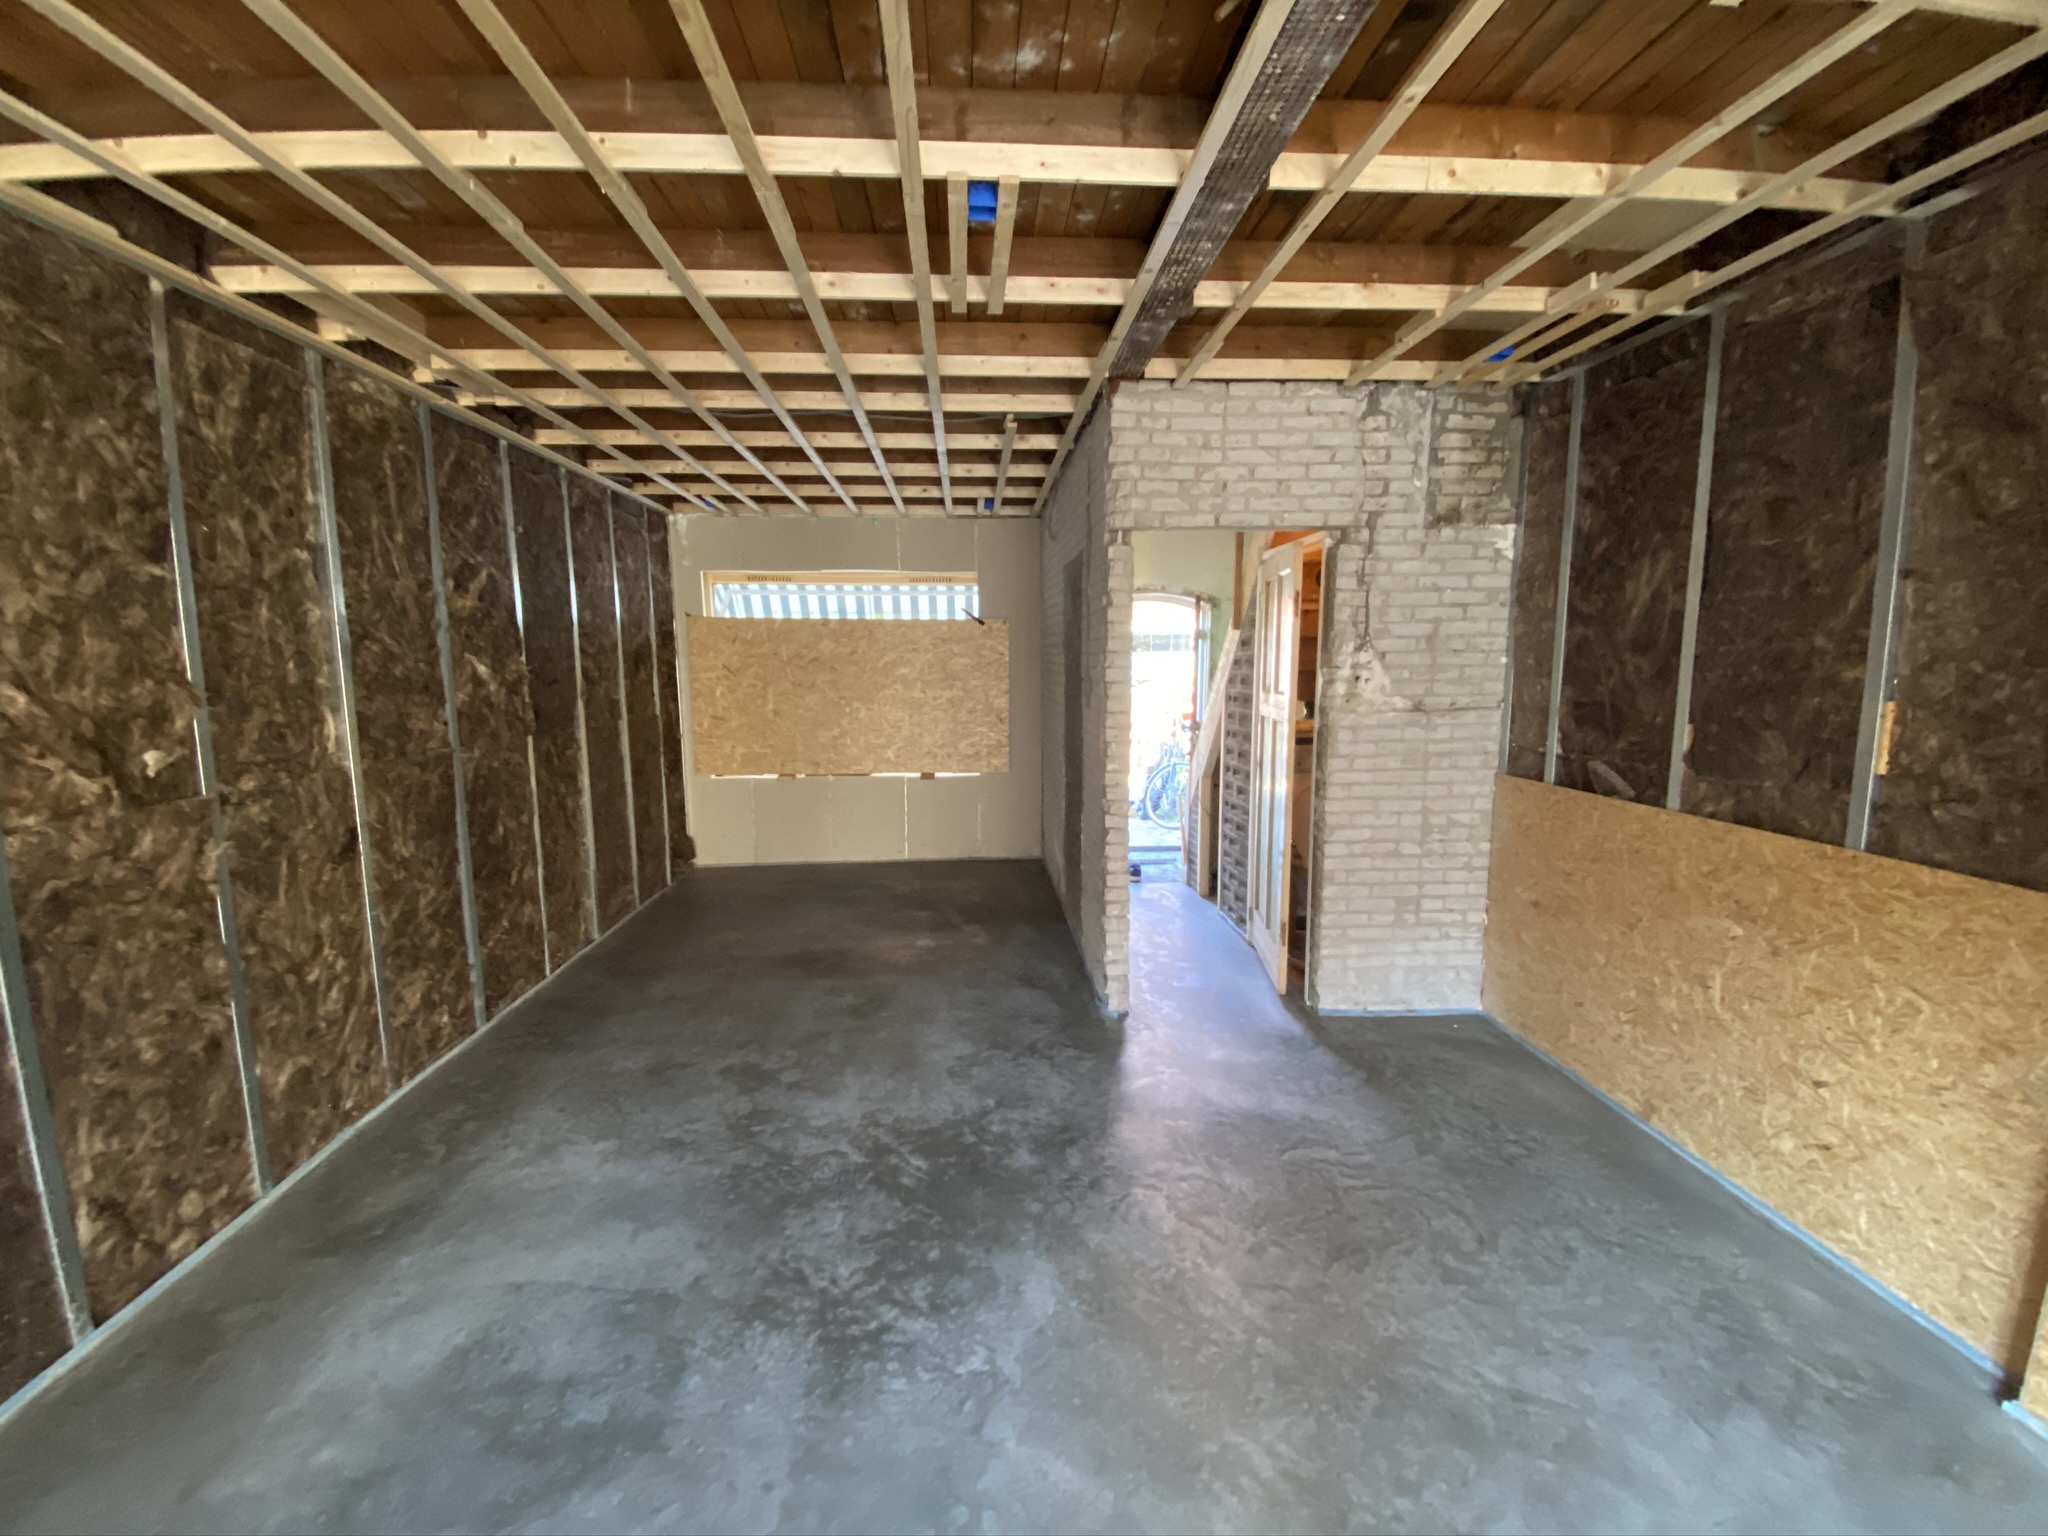
The ground floor was a major focus of our renovation, blending the classic 1930s character with modern practicality. We started by demolishing everything down to the structure to understand the building fully and ensure a solid foundation for what came next.
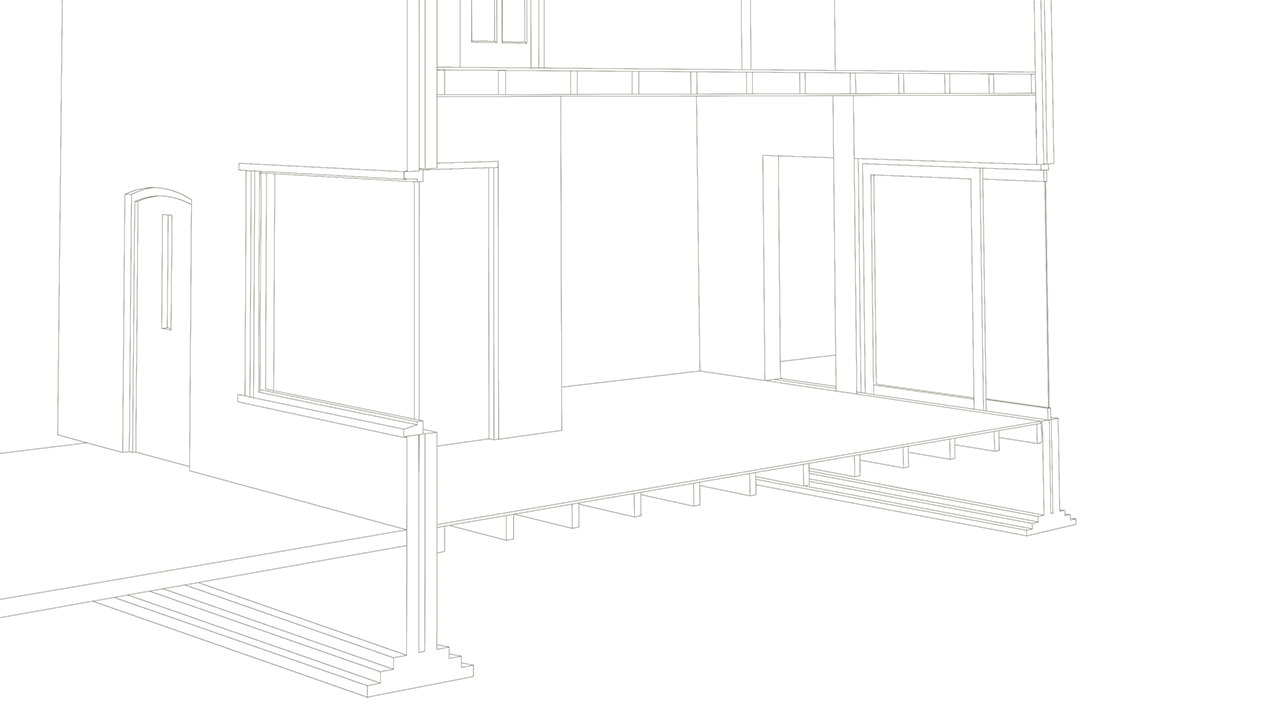
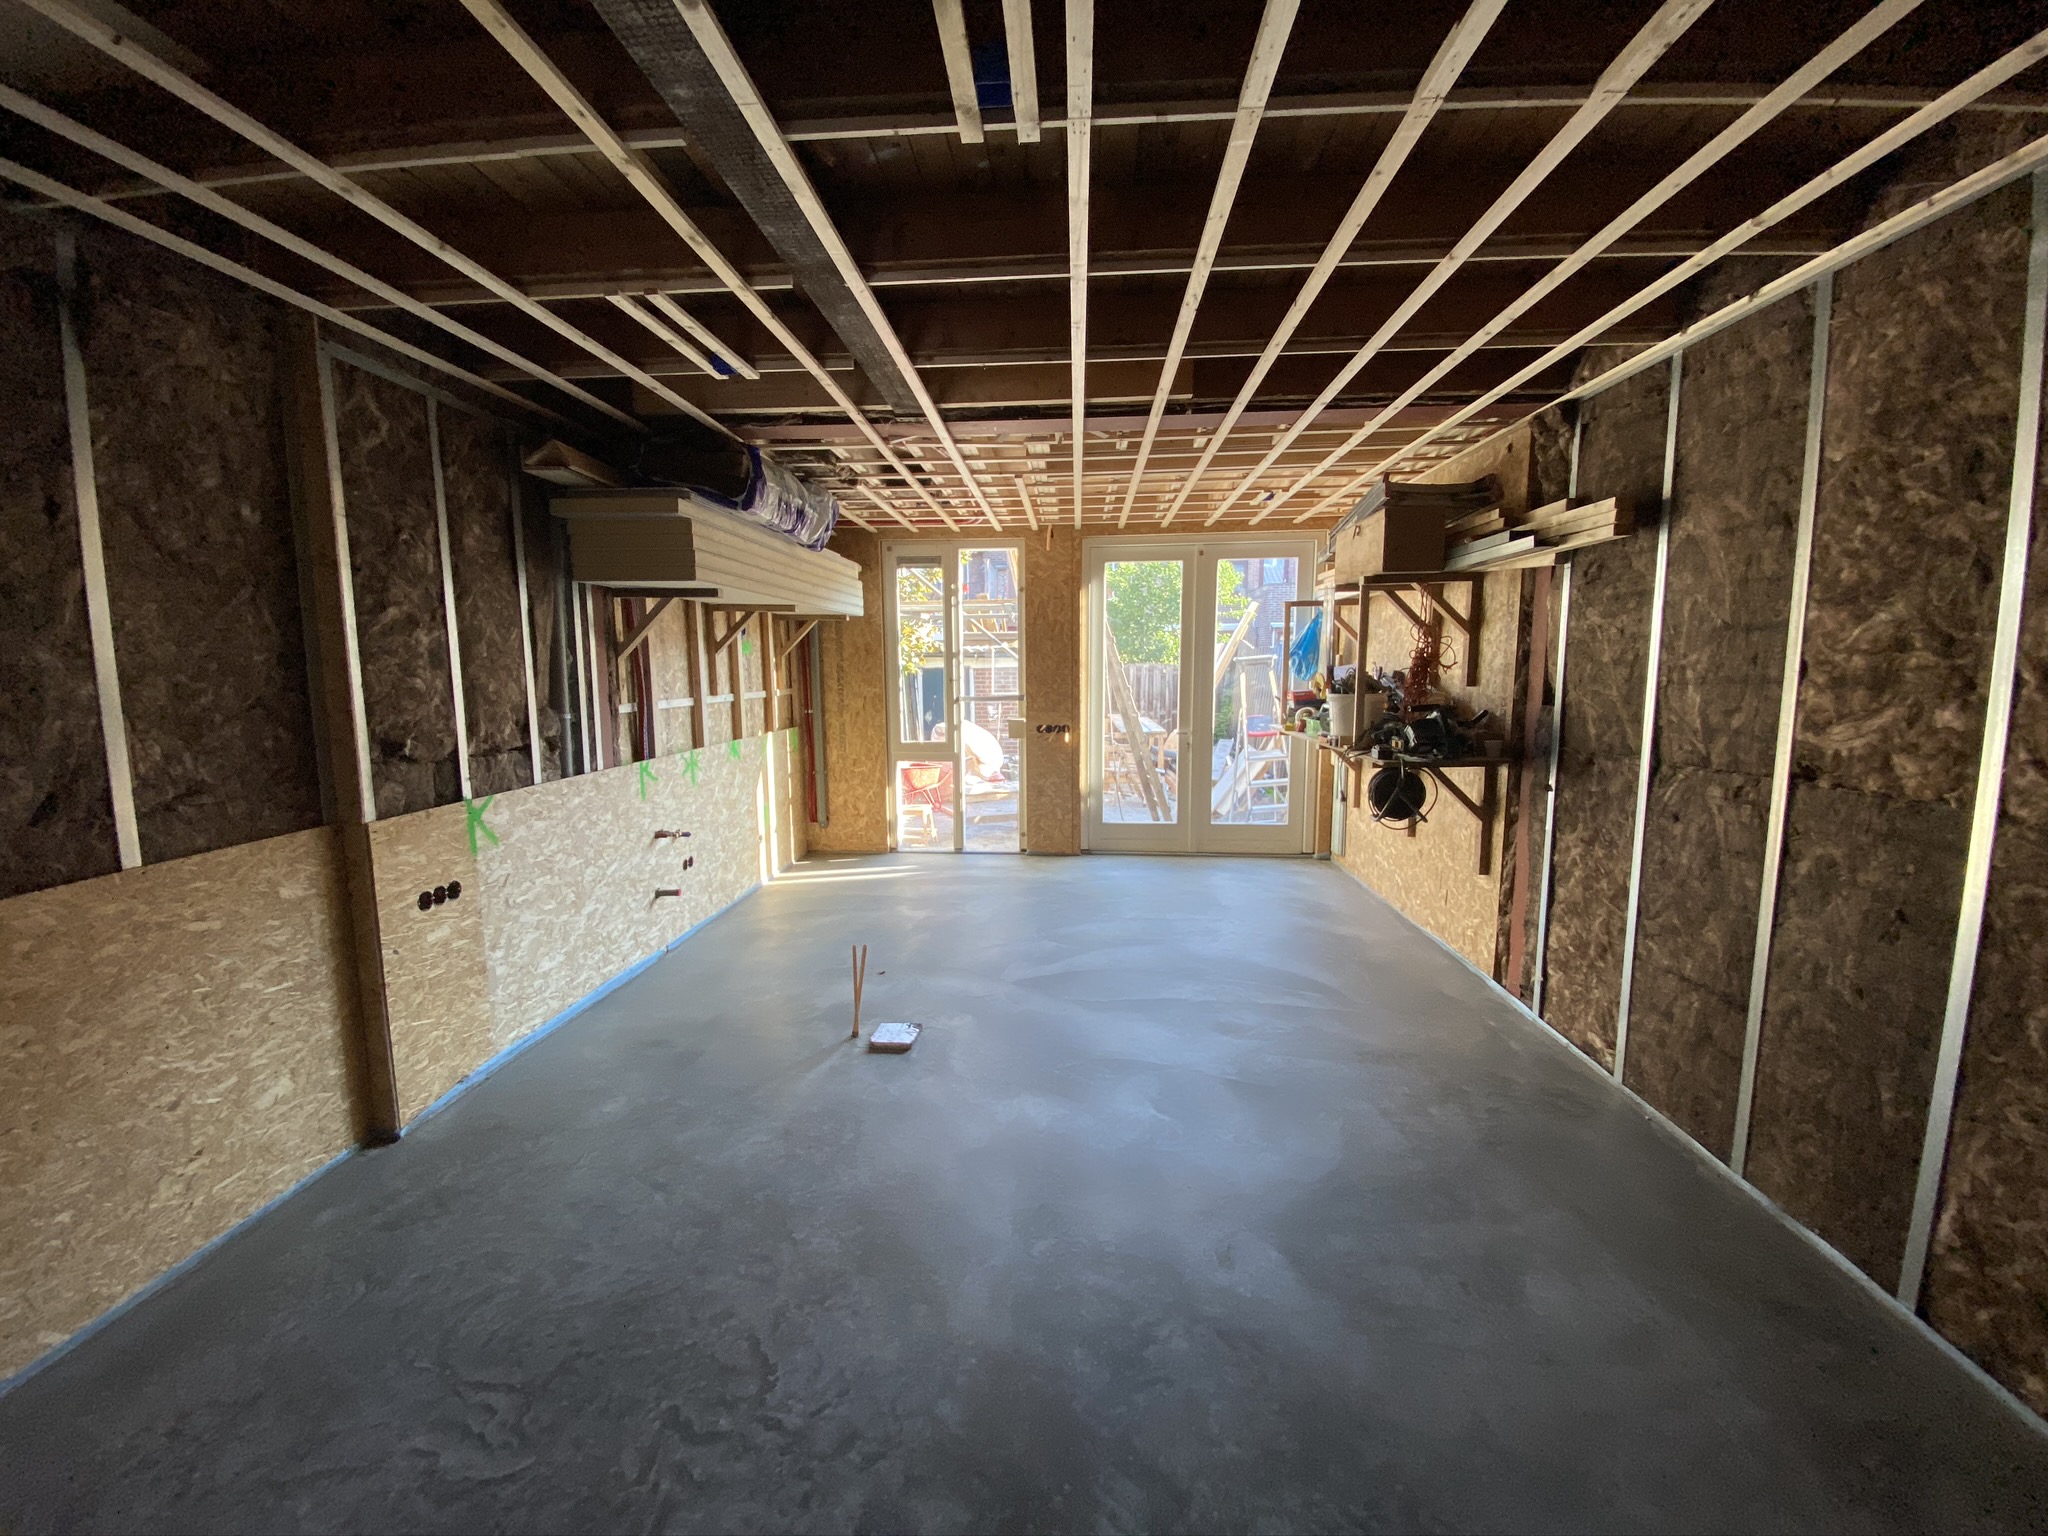
During the summer, we laid a concrete structural floor with EPS insulation to ensure durability and sustainability. On top of that, we poured a polished concrete floor with built-in underfloor heating for extra comfort and warmth—a durable solution that would last.
Preserving the original style, we replaced the front window frame with a vintage design to match the house’s 1930s look. Around spring, we extended the back of the house to create an open, light-filled space with a 2.75m high ceiling and large windows. Adding a skylight enhanced the natural light, making the space feel even more expansive.
The kitchen renovation kicked off in mid-2020, focusing on practical and clean design. We started with the layout and cabinets in June, ensuring they were installed before moving on to the concrete countertops—a challenging new experience that required precision and patience. The finished concrete surface added a modern and durable touch to the kitchen, balancing the vibrant green cabinetry. By fall 2020, the kitchen was fully operational, turning into the central hub of our daily life where we cook, eat, and gather.
Along the kitchen to the living area is a long wall covered in Radiata pine treated with Douglas oil stain. This wall runs through both spaces, adding warmth and continuity to the overall design.
The front room became a cozy 3x3m living area, connected to the open kitchen. With the essential construction complete and all final touches added, by the end of 2020, the ground floor reflected a blend of functionality, sustainability, and style that brought our vision to life.
03/ THE ATTIC
NEW BUILD
The attic & dormer
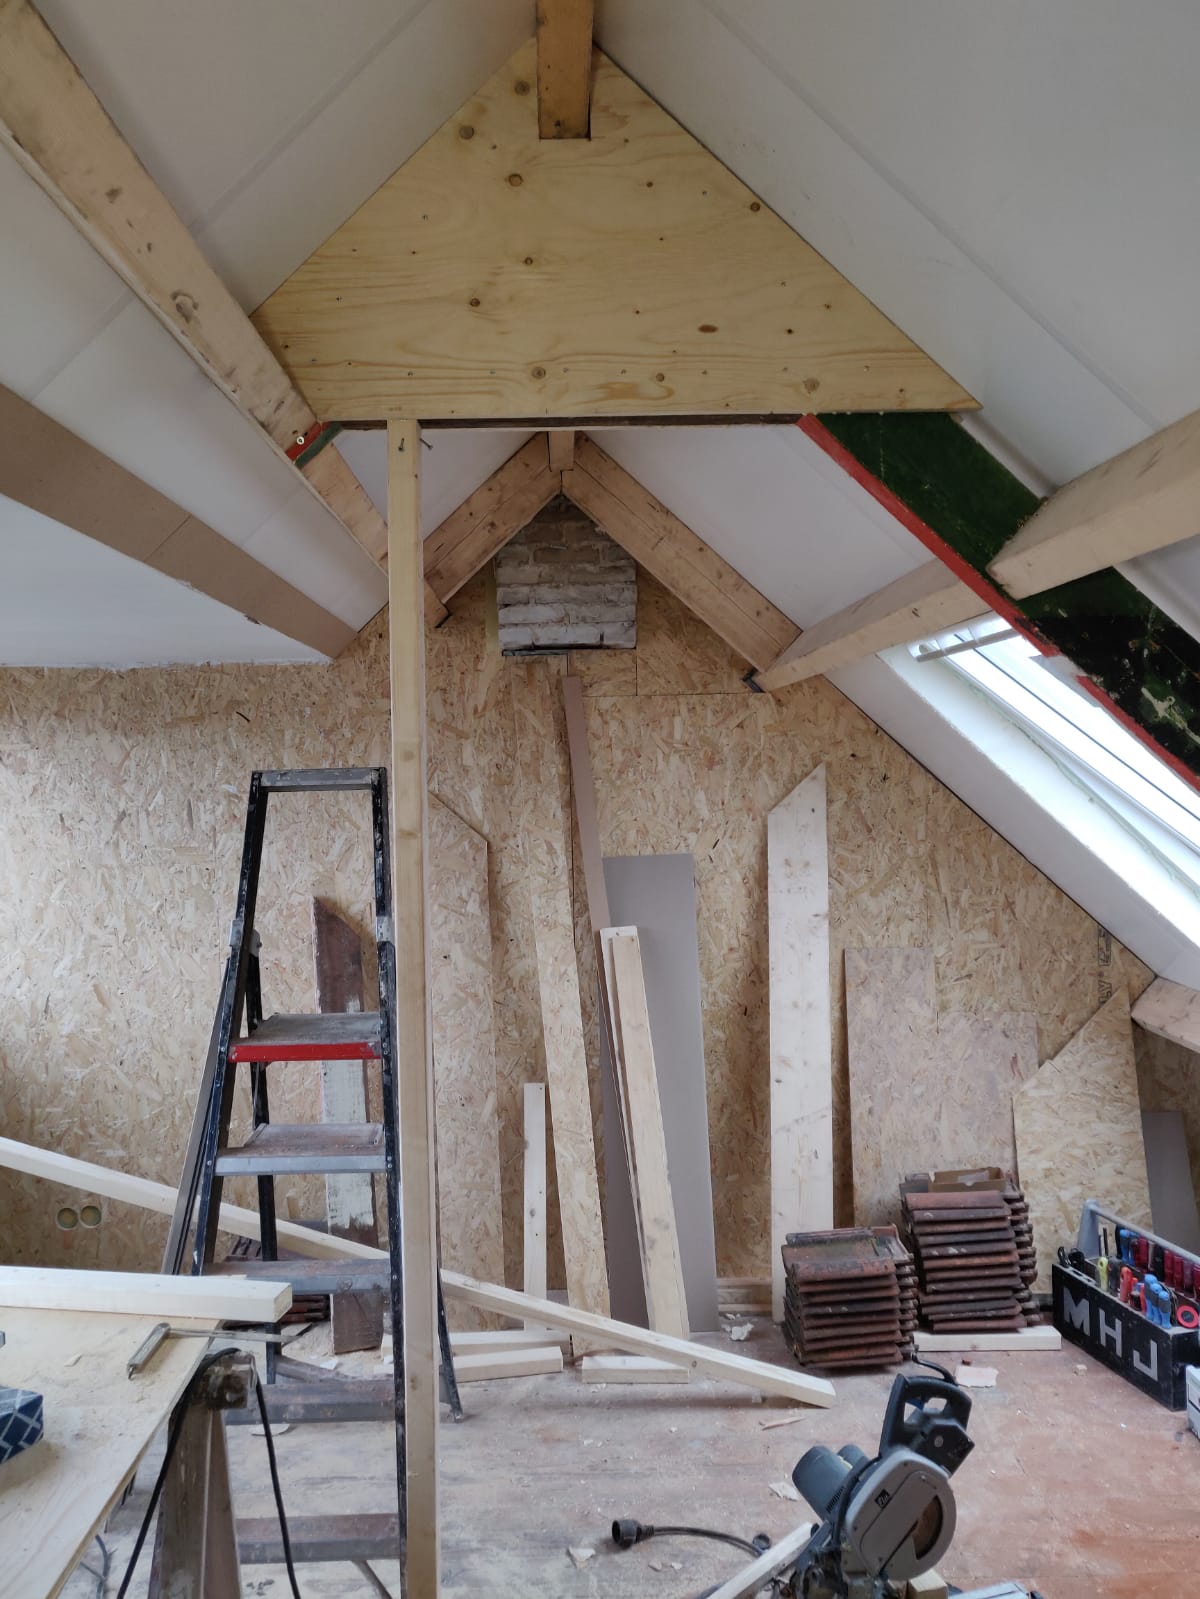
The attic upstairs was a total mess—dirty, filthy, and leaking. We needed to do something about it. Gaps in the dormer allowed things to be tossed outside freely, and the roof itself wasn't any better.
Nature Meets Modern
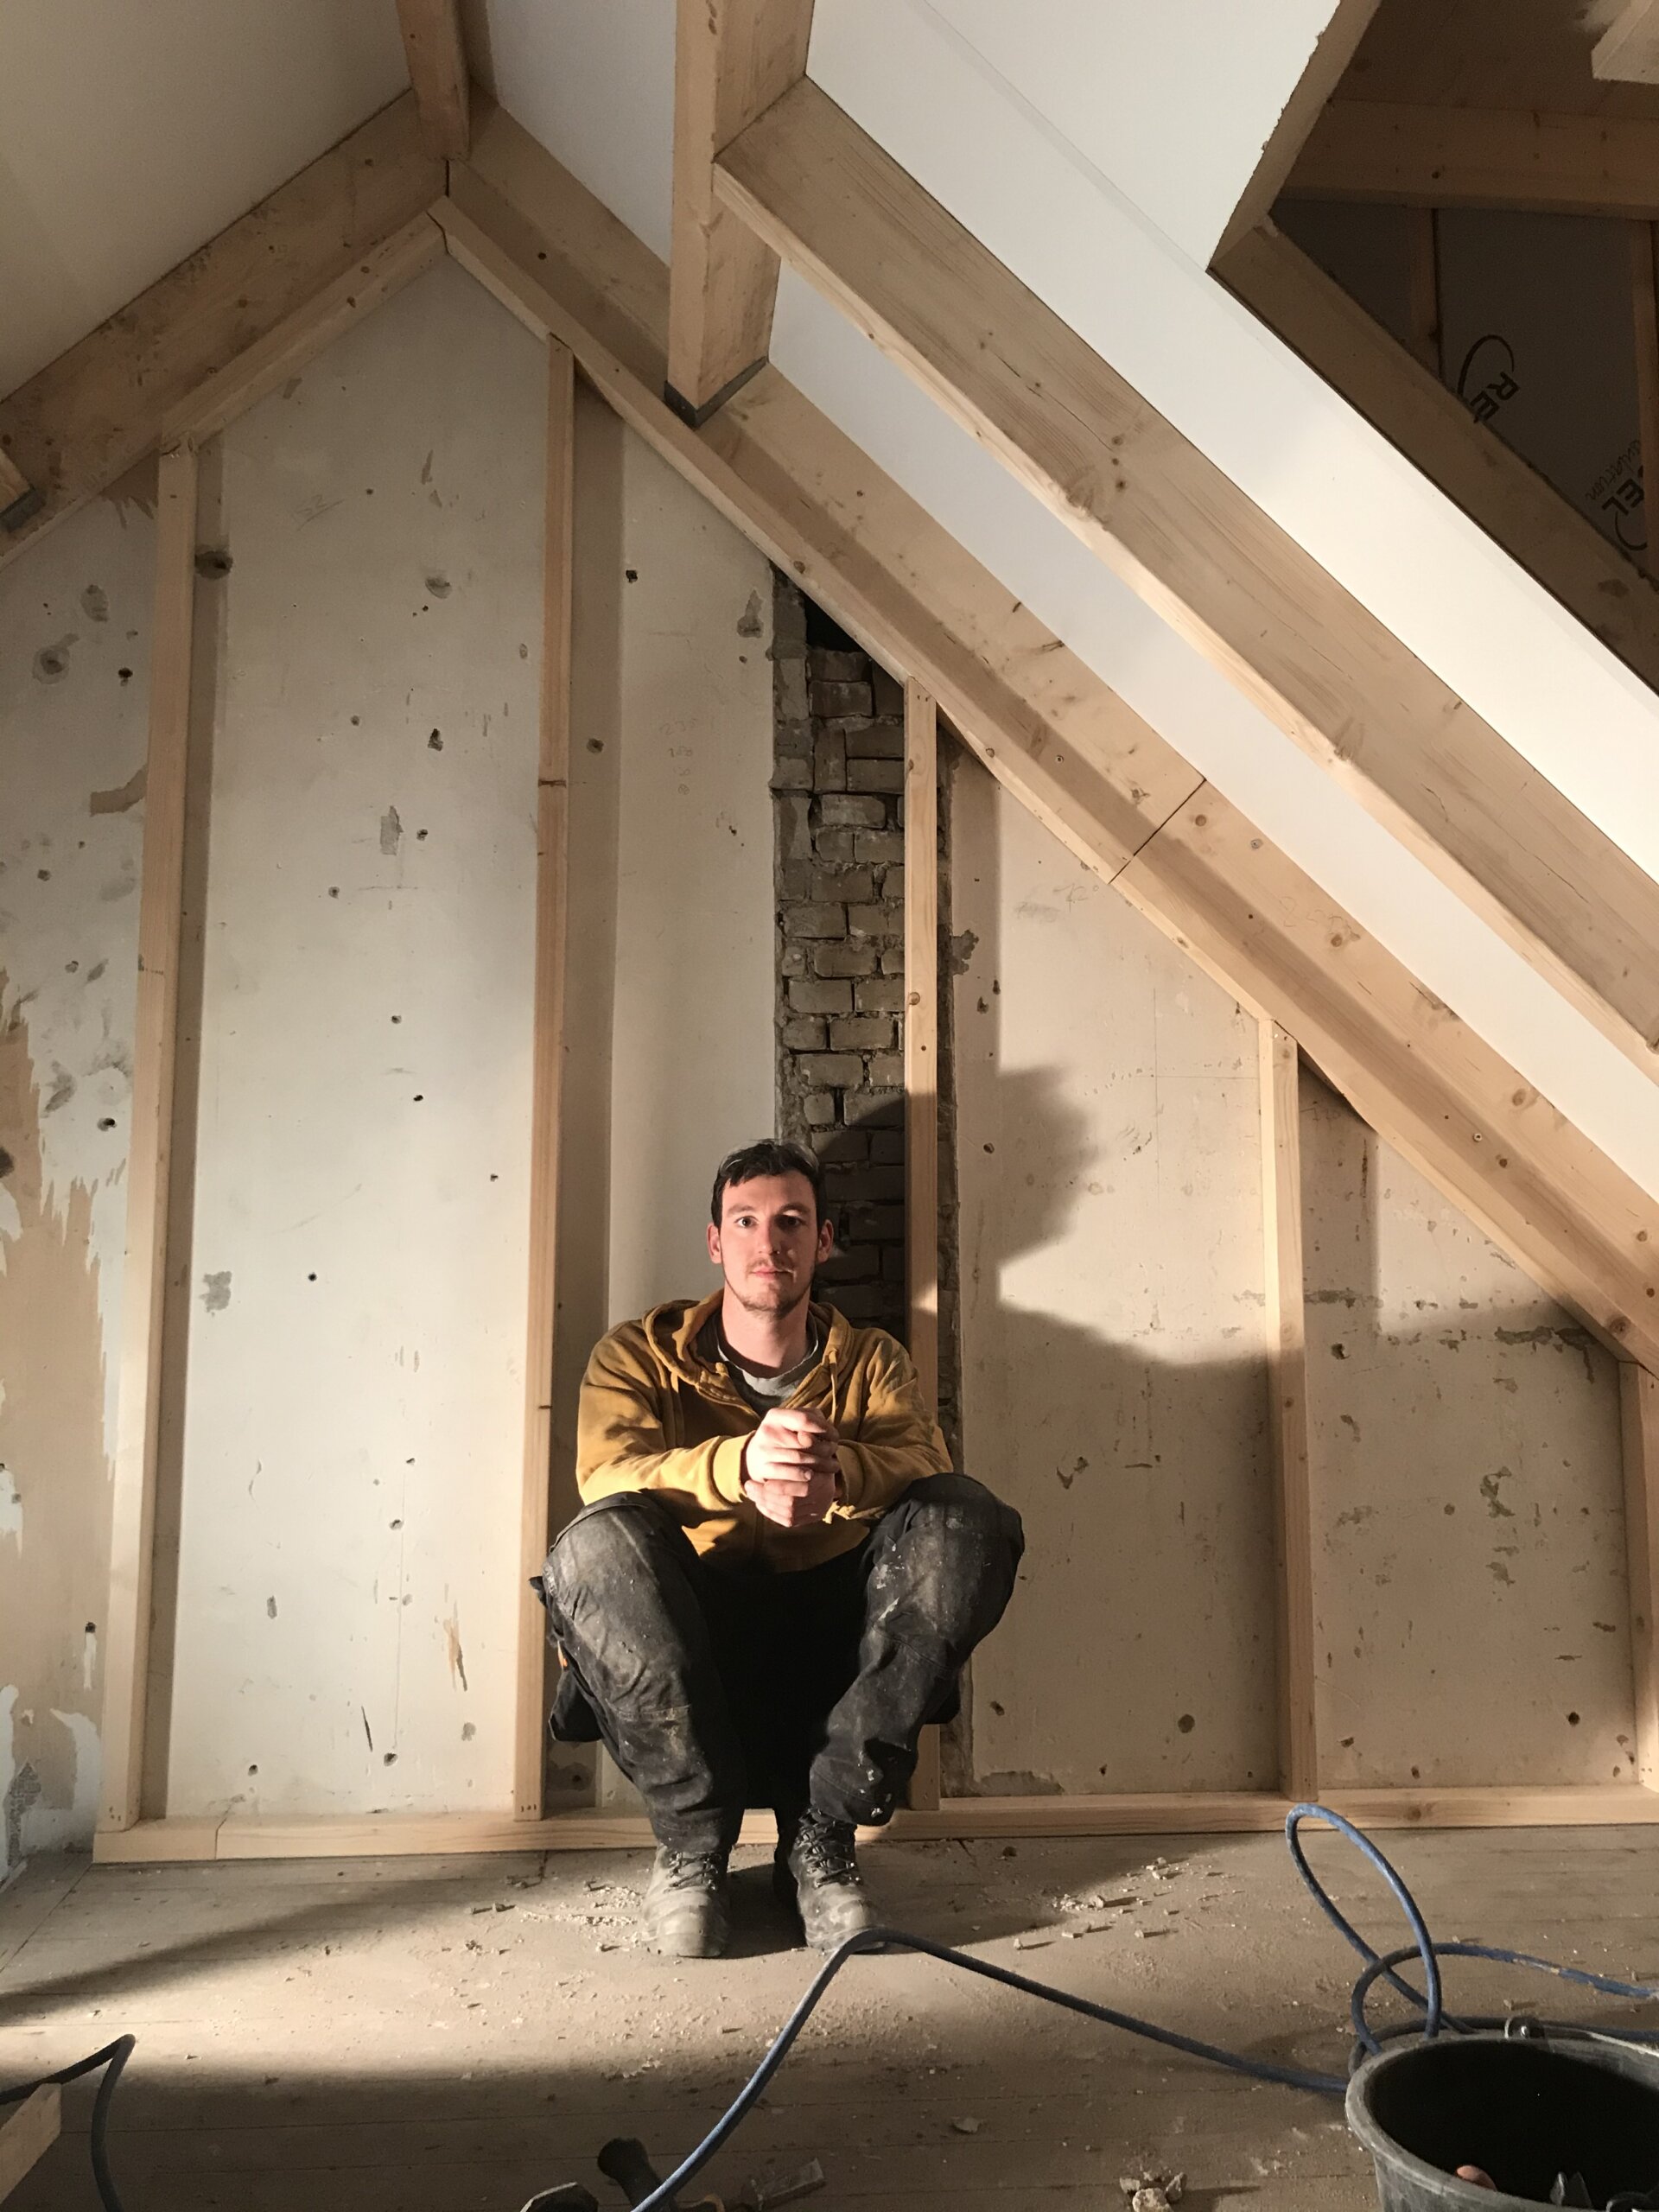
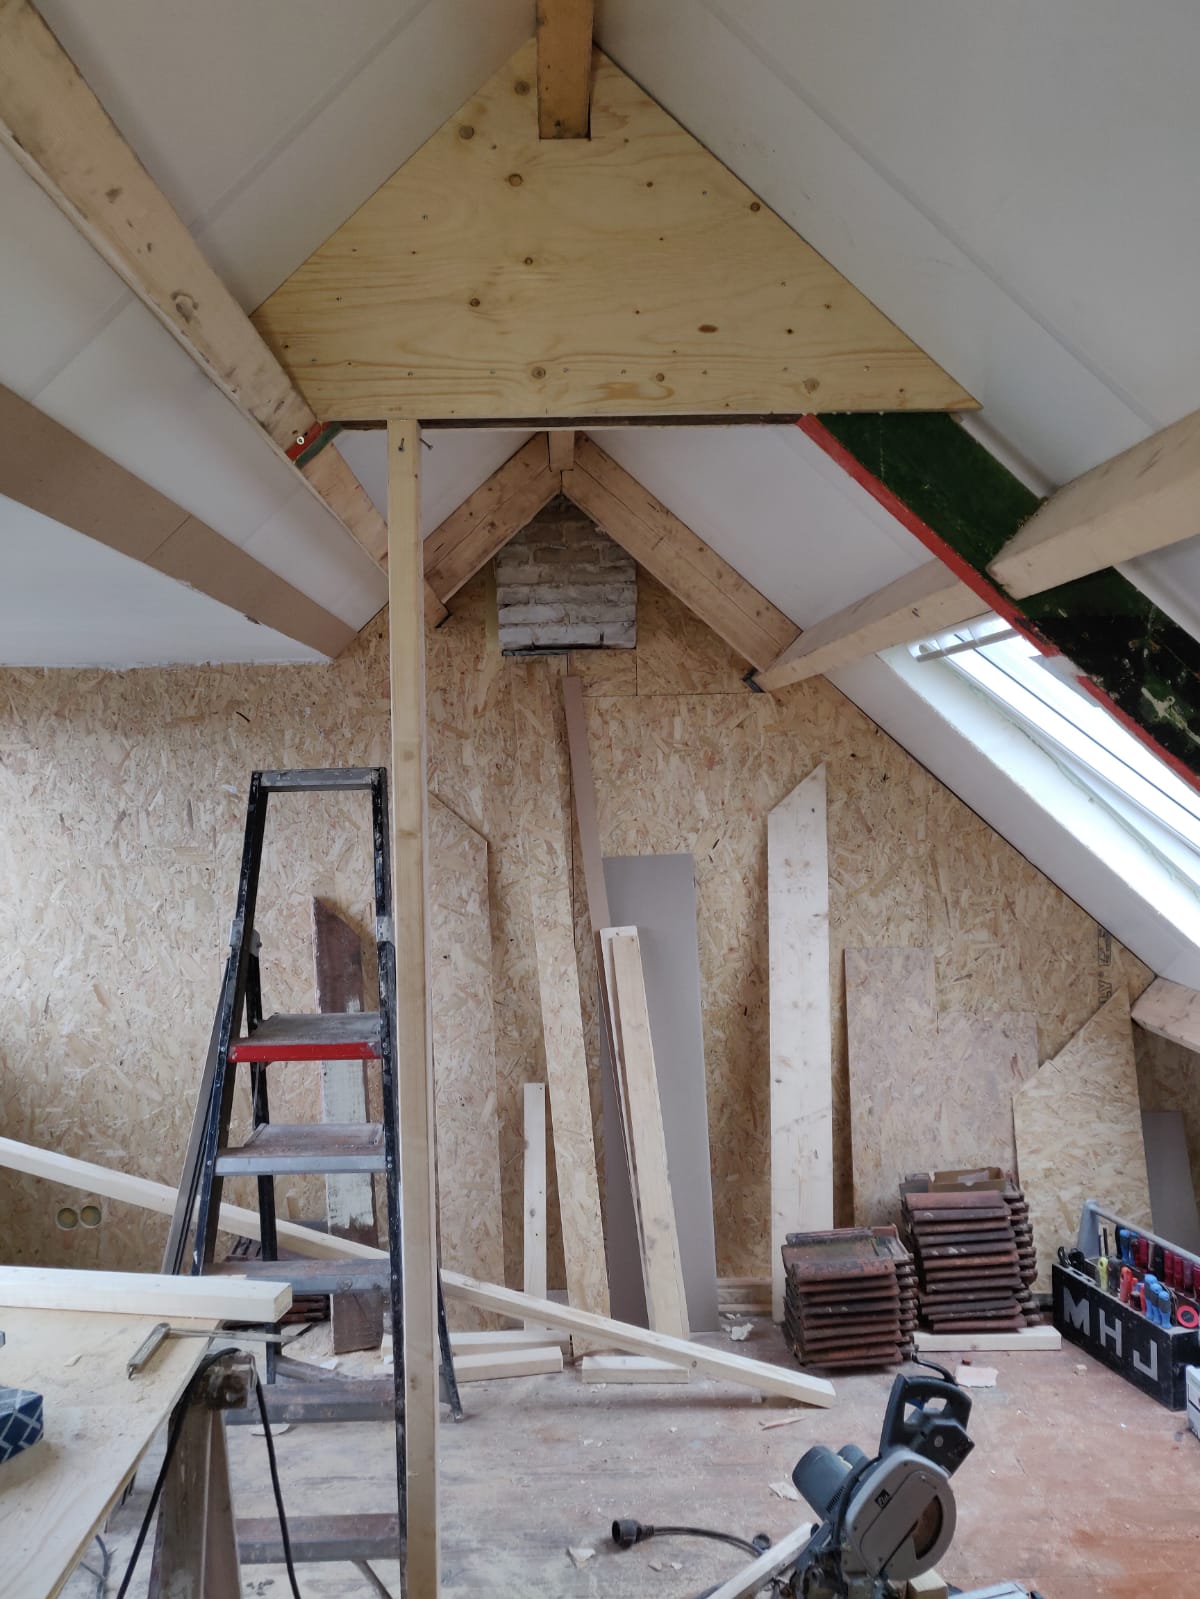
The attic was in bad shape when we started—dirty, leaky, and covered in pigeon droppings from the previous owner. Gaps in the dormer let in the weather, and the roof itself needed a complete overhaul. Despite this, we decided to turn the attic into our living space during the renovation to reduce rental costs.
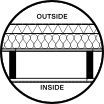
We opted for a well-insulated new roof, removing the old one entirely. A new wooden structure was built, and we installed 140mm PIR roofing elements for proper insulation. In just four days, we demolished and rebuilt the roof, added a prefab dormer and Velux window, and reused all the original tiles.
The new roofing elements sit on top of the structure, aligning with the neighbouring roofs. This required insulating both the interior and the shared party walls. The attic is now the brightest and sunniest room in the house. The dormer at the back provides a view over the gardens, and a tilted window in the front brings sunlight in from the street. It has become our go-to space for work and hobbies.
04/ THE BEDROOM
RENOVATION
The bedroom
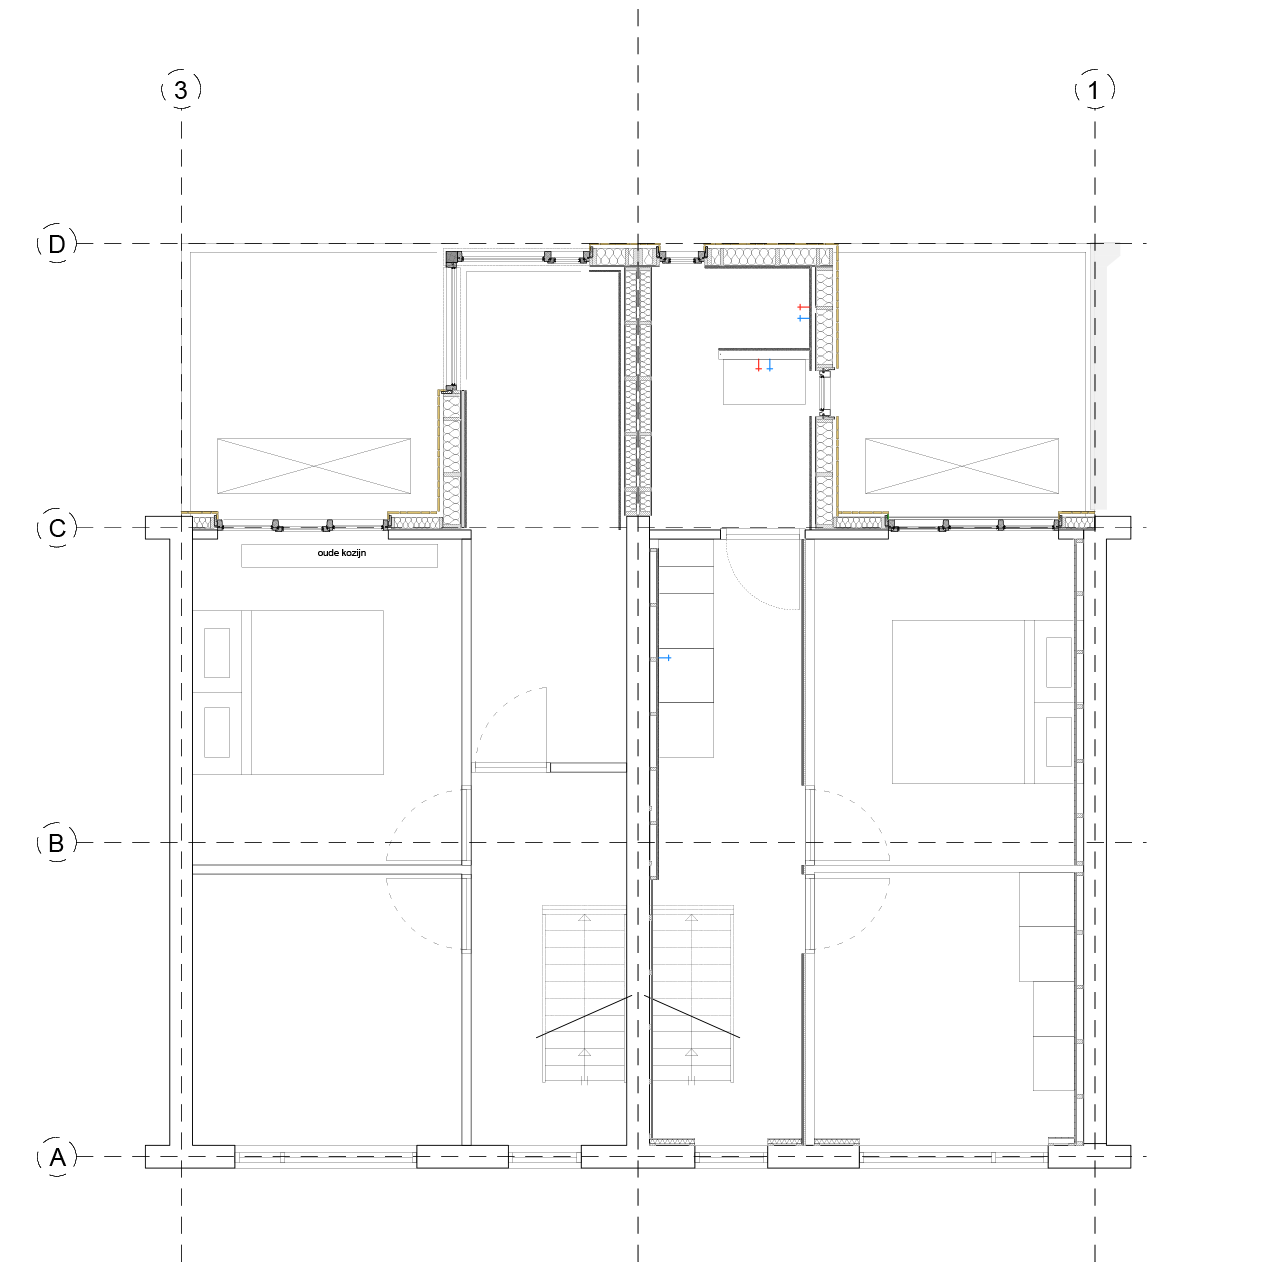
When we first explored the house, we found the ceiling height at 2.2m—a bit tight for someone nearly 2m tall. At first, we assumed this was the standard height, but a simple push revealed that the ceiling had been lowered. The actual height was 2.7m, which we restored, opening the space significantly.
Nature Meets Modern
A key change was installing new, larger windows that measured 1.7m, allowing a lot more natural light to flood in than before. We wanted the space to feel as open and bright as possible, so we focused on maximizing both height and light.
At the back of the bedroom, we faced the challenge of double walls that needed to be removed. We replaced them with a more practical timber frame structure. For added warmth and character, we used Finnish plywood for the back wall, giving the space a natural and cozy touch.
The rest of the walls and ceiling were completed with smooth stucco, and we made an effort to reuse the old doors to preserve a bit of the original charm of the house. Now, the bedroom feels spacious and bright, offering views of the sedum roofs, our gardens, and the shed.
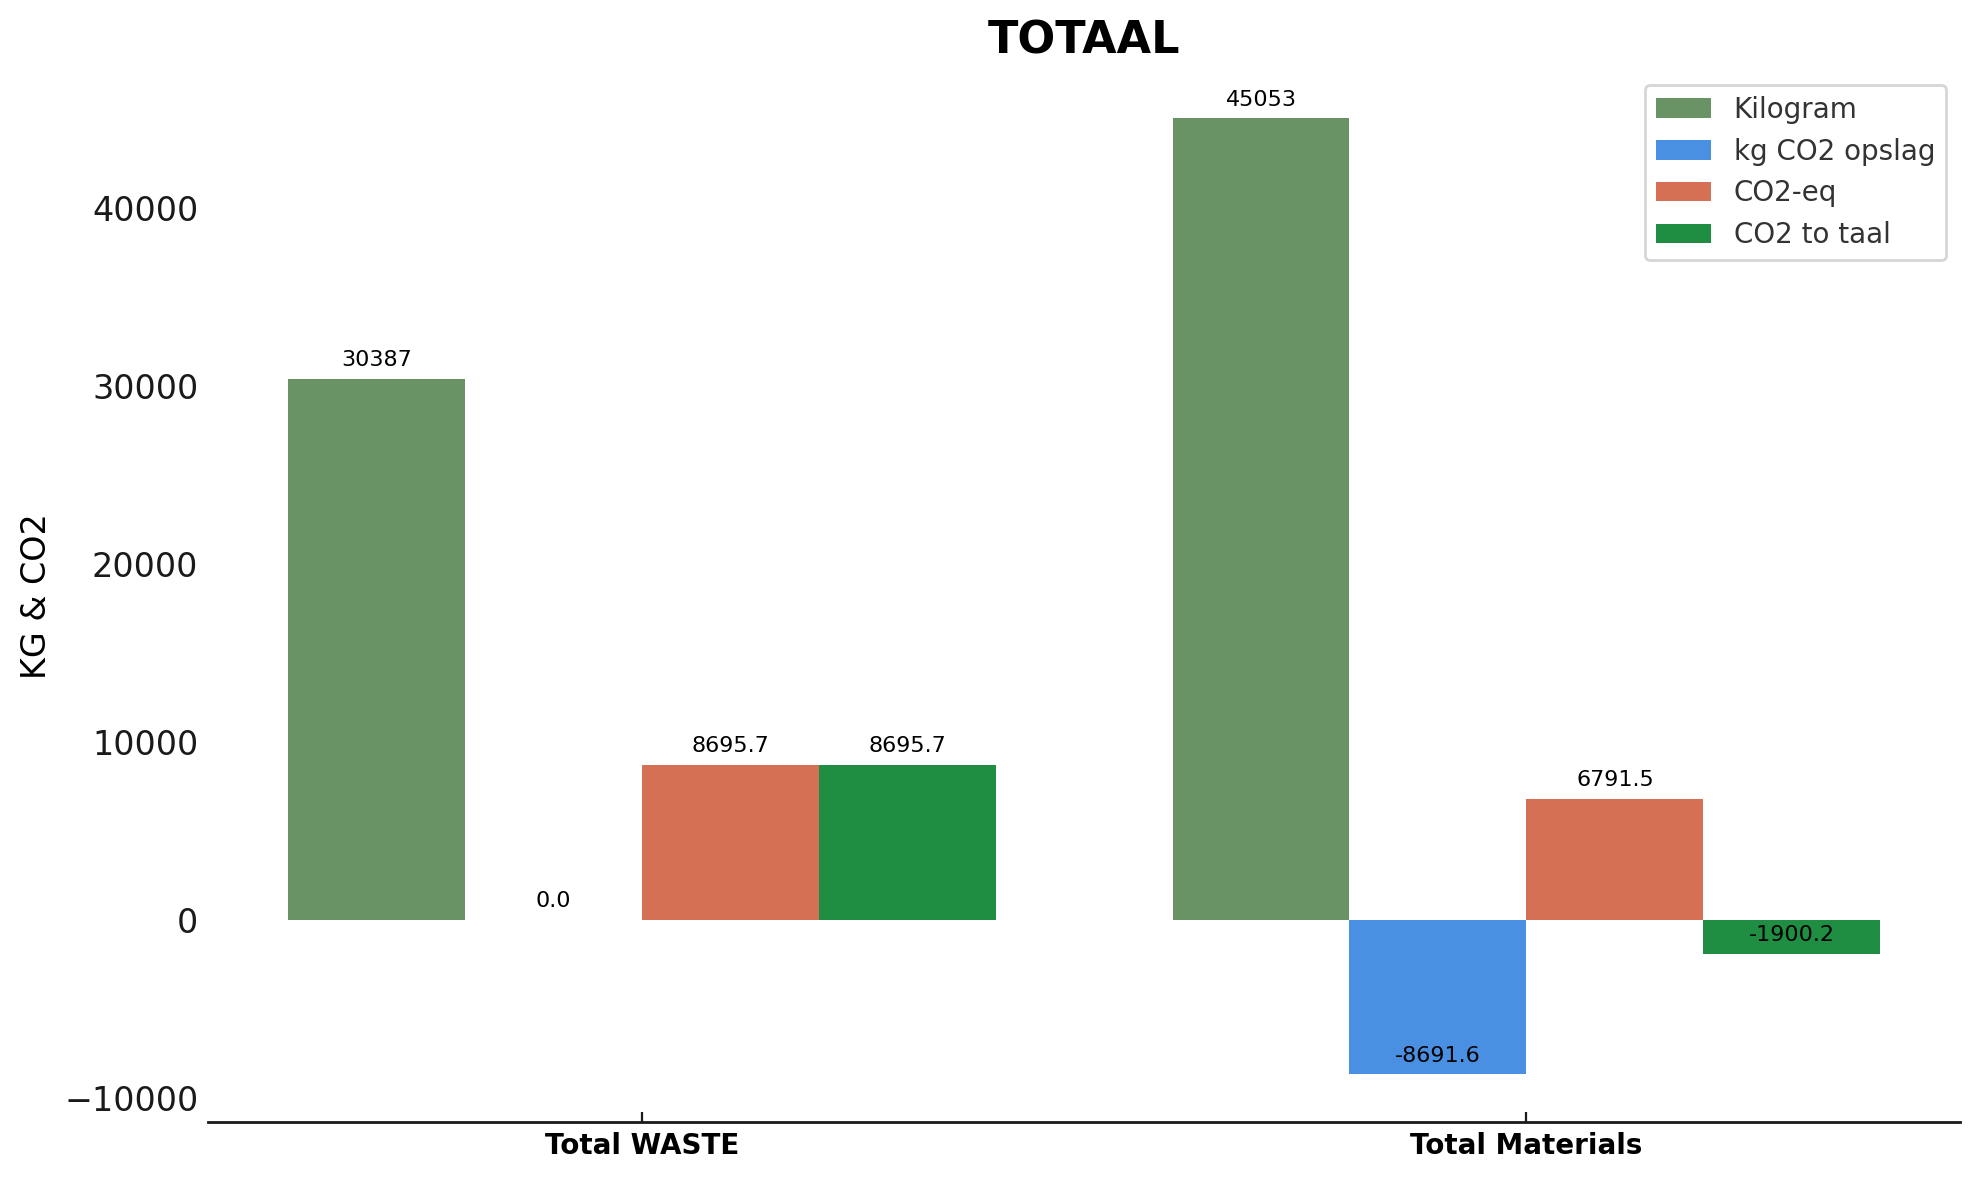
KG WASTE
30.387
KG MATERIALS
45.053
CO2-EQ: A1-A3
19.248
CO2-EQ: CO2-STORAGE
8.311
The numbers
34% of global energy demand
37% of energy and process-related CO2 emissions (as of 2021)
The impact of building: a closer look
Daan has a background in construction and project management, which proved invaluable during the renovation. He’s always had a strong interest in sustainability, which naturally influenced many of our choices throughout the project. Daan’s approach combines a desire for a natural, beautiful home with an emphasis on simplicity—favouring clean, efficient designs. This style reflects a new way of thinking, where efficiency and beauty come together to create a home that feels both fresh and timeless.
Britta, though new to construction, brought enthusiasm, structure, colour and a fresh perspective to the project. She took charge of organizing and managing the day-to-day tasks, making sure everything stayed on track. Britta’s knack for finding second-hand treasures played a huge role in our renovation, allowing us to furnish and equip our home in a cost-effective and sustainable way. She also managed the budget, ensuring that we made smart, cost-effective decisions without sacrificing quality or our values.
Together, we faced the challenges of renovating an older home—learning as we went and adapting when needed. We’re excited to share what we’ve learned along the way, in the hope that our story might inspire others on their own renovation journeys.
Waste
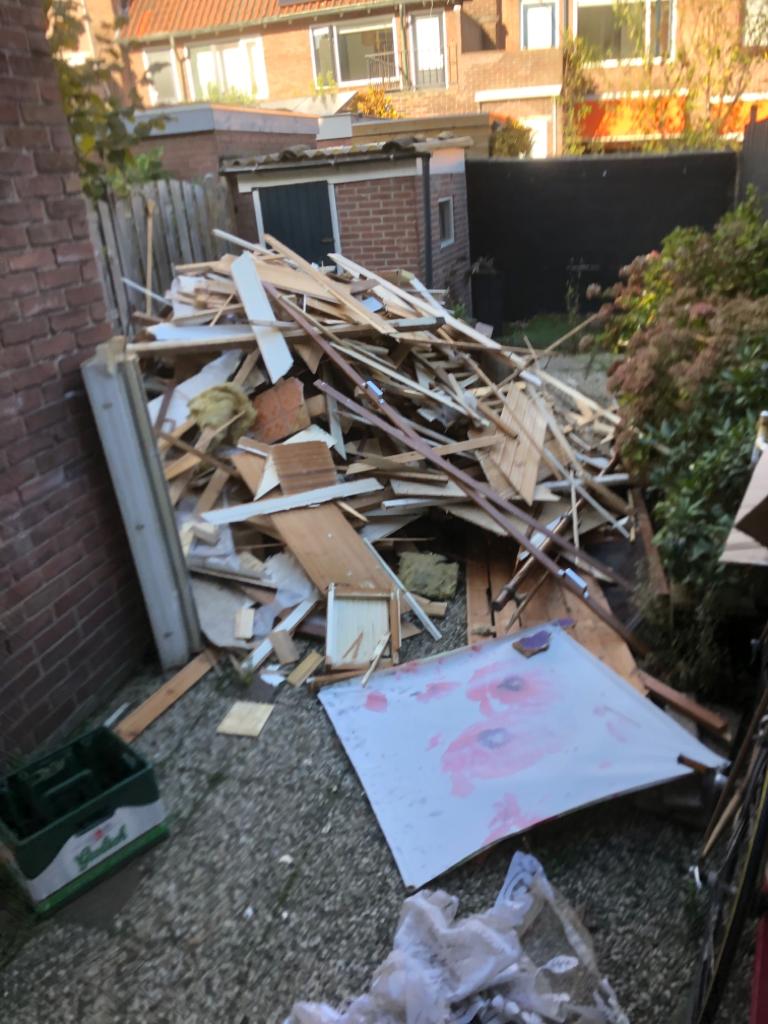
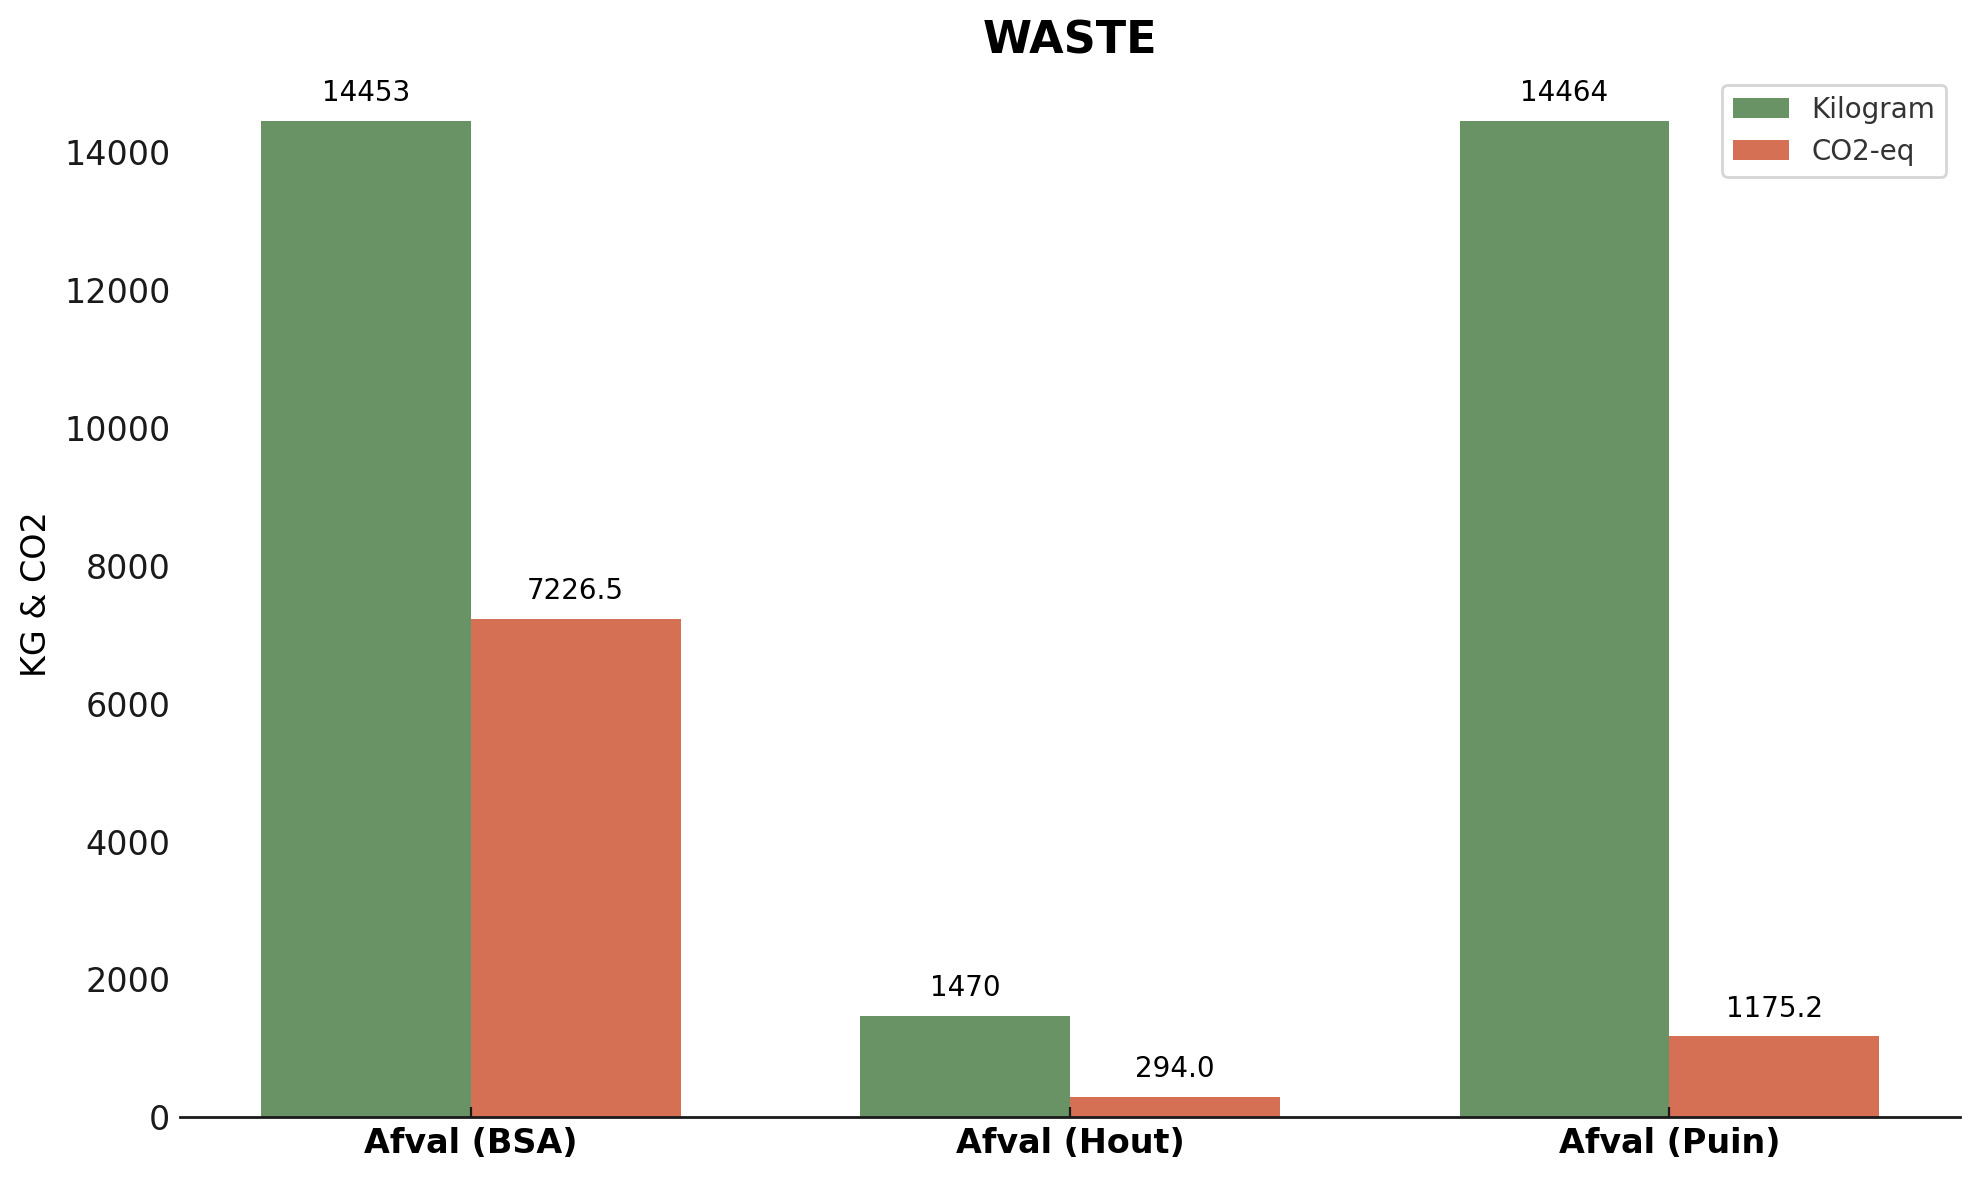
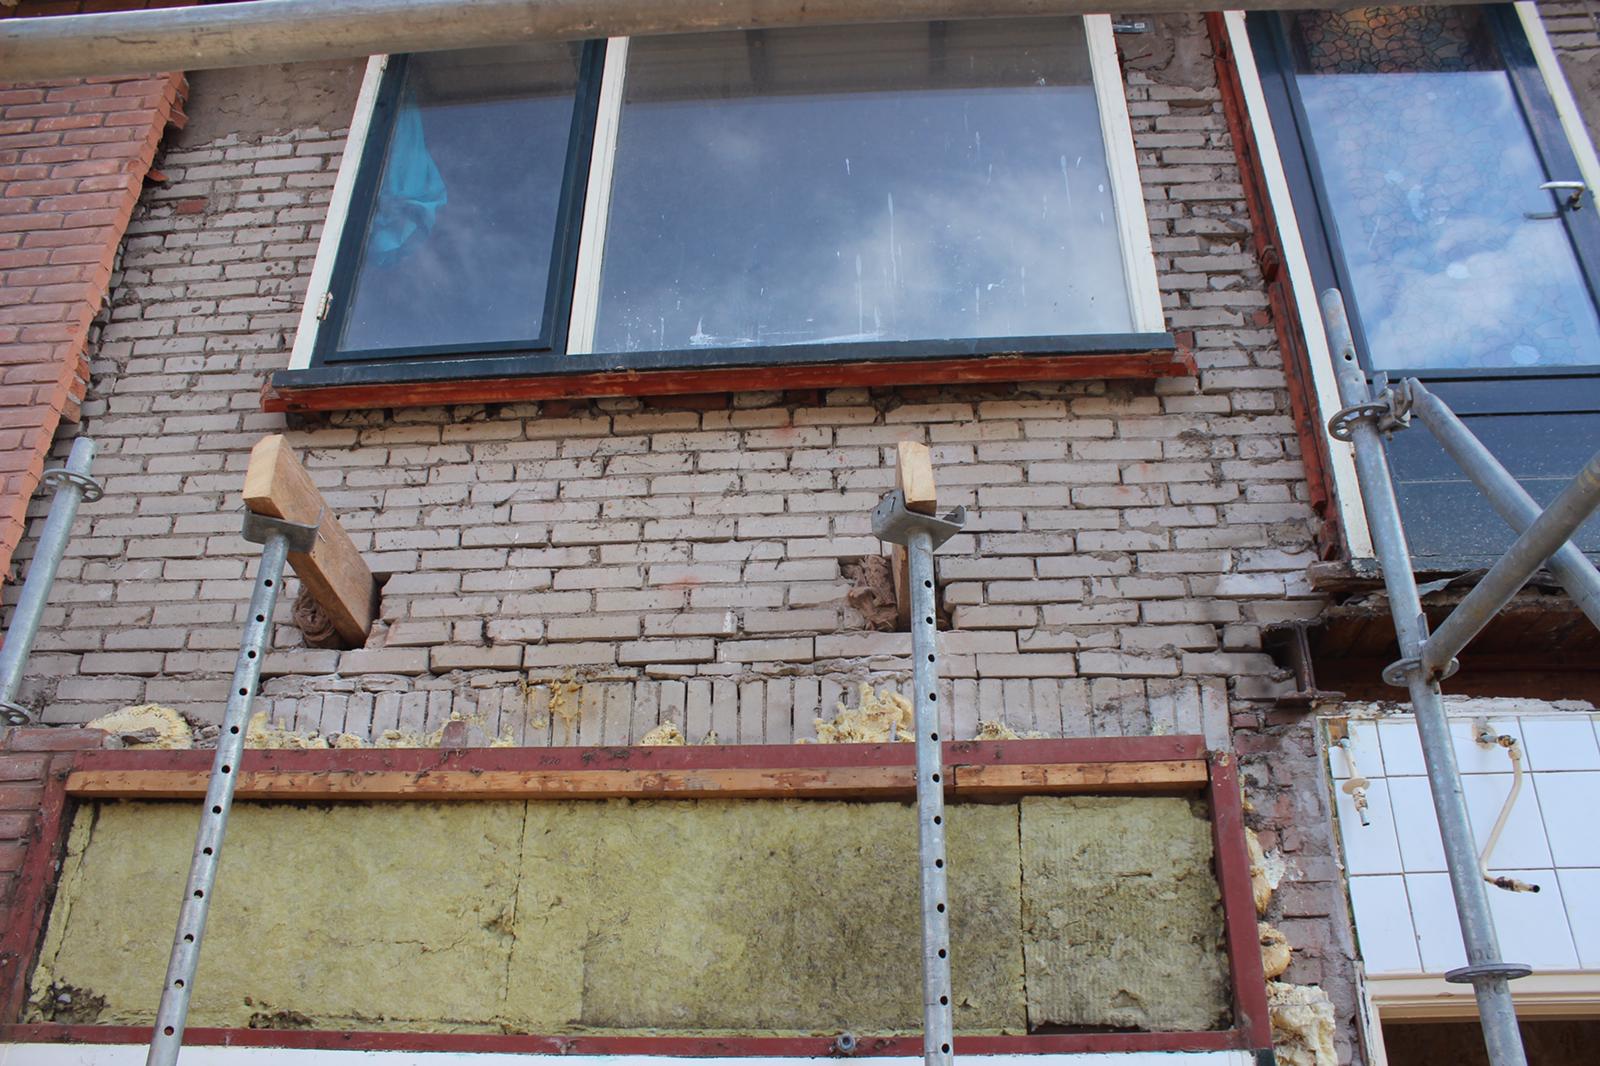
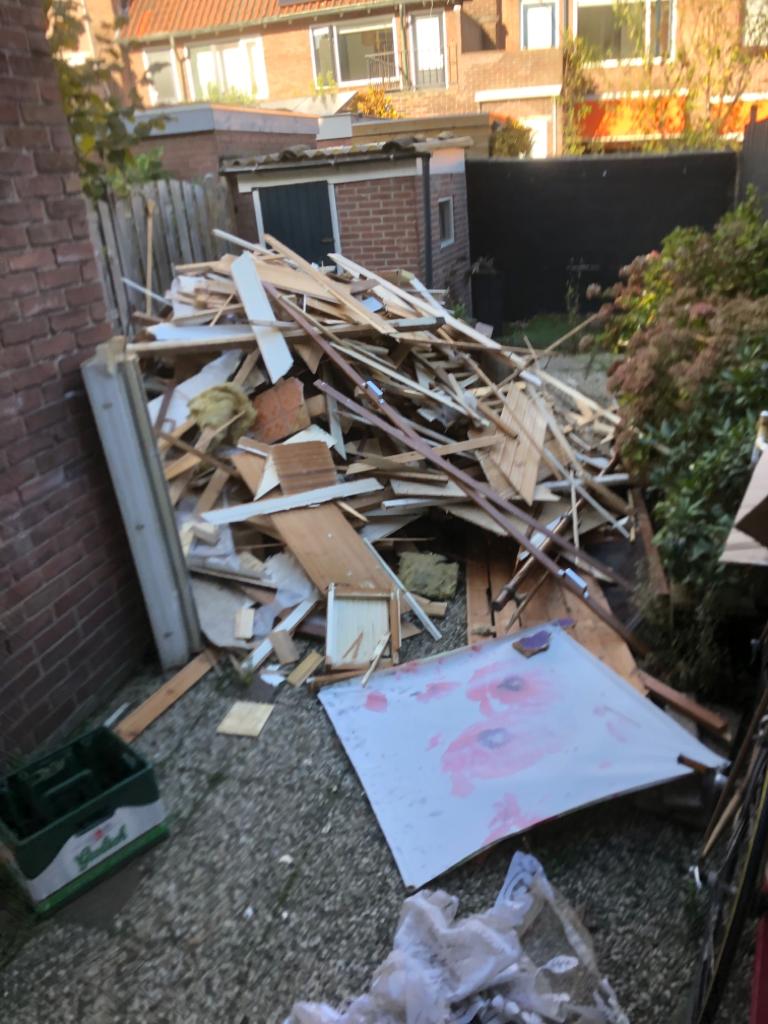
Renovating a house generates a significant amount of waste, particularly when it's a deep or comprehensive renovation. In our case, only the foundations, front wall, side walls, and the first and second floors remained untouched.
THE IMPACT OF BUILDING: A CLOSER LOOK
During the demolition and construction phases, we handled waste in various forms:
- Total Waste Containers Used:
- 6 containers of 10m³ each
- 8 containers of 6m³ each
- 6 containers of 10m³ each
- Types of Waste Generated: Brick, metals, wood, glass, and plastic, along with packing material, dust, and offcuts.
- Additional Waste: A considerable amount was also taken directly to the municipal waste yard.
This reflects the scale of waste generated during renovations and the effort needed to manage and dispose of it responsibly.
Waste Separation and CO2
Types of Waste Management:
Downcycling: Transforming materials into items of lower quality (e.g., concrete rubble into aggregate).
Recycling: Reprocessing materials for the same or similar use (e.g., melting steel to form new steel products).
Upcycling: Converting waste into materials of higher quality or value.
CO2 Impact of Waste
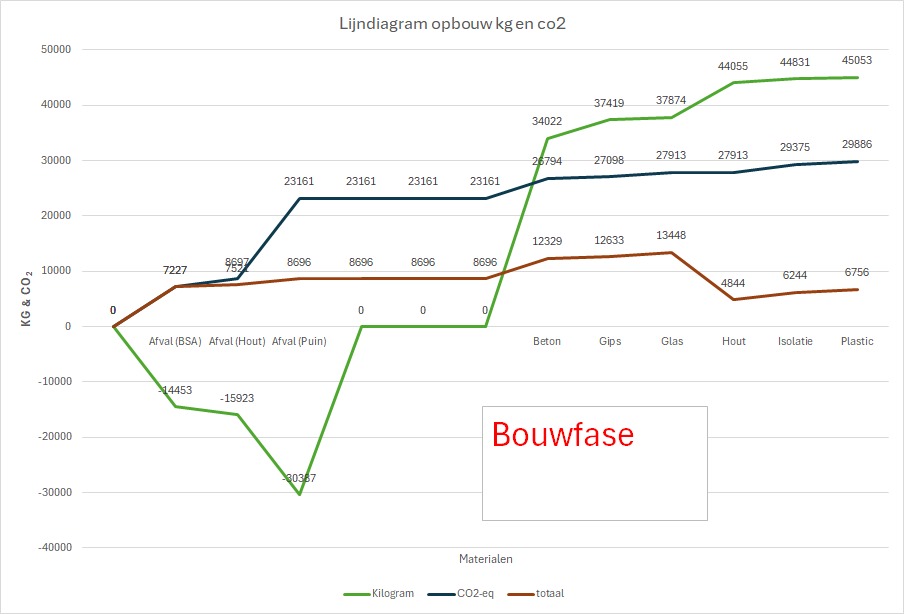
The CO2 impact of waste is difficult to calculate due to limited data and varying practices across projects, recyclers, and countries. After years of dedicated research in my old job, including comprehensive searches every six months and discussions with major waste recyclers and even the Environmental Assessment Agency (PBL), I found that a general CO2 impact indication for waste streams like BSA, wood, steel, and rubble simply doesn't exist. (please contact me if you have a better idea, i would love an in depht discussion)
However, with ChatGPT’s assistance and my background in waste impact, I was able to develop a better understanding and conclusion of the environmental effects associated with waste separation in renovation projects. Understanding the waste stream is key to creating sustainable practices in the construction industry.
This analysis provides a clearer picture of the CO2 emissions related to waste generated during the renovation. Most of the impact comes from the construction and demolition waste, followed by rubble and wood waste. Understanding these figures can help in identifying areas for reducing the environmental footprint in future projects.
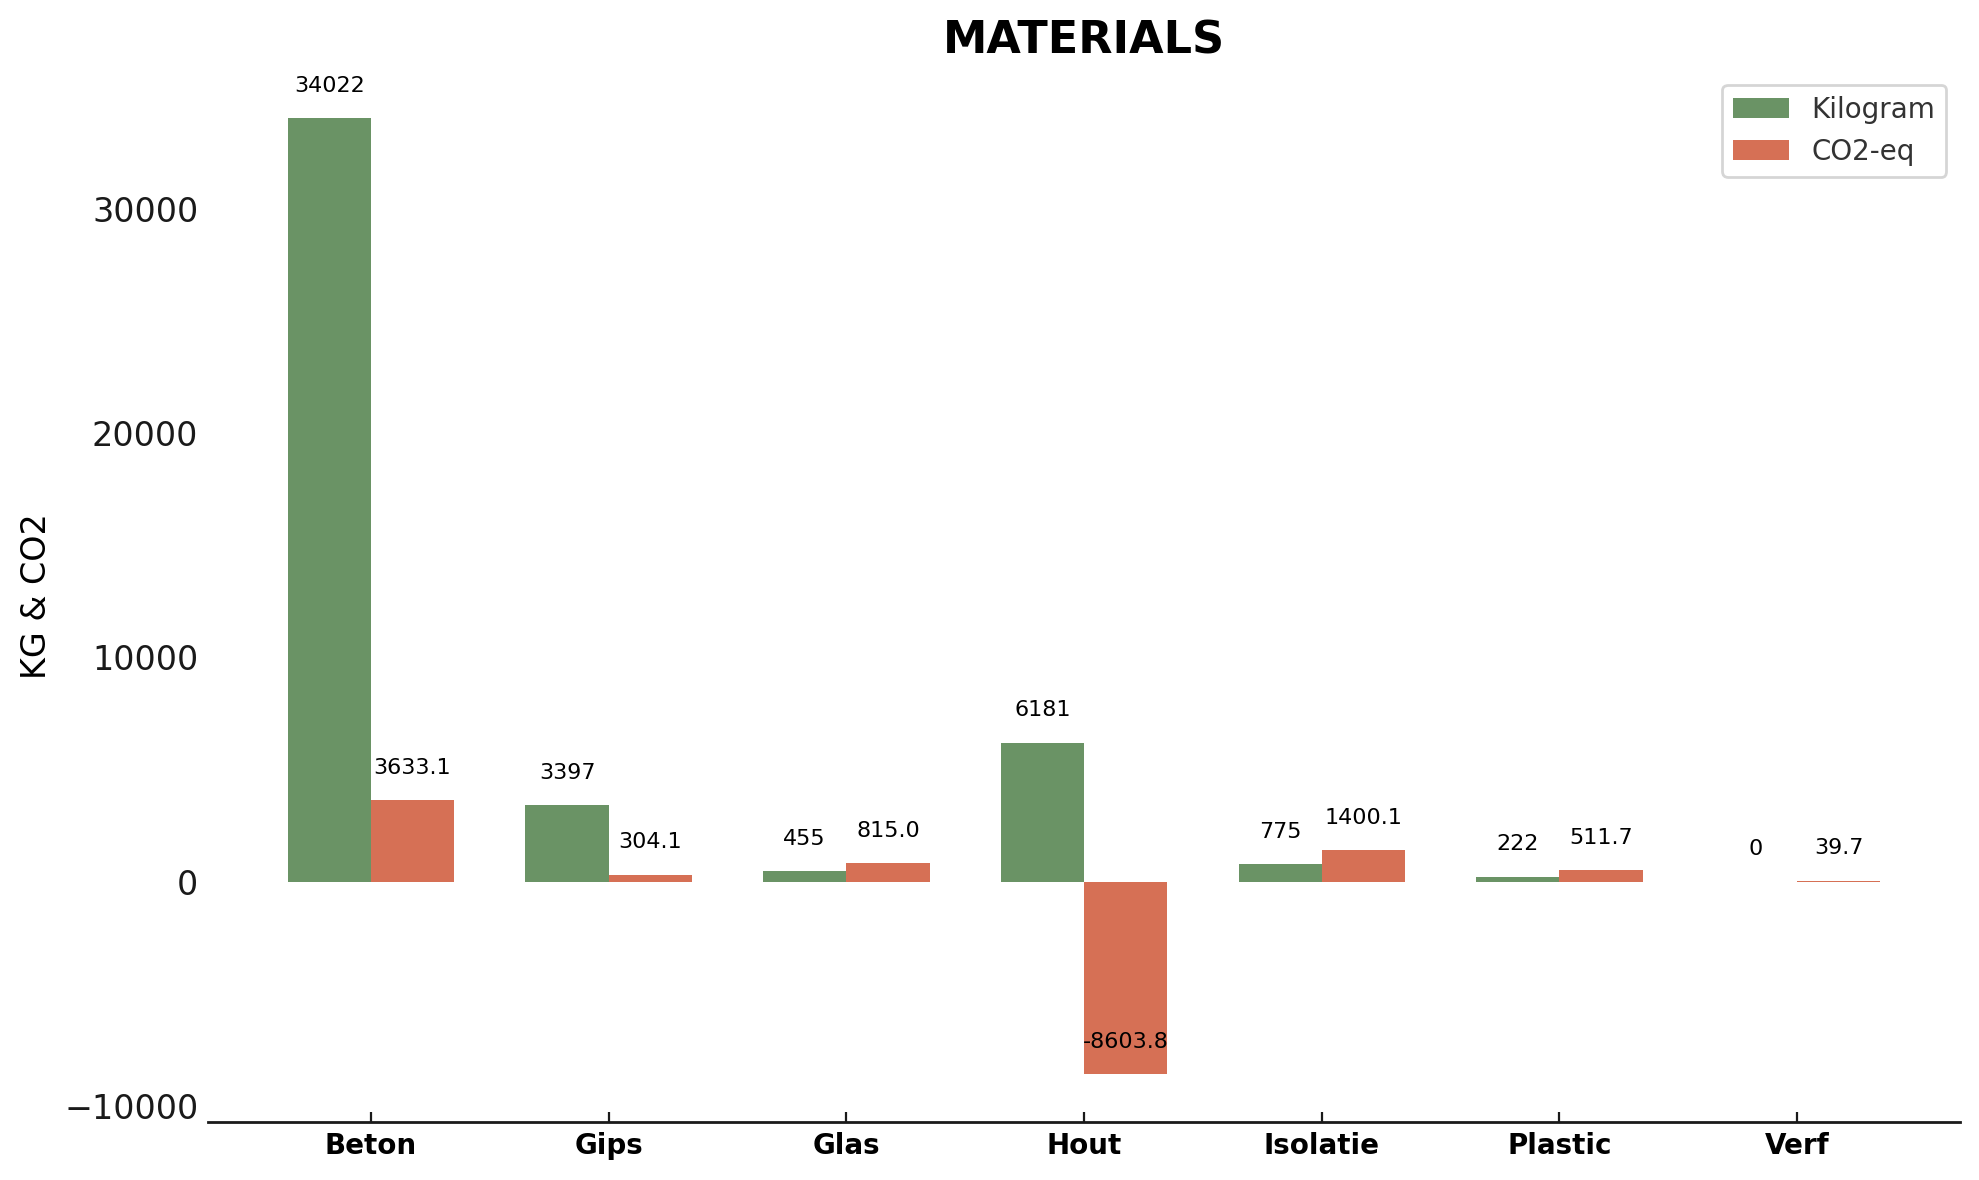
Materials
Materials are the foundation of the building industry. When you look at the sustainability of a product, it’s important to look at its lifecycle. Everything has a lifecycle, from the product’s raw materials, the processing, transport, performance within a building, and end of life disposal.
Materials in a Circular Economy
Lots of transporting is in between depending on where it is mined and where used. When we are talking about a CO2 impact we only look at the A1-A3 part of the product because this is the highest impact category and rest is still in the use phase.
- Lifecycle of Materials
- Sustainability involves considering a product's full lifecycle: Raw Materials → Processing → Transport → Performance in Building → End-of-Life Disposal
- CO2 Impact Focus: Primarily on the A1-A3 stages, which cover extraction, processing, and transportation, as they have the highest environmental impact.
- Circular Economy Model
- The circular economy separates materials into two main cycles:
- Renewable Materials (e.g., wood): Materials that are naturally replenishable and, when possible, should be used based on durability and usage.
- Finite Materials (e.g., steel, concrete, EPS): Materials that are non-renewable but can be selected based on recyclability and durability.
(For more details, see Circular Economy Introduction and Circular Economy Diagram.)
- The circular economy separates materials into two main cycles:
Important to know is that you have different material cycles based on the circular economy model (https://www.ellenmacarthurfoundation.org/topics/circular-economy-introduction/overview ). The circular economy is based on two cycles; renewable and finite materials (https://www.ellenmacarthurfoundation.org/circular-economy-diagram ).
Reneweble vs finite materials
Simply put, it is important to think about where the materials are coming from as well as the usage and durability of a material. I always ask myself the question, can I use a ‘renewable' as a certain part of the building based on usage and durability? If yes, use it. If no, look for a ‘finite’ alternative which is easily recyclable.
Selecting between renewable and finite materials depends on the intended lifespan of the element and the overall environmental impact. For elements requiring exceptional durability (like ground floors under heavy traffic), finite materials may be justified if they reduce future replacements and long-term CO2 emissions. Meanwhile, for lower-stress applications (like party walls), renewable materials can often deliver comparable performance with a lower embodied carbon footprint.
Example 1: Ground Floor
1. Initial Decision
- We weighed the pros and cons of using wood (a renewable material) versus concrete and EPS (finite materials).
2. Key Considerations
- Longevity: The ground floor typically endures high load and foot traffic, so durability was crucial.
- Maintenance and Replacement: A highly durable floor may require fewer replacements, which can offset a higher initial carbon footprint.
- Lifetime CO2 Impact: While wood has a lower embodied carbon, the potential need for more frequent maintenance or replacement over many years might lead us to choose concrete/EPS in some cases.
3. Outcome
- We selected concrete and EPS for the ground floor because of its long-term durability and the reduced need for future replacements.
Example 2: Party Wall
1. Initial Decision
- We considered wood (renewable) versus steel (finite) for constructing a party wall.
2. Key Considerations
- Similar Lifespan: Both wood and steel can be suitable for walls that don’t bear extreme loads or high traffic.
- Embodied Carbon: Wood generally has a much lower embodied carbon than steel.
- Sound Insulation and Fire Resistance: Depending on codes and specific product options, both can be designed to meet these requirements.
3. Outcome
- We opted for wood because of its lower CO2 footprint and sufficient durability for this use case.
Finance
Financing our Utrecht home for €284,000 involved careful planning and luck. With €20,000 from a construction deposit and €100,000 in personal funds, we managed the renovation with a low mortgage. By planning realistically, staying flexible, and doing much of the work ourselves, we created our dream home. Our story highlights how thoughtful choices can make ambitious projects achievable.
Our financial approach
- Initial Budget and First Estimate
Our first estimate for the renovation was around €60,000. However, we soon realized this budget was overly optimistic. Major renovation work is hard to plan for; unexpected costs are always around the corner. For this reason, we increased our budget to €90,000, including a buffer for unforeseen expenses. - Choices and Priorities
From the start, we made deliberate choices to keep the budget in check. For example, we initially decided not to replace the front windows, which would have cost €5,000, excluding labor. These weren’t immediately necessary. Later in the project, when we had better oversight, we decided to allocate additional funds for these improvements. - Saving Money by Doing It Ourselves
A key advantage for us was that I could do much of the work myself as a builder, and through my father, a contractor, we were able to purchase materials at a reduced rate. This saved us significantly on labor and material costs. Britta was also heavily involved in the process, providing structure and helping us make decisions together. This teamwork allowed us to create our dream home within our budget. - A Unique Starting Point
While we’re satisfied with how we handled our renovation, we recognize that not everyone has the same resources or circumstances. It helps to plan smartly and set priorities, but we were also fortunate to receive family support, have savings, and leverage our skills. Our story demonstrates what’s possible with the right preparation, but every situation requires its own approach.
Planning
Our renovation began in October 2019 when we received the keys to our house. Our ambition was high: to finish within six months. However, as my father predicted, it ultimately took nearly two years to complete everything. Renovating only on weekends made planning a challenge. With demanding jobs and limited time during the week, we had to be smart and flexible.
Chellenges in planning
Planning a renovation while working full-time requires adaptability. Since most of our work happened on weekends, scheduling everything on time was a challenge. Deliveries often needed to be arranged in advance, but with our busy workweeks, we sometimes forgot. This led to moments on Friday evenings where we thought, “We should have arranged this earlier!”
Additionally, not all stores and services were available on weekends, making it hard to make spontaneous adjustments. Our helpers—friends and family—were also mostly available on weekends, limiting the time for major tasks. Ultimately, we learned to be flexible and plan ahead, which helped us take step-by-step progress toward realizing our dream home.
Renovation planning: Key phases
- The Start and Demolition Phase
In October 2019, we received the keys and immediately began demolition. This intense phase involved removing walls, ceilings, and old installations to make way for our new plans. It took 1.5 months to strip the house completely. - Structure and Roofing
By the end of 2019, we started working on the new roof and dormer. These major changes were essential for the structure and insulation of our home. We also built a new wooden framework and reused the original roof tiles to preserve the house’s character. - Interior: Kitchen, Bathroom, and Bedrooms
Throughout 2020, we worked on the kitchen, bathroom, and bedrooms. The kitchen became a modern centerpiece with custom-made concrete countertops and underfloor heating. In the bathroom, we added a window for more light and ventilation. The bedroom was completely redesigned, with added height by removing lowered ceilings. - Garden and Shed
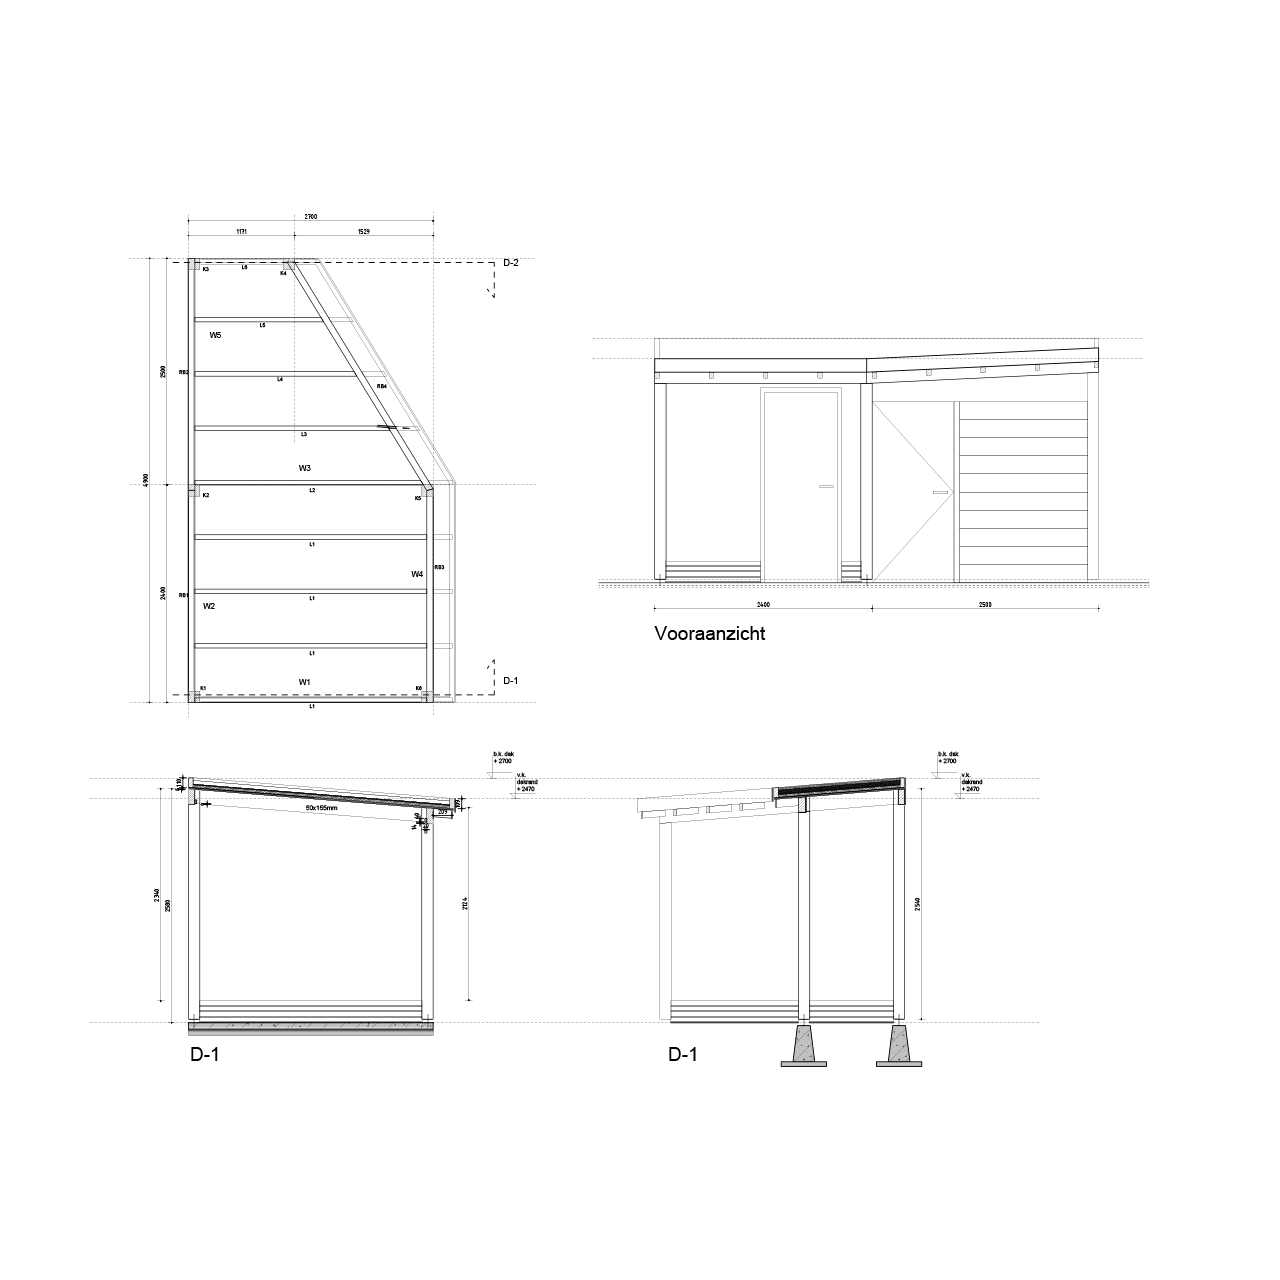
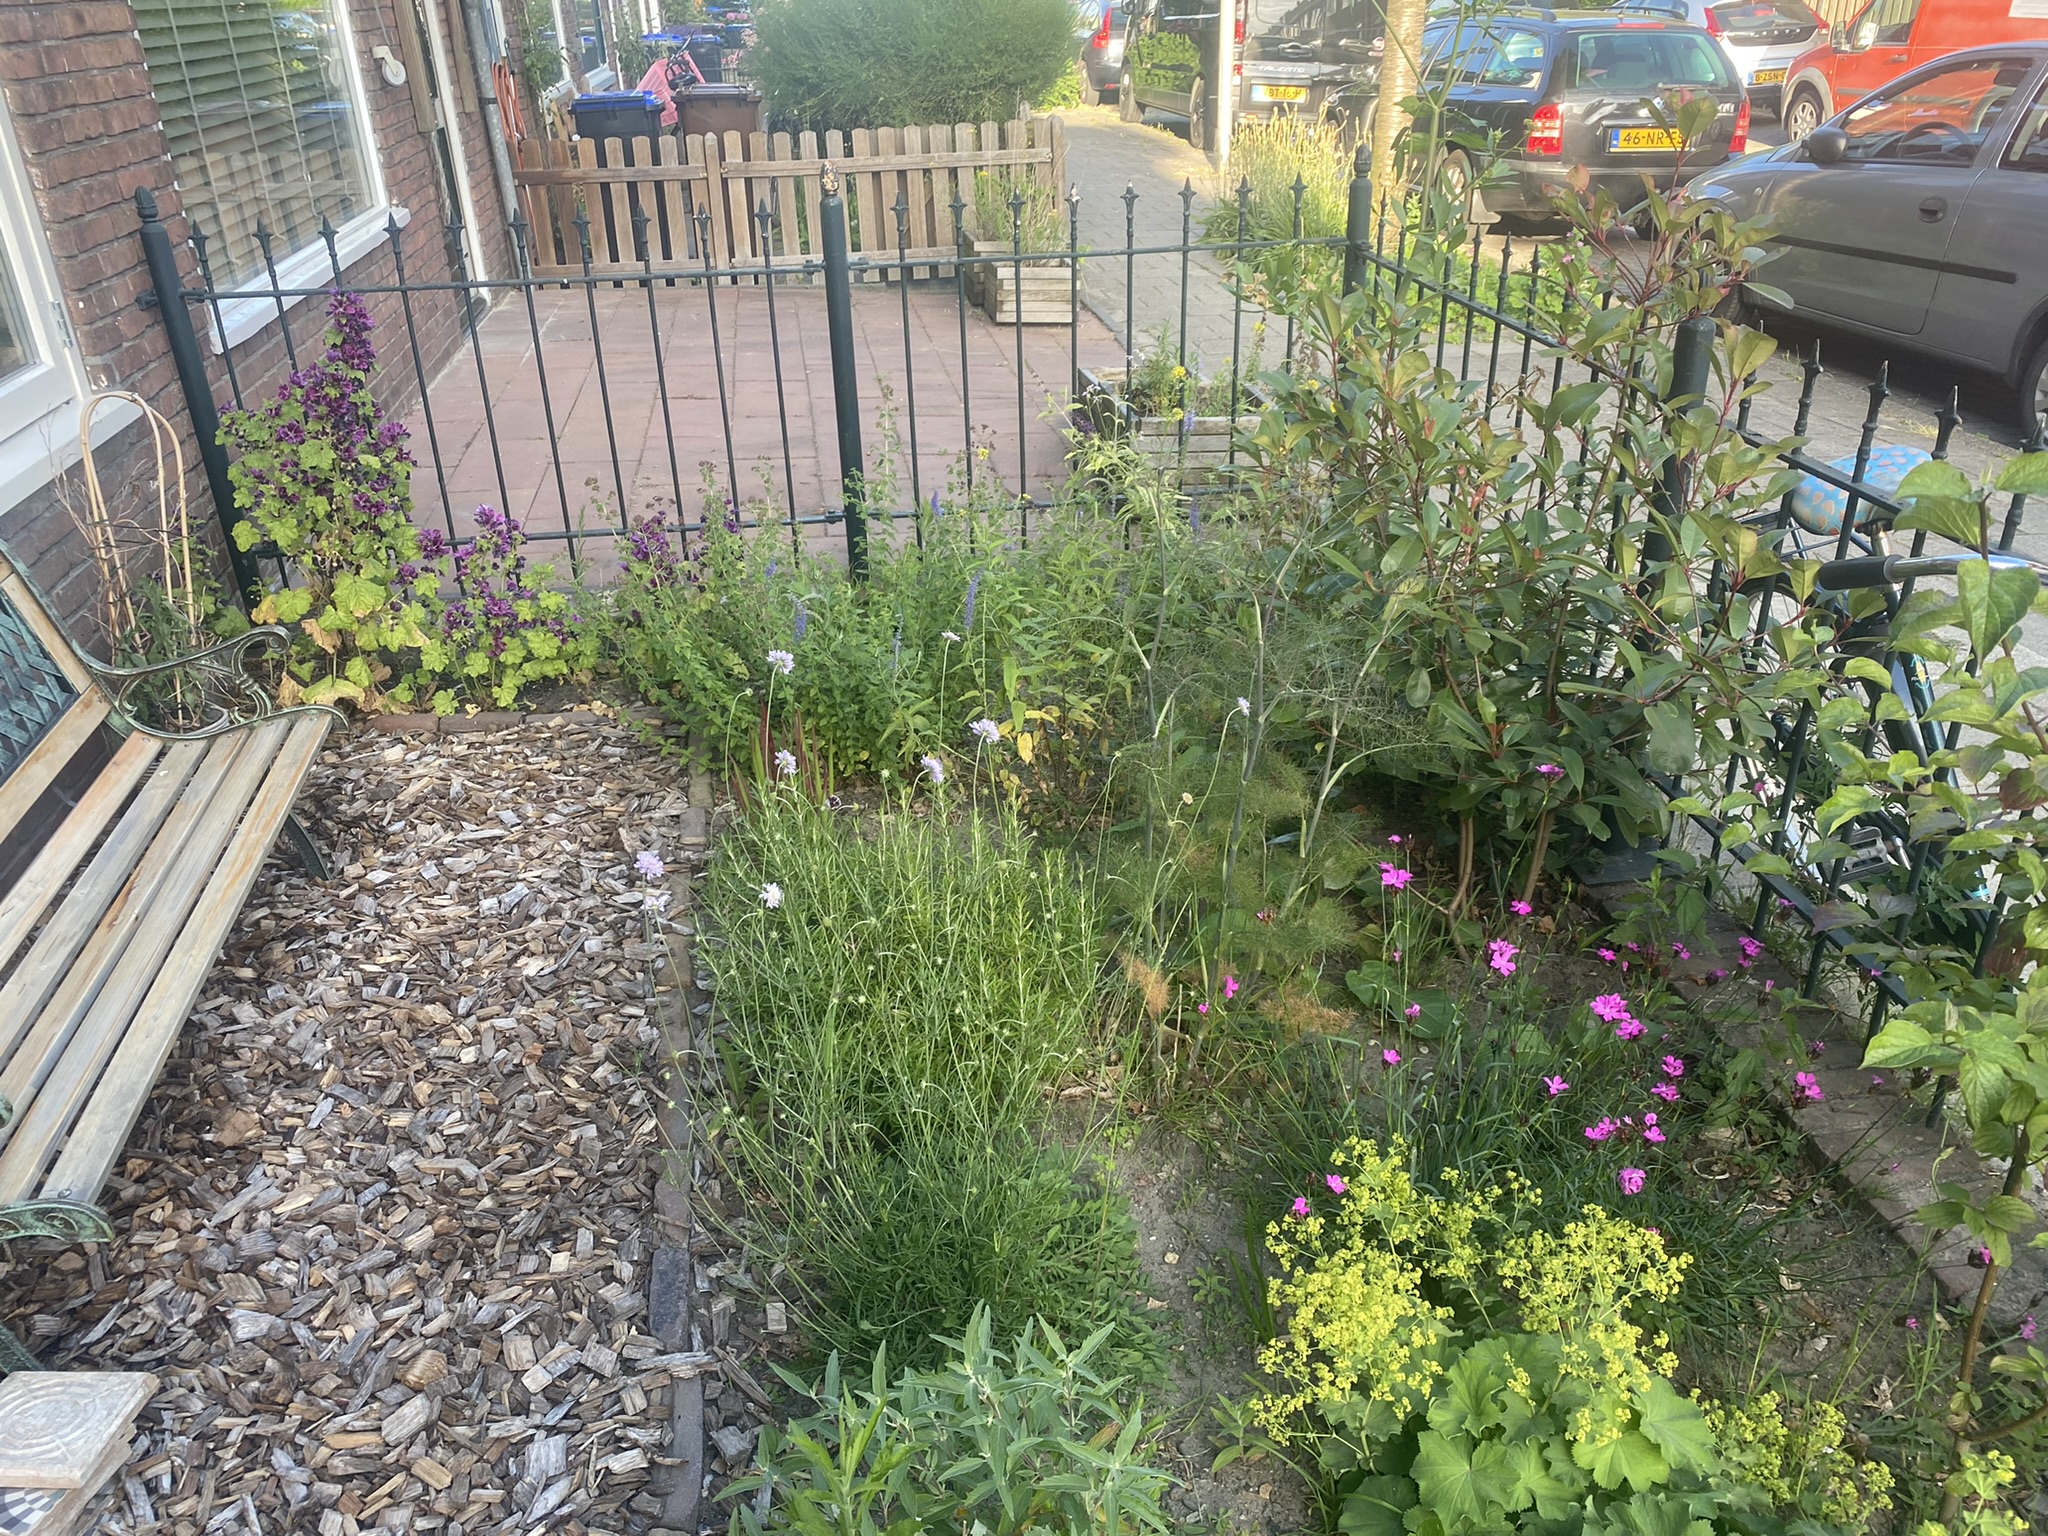
The final part of the renovation was the garden and shed. In 2021, we redesigned the garden with plants, grass, and paving. The shed was built as a practical and sustainable space, featuring a sturdy wooden structure and EPDM roofing. - Finishing Touches
Finally, we added the last details, such as painting, furnishing, and installing curtains. These finishing touches took extra time but completed the entire project beautifully.
LEGEND
KG
Kilogram
Co2-eq
Staat voor Co2 equivalent. Het drukt de klimaatimpact van verschillende gassen uit in termen van CO2.
A1-A3
Staat voor de impact tot aan de deur van de leverancier. Dus wil zeggen dat hierin geen verdere onderhoudt of recyclage of hergebruik in meegenomen wordt.
Co2 storage
Co2 opslag mogelijkheid van een materiaal. Hout is hier een mooi voorbeeld van. Etc.
Totaal
Co2 impact + de storage (weergegeven in -) dus de impact aan de voorkant + de opslag van bepaalde natuurlijke materialen.
5
9
8
2
1
7
6
4
3
What will I do better next time?
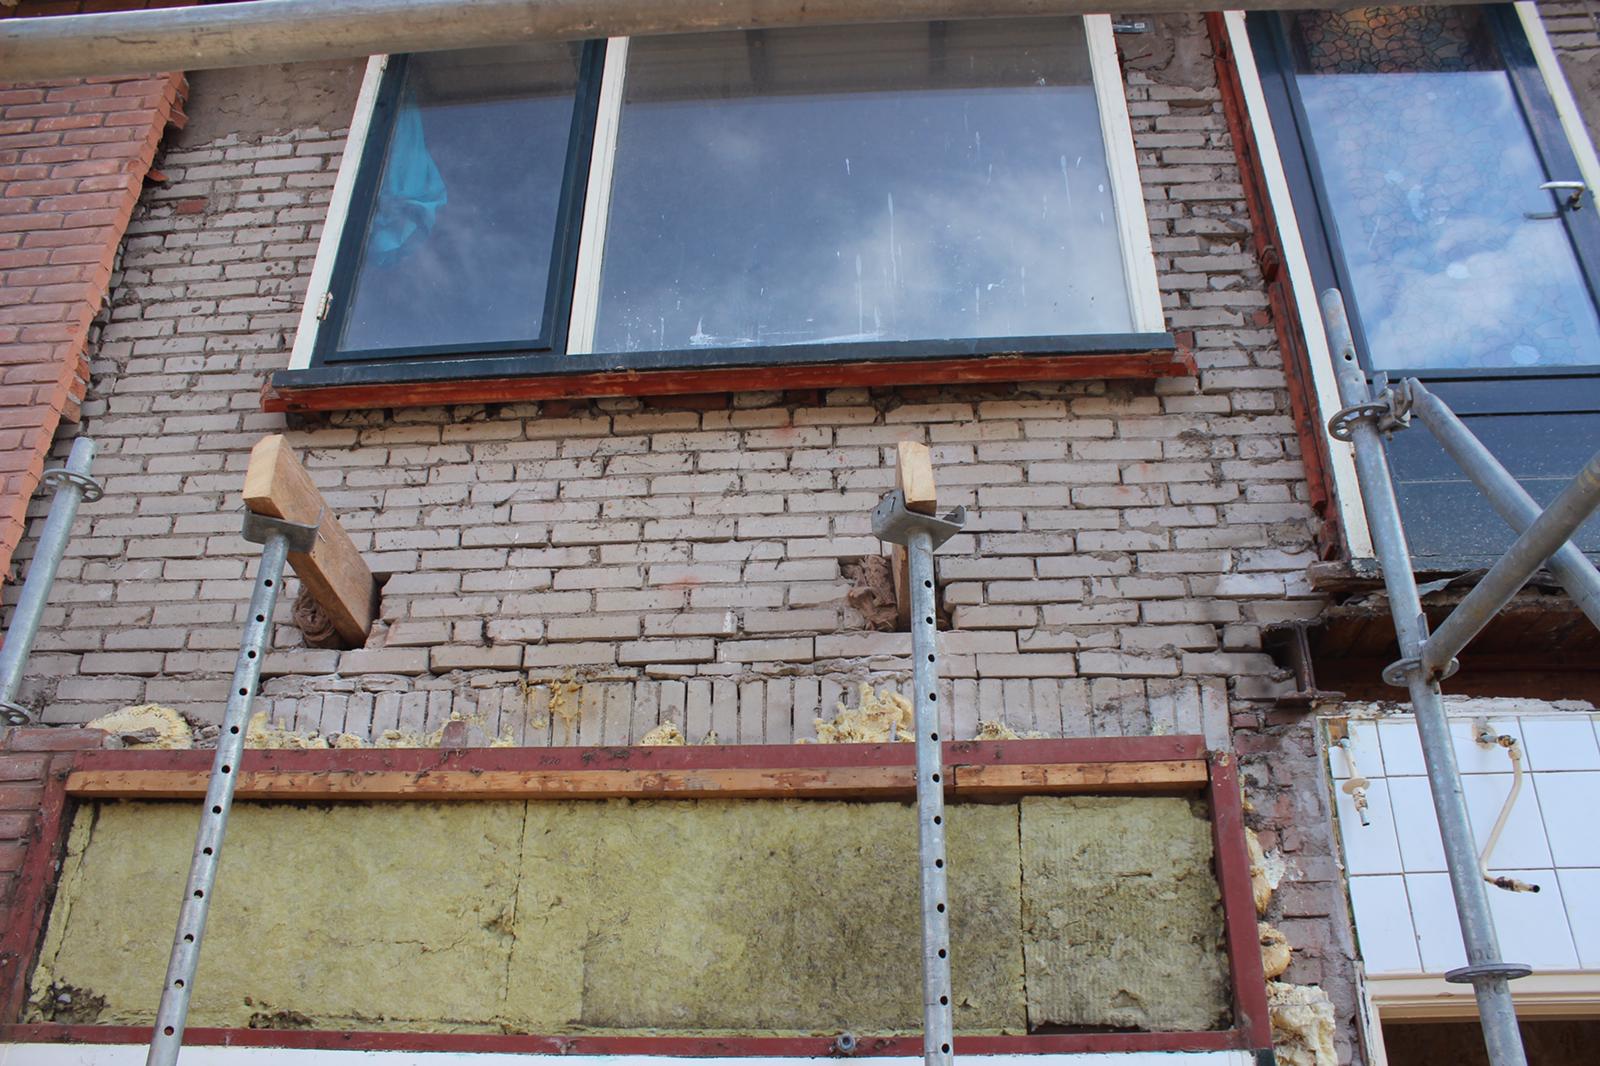
PIR: no usage of PIR insulation because of environmental concerns. Summer heat getting through And bad to word with (breathing of the stuff when you saw it)
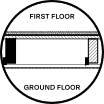
Insulation inbetween floors, i forgot
add always 20% extra to the budget you think of
Contact
Aan de slag dan maar!
T: 0343-745295
Kosterman Bouw
Alexanderweg 77-06
3945 CH Cothen
info@elementhoutbouwers.nl
BTW: 868205904B01
KvK: 97729922